
 That Guy
07 · BOSSING
Start with a fight you can contribute to, then build toward harder encounters.
Open a map or boss image to inspect the full-size artwork.
Type @boss or @bosses to browse encounters, directions, cooldowns and weekly entries. Entrance travel is available from a town and moves your character, not the whole party. Traveling to the entrance does not itself start the run or spend the entry.
Field bosses: EXP and enhancement scrolls
Check field bosses as part of your training route. A boss you can defeat efficiently is a useful EXP break and a chance at upgrade scrolls. Keep 2x EXP active, bring recovery items and watch each boss's attack warnings. These are open-field fights, separate from the weekly instanced boss runs below.
On a phone, swipe wide tables sideways to see every column.
| Boss | Monster level | Where to look | Solo EXP with 2x |
|---|---|---|---|
| Timer | 75 | Ludibrium: Lost Time <2> | 152,612 |
| Deo | 80 | The Burning Sands: Dry Desert | 207,628 |
| Headless Horseman | 100 | Phantom Forest: Hidden Evil; several other Phantom Forest maps | 612,952 |
| Bigfoot | 102 | Phantom Forest: Twisted Paths; several other Phantom Forest maps | 701,768 |
| Chimera | 102 | Hidden Street: Lab - Secret Basement Path | 701,768 |
| Manon | 120 | Leafre: Manon’s Forest | 2,919,312 |
| Griffey | 120 | Leafre: Griffey Forest | 2,919,312 |
| Kacchuu Musha | 120 | Zipangu: Castle Corridor | 6,266,424 |
| Snowman | 122 | El Nath: Sharp Cliff 3 | 3,342,320 |
| Leviathan | 145 | Hidden Street: Leviathan’s Canyon | 11,296,824 |
| Dodo | 150 | Time Lane: Memory Lane 5 | 15,844,380 |
| Lilynouch | 159 | Time Lane: Road of Regrets 5 | 29,129,248 |
| Lyka | 168 | Time Lane: Road to Oblivion 5 | 53,552,936 |
These are monster levels, not recommended solo-clear levels. EXP examples assume the Kanata world, a full-damage solo kill and active 2x EXP, before other buffs, equipment effects or party sharing. A slow or unsafe kill may be worse than your usual training. Field-boss EXP has its own reduced base rate; the examples already account for it.
Field bosses return about one hour after defeat, rather than spawning on every clock hour or when you enter the map. Visit a few suitable targets as you travel. If they are missing, continue hunting instead of spending your whole session waiting.
Enhancement scroll rewards
Catalogued field bosses whose monster level is 80 or higher have two separate shared drop rolls:
- Equip Enhancement Scroll: 20% chance.
- Advanced Equip Enhancement Scroll, often called EEA: 5% chance.
Deal at least 15% of the encounter's qualifying HP to qualify for these shared drops. Party membership alone is not enough. A successful roll creates one scroll for the eligible fighters to collect; it does not give a personal copy to everyone. Normal drop bonuses do not increase these two chances. Lower-level field bosses such as Timer do not get this extra scroll roll.
NX comes from qualifying main-boss clears and the Chaos Jester, not ordinary field bosses. Ordinary field bosses currently award no NX. The separate hunting Jester awards 1,000 NX to each qualifying 30% contributor, and drops a guaranteed Advanced Equip Enhancement Scroll and Nebulite Box on defeat. See the hunting Jester for its rules.
These are useful examples rather than the whole field-boss list. Mushmom, Stumpy, Dyle, King Clang, Eliza, Rombot, Tae Roon, Black Crow, Female Boss and other area bosses are also worth checking when their location and difficulty fit your route. Use F8 Monster Book or @drops to inspect their ordinary loot.
 Headless Horseman
 Bigfoot
 Manon
 Griffey
 Kacchuu Musha
 Snowman
 Leviathan
 Dodo
 Lilynouch
 Lyka
Before you enter
- Bring recovery supplies, your normal buff consumables and the encounter's summoning item where required.
- Check party leadership, everyone’s level, entry allowance and whether the group is together.
- Agree on the mechanics and who handles summons or phase changes.
- Leave inventory room and confirm that you can contribute meaningful damage while surviving.
The normal weekly budget is 12 entries per boss activity, per account and world. Reset is Thursday at 00:00, Dutch time. Encounters or difficulties that share an activity budget do not provide a fresh allowance just because the menu name differs.
Admission level is not a clear recommendation. Being allowed into Horntail or Pink Bean at 120 does not mean a fresh level 120 character is ready to fight them. Your damage, party and ability to survive matter.
Choose an encounter
| Encounter | Admission minimum | What to prepare |
|---|---|---|
| Balrog | 50 | Easy needs 3 party members; Normal needs 6 |
| Ravana | 50 | At least 2 players; 5 Sunbursts each. The two temples share their weekly activity |
| Zakum | 50 | Use the altar entrance; bring the required Eye of Fire |
| Captain Latanica | 80 | Ghost Ship engine room; follow the altar/White Essence requirement |
| Krexel | 70 | Follow Ulu Estate to the boss approach; solo or party entry |
| Papulatus | 120 | Origin of Clocktower, with Crack of Dimension |
| Scarlion / Targa | 80 | Malaysia's entrance and Spirit of Fantasy Theme Park summon rules |
| Emperor Toad | 50 | Ninja Castle route/private boss entrance; the jump quest is optional |
| Horntail | 120 | Cave of Life entrance, then choose Normal |
| Chaos Zakum | 100 | Choose Chaos at the altar entrance |
| Chaos Horntail | 120 | Choose Chaos at the encounter entrance |
| Pink Bean | 120 | Temple of Time boss entrance; prepare for the full encounter |
| The Unnamed Toll: Normal | 200 | Bellwether; solo or party of up to 6 |
| The Unnamed Toll: Hard | 225 | A much stronger Bellwether fight; up to 6 |
Pianus and The Boss are also listed in @boss. The Boss route continues through the Showa hideout to Konpei in the Armory and needs Lady Boss's Comb; the room has a 20-player limit. Check the encounter menu for the current route instead of assuming it uses the same admission as a six-person instance.
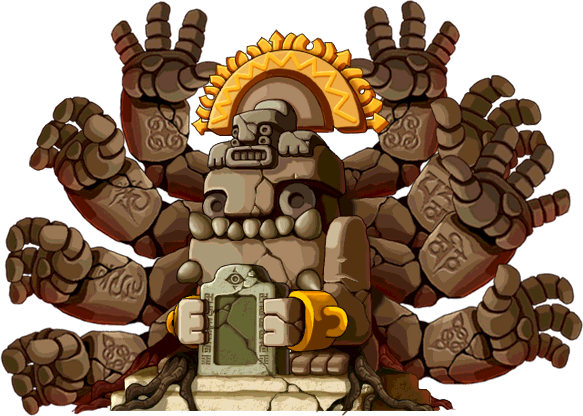 Zakum
 Papulatus Clock
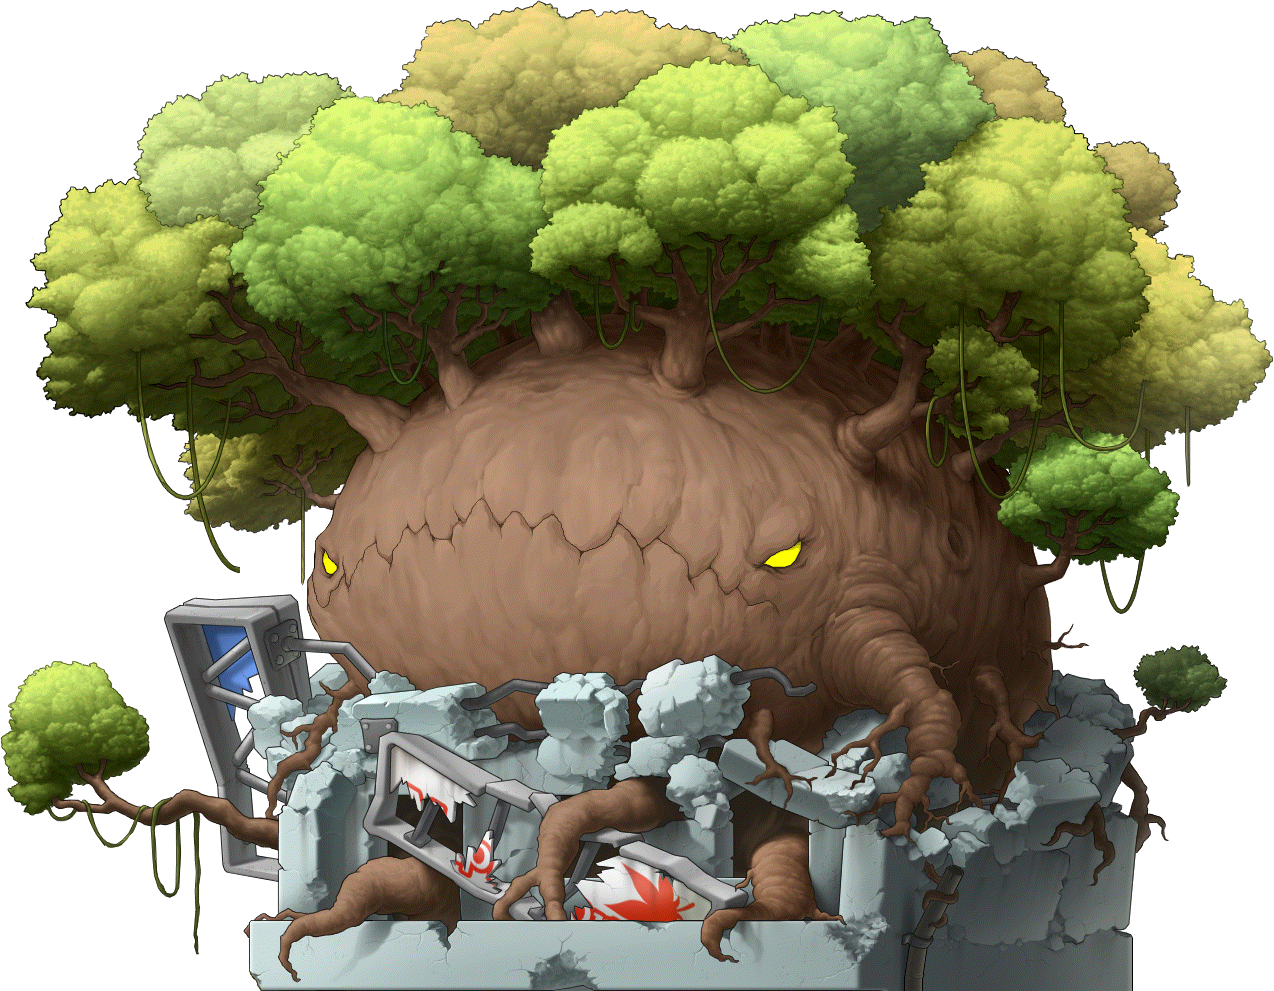 Krexel
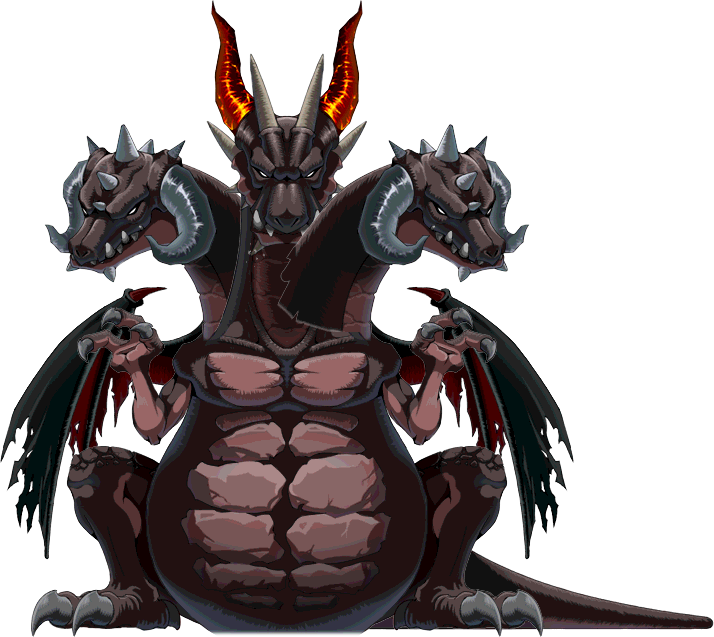 Horntail
 Pink Bean
A sensible boss progression
First regular groups: learn accessible encounters such as Zakum, Captain Latanica or the Scarlion/Targa route with players who understand the mechanics. Pick a fight you can survive and contribute to; do not choose solely from the admission minimum.
As your weapon and core gear improve: add Papulatus, Krexel and Horntail where your group's damage and sustain are ready. Keep learning how your class deals with movement, dispels, recovery and phase transitions.
Later goals: Chaos variants, Pink Bean and The Unnamed Toll. These are reasons to improve a complete character and coordinate a group, rather than simply push to an entry level.
Funded: stronger gear lets you test harder fights sooner, but check the encounter and survival requirements before investing an entry. Unfunded: regular PQs, hunting and a few reliable bosses are a better foundation than repeated failed runs against the hardest available target.
Summon items and old prequests
Use the current entrance route. Several routes no longer make you repeat old retail story detours, and Toll explicitly has no story prequest for fighting. Required summoning items are still separate from that.
Some entrance NPCs sell the needed summon supplies for 15,000,000 mesos. Read the specific NPC's option and item name before paying. For example, having boss access does not mean Zakum's altar will summon without an Eye of Fire.
Eligible Papulatus and Scarlion/Targa finishers receive the applicable summon item back privately after the terminal clear. This helps repeat runs; it does not bypass entry limits.
Rewards and contribution
Main bosses can give boss loot, NX and personal equipment/material rewards. Qualified Zakum, Chaos Zakum, Horntail, Chaos Horntail and Pink Bean clears have their own personal equipment pool, including class parts and supported Kataras.
Normal boss reward eligibility uses at least 15% contribution to the encounter's qualifying HP. Arms and statues are not a shortcut around a body encounter's contribution requirement. Being present for the last hit is not enough to assume you receive every reward.
Check @drops or Monster Book for the selected monster and your actual chances. Pick a boss because its useful rewards and clear reliability suit your group, rather than a drop list from another server.
 Zakum Helmet ·
 Horntail Necklace
 Chaos Zakum Helmet ·
 Chaos Horntail Necklace
These are recognizable encounter equipment examples. Compare the actual piece with your current QP/PQ gear; a boss item is not automatically your best slot just because it came from a boss.
The Unnamed Toll
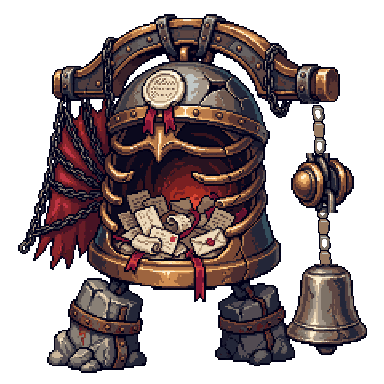
From Leafre, take the Postal Worker's post-boat to Bellwether: The Address Market. Find Nell Wren and follow her entry route to the bell chamber.
| Difficulty | Level | Encounter HP | Time |
|---|---|---|---|
| Normal | 200+ | 18 billion | 20 minutes |
| Hard | 225+ | 90 billion | 20 minutes |
Both difficulties allow 1-6 players and share their activity allowance. HP is fixed for the difficulty, so solo admission does not make it a smaller boss. Hard also raises the encounter's hazard damage by 25%.
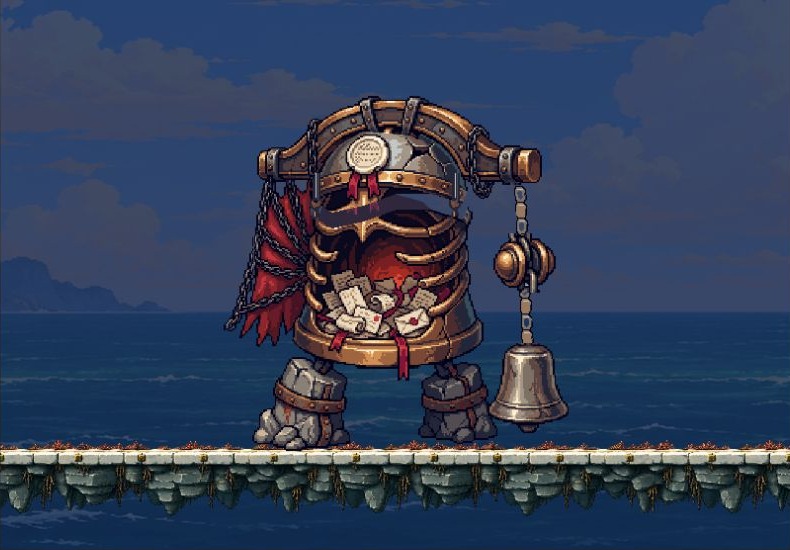
Learn the arena before chasing damage. Follow the attack warnings and move into the actual marked safe areas. For return-seal mechanics, standing in the same lane is not enough: you must be inside the small seal's boundary. Plan movement so you can keep dealing damage without dying to the next hazard.
To receive the personal clear rewards, contribute at least 15% of encounter HP and be alive at the clear.
| Eligible clear | Guaranteed Tollheart Shards | Personal equipment chance |
|---|---|---|
| Normal | 1 | 20% |
| Hard | 3 | 20% |
The equipment chance is personal and is not increased by normal drop bonuses. The shards make progress predictable even when the equipment roll misses.
 Tollheart Shard
Exchange with Sera Flint in The Address Market: 20 shards for compatible Eternal armor or 30 for a compatible Genesis weapon. The selected item's own required level still applies.
You can fight without completing Bellwether's story. The optional story An Address for the Last Ring has separate prerequisites and acceptance steps if you want its quest reward; finish A Coat for the Crossing and speak with Nell before your intended story clear.
Worth it when: your group can clear reliably and you want the long-term Toll equipment. If Hard is inconsistent, a qualified Normal clear is still steady shard progress.