
 That Guy
02 · TRAINING FROM 10 TO 100
A reliable starting route, with alternatives for your class and budget.
Open a map or boss image to inspect the full-size artwork.
Keep 2x EXP active for every hunting stretch below. It is the baseline for this route, not an occasional luxury. A daily vote covers eight hours of 2x EXP for 2.5 VP, with VP left over.
The quest levels below are real unlock checkpoints. The hunting maps are options to compare with your class and gear, not a tested universal leveling timetable. Choose a place where you hit reliably and clear groups quickly.
Unfunded: use suitable equipment drops and accept the useful quests before their kills. Funded: skip weak stops when you can already clear the next option comfortably. A fixed level band should not keep either character on a slow map.
Give a map a fair test. Stay active long enough for its population to build, then compare a few minutes of EXP and potion use. Constantly changing maps can make a good spot look worse than it is.
Set up the whole training session
2x EXP, a party, fast travel and clean loot handling are part of the route. Do this before choosing a map, so you spend the session killing instead of travelling, looting by hand and emptying your inventory.
| Preparation | What to do |
|---|---|
| 2x EXP | Use @vote, then @vps. Keep it active throughout hunting. Eight hours costs 2.5 VP. |
| Pet Vac | Rent it, summon a pet, and use the Pet Vac token in your Use inventory to make sure it is ON. It collects your eligible drops across a permitted hunting map. |
| Hyper Teleport Rock | Rent it and save the hunting maps and quest stops you revisit. It has 13 saved-map slots; double-clicking a valid destination on the World Map is also useful. |
| Item Ignore | Equip Item Ignore Pendant on your summoned pet and list the items you want to leave behind. |
| Auto Sell | With that pendant equipped, make a separate list of unwanted items you want sold for mesos instead of ignored. |
| Active party | Invite players at a suitable level and share the map. On large maps, cover different platforms so the whole party keeps killing. |
A daily vote gives 4 VP, enough for four hours of 2x EXP, Pet Vac and Hyper Teleport Rock together: 1.5 + 1.5 + 1 VP. Rentals keep counting while you are offline. Pet Vac still needs a summoned pet and does not bypass drop ownership or restricted maps.
Configure Item Ignore and Auto Sell
Item Ignore Pendant costs 3,000 NX for 90 days. Equip it on the pet you summon; owning it in your Cash inventory is not enough.
- Open Character Info > PET INFO > IGNORED ITEMS.
- In Item Ignore, use ADD or drag items into the list. Use MESOS only if you also want to leave mesos behind.
- Click AUTO SELL to switch to the separate selling list. Add only unwanted items, then switch OFF to ON.
- Each list holds 50 item IDs per character, shared across that character's pets. Review both lists before a long session.
Ignore means leave it on the ground. Auto Sell means collect and sell eligible items for mesos. Do not ignore something you meant to turn into income. Pet Vac and nearby Auto Pickup respect the equipped pet's ignore list.
Listed clean equipment picked up by the pet or Pet Vac can sell immediately without filling your Equip tab. Other listed items are sold as full stacks. Carried equipment is also checked when the Equip tab is full. Selling pauses while a shop, storage, trade or NPC dialog is open. Protected, bound and upgraded equipment is excluded, but still keep valuable items and materials out of the list.
Strongly recommended: train with a party
Active party training is strongly recommended, especially on big maps. You gain the party EXP bonus and clear more of the map by covering separate sections. This becomes especially valuable on large Leafre, Temple of Time and Bellwether grounds.
| Eligible party members | Bonus on your assigned EXP share |
|---|---|
| 2 | 25% |
| 3 | 35% |
| 4 | 40% |
| 5 | 45% |
| 6 | 50% |
Stay alive on the same map, choose suitable-level teammates and keep participating. EXP is shared; this is not a promise that every member receives the full solo reward for every kill. Coordinate useful party buffs as well. @ab maintains your own selected buffs; those automatic casts do not buff the whole party.
Separate your EXP spot from your gear farm
For ordinary monsters below level 115, being more than 10 levels apart blocks normal drops and mesos. The EXP can still make the map worthwhile. Level-115+ monsters keep their ordinary drops when you outlevel them; being too far below them still matters. Monster cards and active-quest drops have their own rules.
Example: at level 81, Twisted Jester 70 is outside the normal drop range. If it is still excellent EXP for your character, go hunt eligible monsters near your level for class gear and mesos, then return to the Jesters for EXP. You do not have to abandon a good training spot just because it is no longer your money spot.
Do the quest stops before settling into a grind
Short quests and the custom story checkpoints can remove a lot of grinding. Take their rewards when the chapter opens, then hunt to reach the next stop. Use suitable equipment drops as you go and save most early QP.
| Level | Quest stop | Why stop here? |
|---|---|---|
| 10 | The Pale Clown, Lune in Henesys; starts The Far Side | 12,000 EXP at the current world rate |
| 30 | Masks in the Dirt, Lune; continue The Far Side | 100,000 EXP; earlier chapter required |
| 30+ | Mushroom Castle story, Head Security Officer in Mushroom Forest Field | Combine the local quests with their required monster kills instead of only grinding Spores |
| 35+ | Blake's Dream, Jake in Kerning City Subway: Subway Ticketing Booth | Follow the Kerning Square chain while hunting its mall monsters |
| 60 | Star-Glass, Lune; and The Empty Chairs, the Usher in Henesys | 1,000,000 EXP from Star-Glass; 25% of a level-60 bar from The Empty Chairs |
| 70 | Sorrow Sings, The Songbird in Orbis; continue The Four Faces | 27% of a level-70 bar |
| 75 | No Gong's Teaching 1, 2 and 3, No Gong in Mu Lung Temple | 448,800 turn-in EXP in total, plus the EXP from 70 Straw Target Dummy kills |
| 80 | Urban Jungle, Jack Masque in New Leaf City | 186,956 turn-in EXP for 100 Wolf Spiders |
| 85 | Greed Deals, The Card Sharp in Kerning City; continue The Four Faces | 28% of a level-85 bar |
| 90 | Rehearsal, Lune; continue The Far Side | 4,800,000 EXP; a major one-time checkpoint |
The custom chapters must be completed in order. For their full instructions, use the existing Questline Guides: Start Here thread. This chapter highlights the training value without repeating those walkthroughs.
Quest rewards and 2x hunting are separate. The EXP amounts above already include the current world rate where applicable. Fixed chapter percentages use that chapter's level bar. The 2x rental boosts your kills, not these turn-in amounts. These rewards are not an unlimited repeatable loop.
Include field bosses when they fit your route. They offer useful EXP, and eligible level 80+ area bosses can drop Equip Enhancement and Advanced Equip Enhancement Scrolls. A quick clear can be worth the detour; do not wait around for a missing boss. See field-boss locations and rewards.
10-30 · Victoria Island
| Map | Monsters present |
|---|---|
| Burnt Land: Wild Boar Land | Wild Boar 19, Terrified Wild Boar 20 |
| Golem's Temple: Golem's Temple 1 | Stone Golem 20, Dark Stone Golem 23 |
| Golem's Temple: Golem's Temple 4 | Mixed Golem 26 |
Start with the level-10 quest reward, then choose by clear speed. Wild Boar Land and the Golem maps are early options; they are not mandatory stops at fixed character levels. If you need a softer target first, Ellinia: Close to the Birds has Slimes 7 and Bubblings 10. Move on as soon as a stronger option clears comfortably instead of staying there until an arbitrary level.
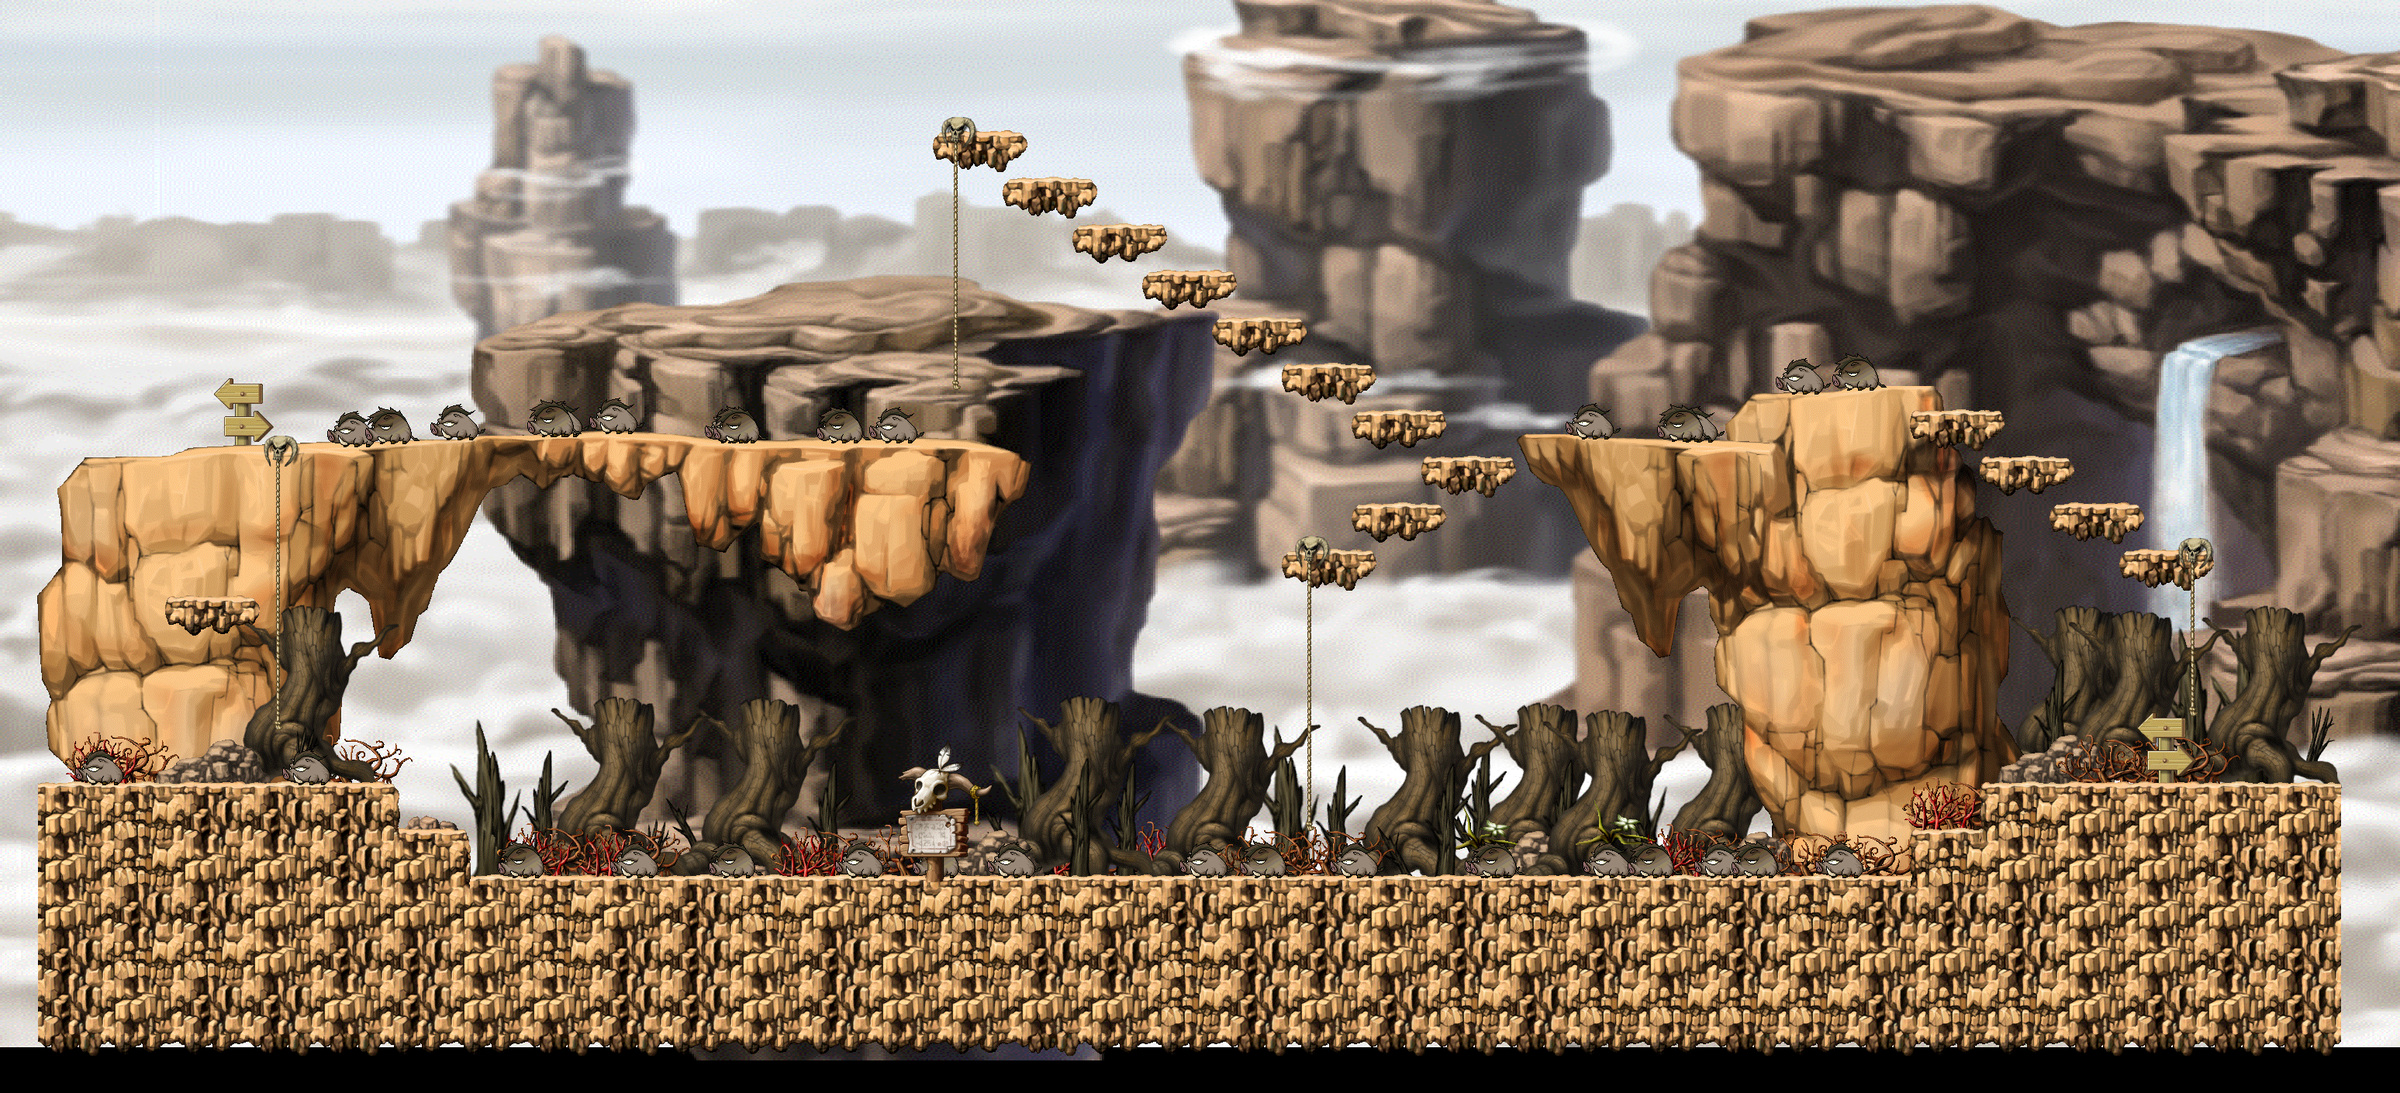
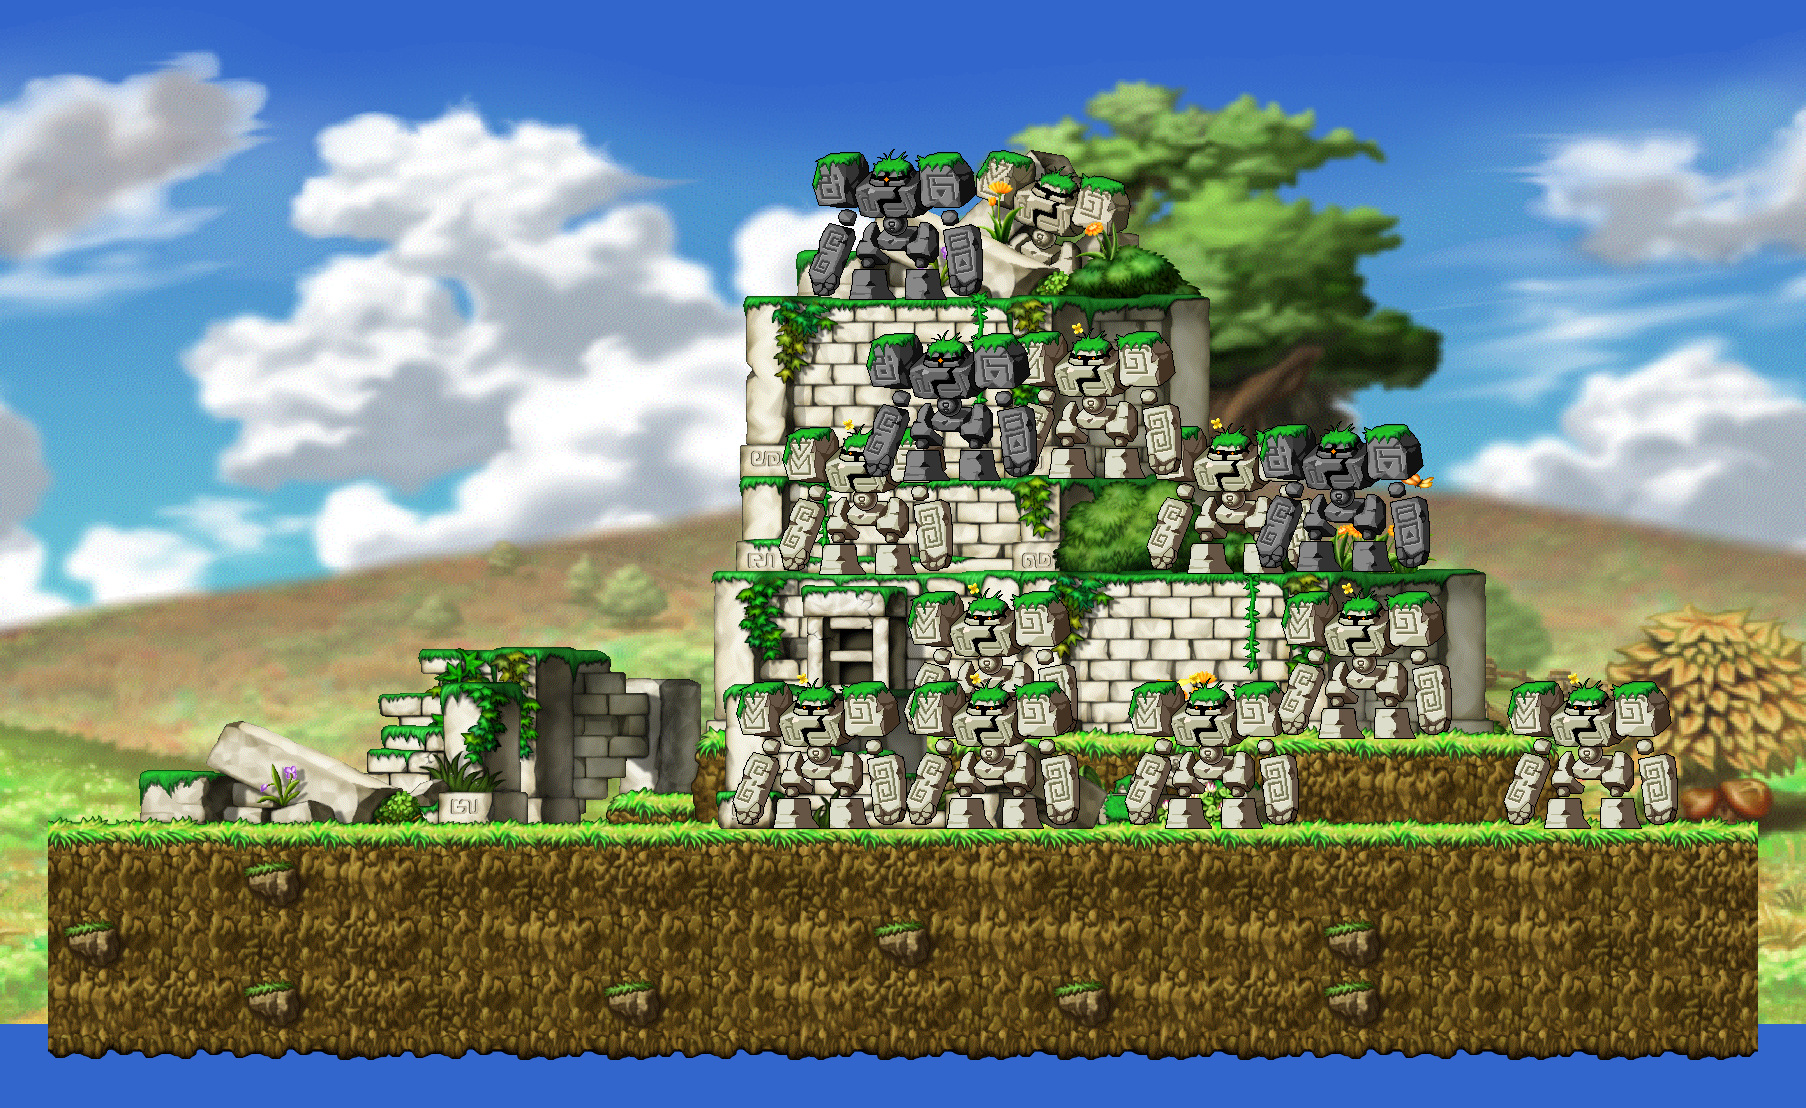
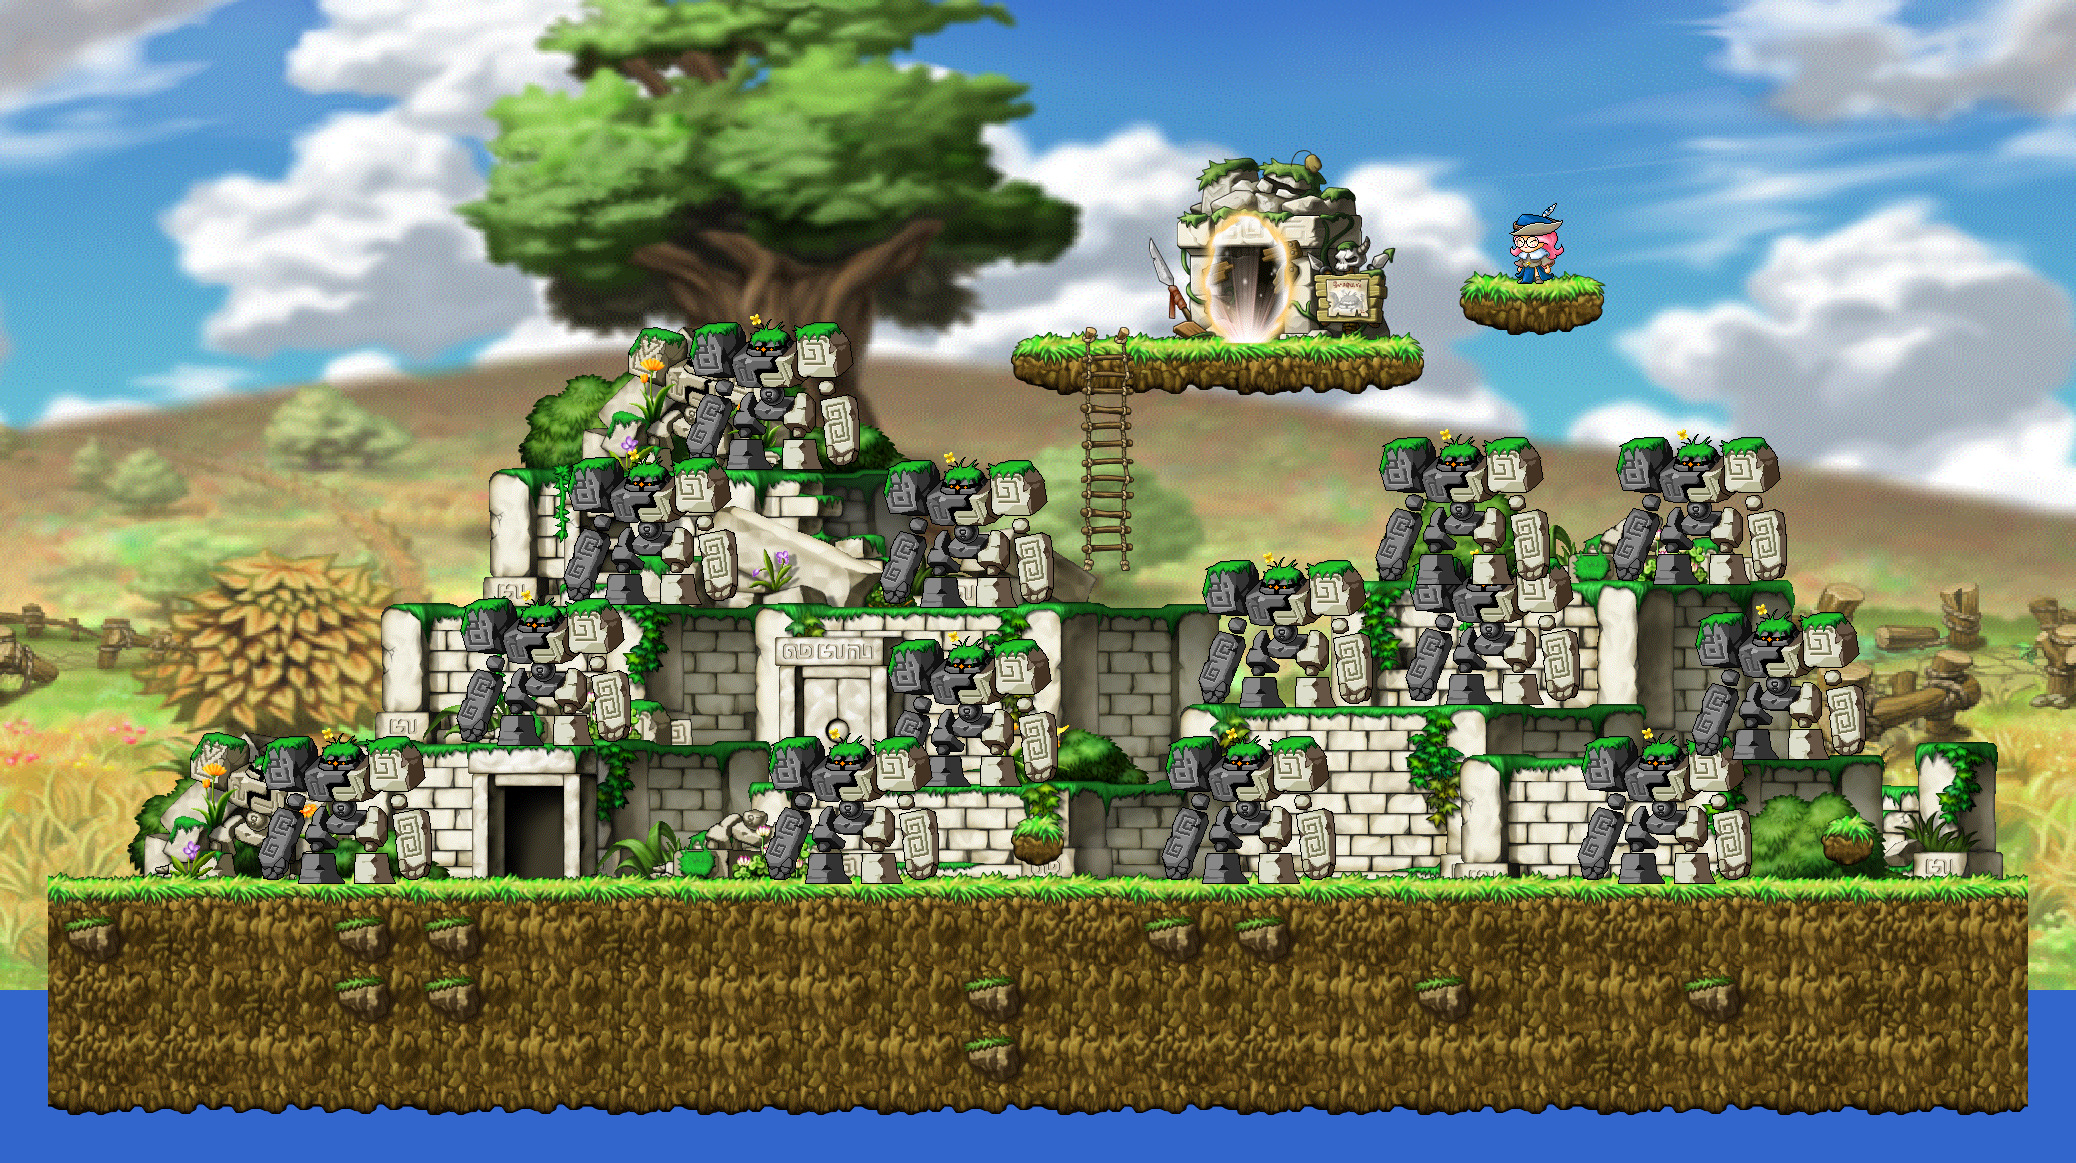
First stop: begin The Far Side with Lune in Henesys and collect its level-10 reward before grinding through this entire bracket. Then use the hunting map that fits your new level. Collect new monster cards while you are there.
Funded note: comfortable group kills matter more than wearing a perfect early set. You can use ordinary drops until a meaningful weapon upgrade.
30-50 · Castle, clouds and second-job skills
| Map | Monsters present |
|---|---|
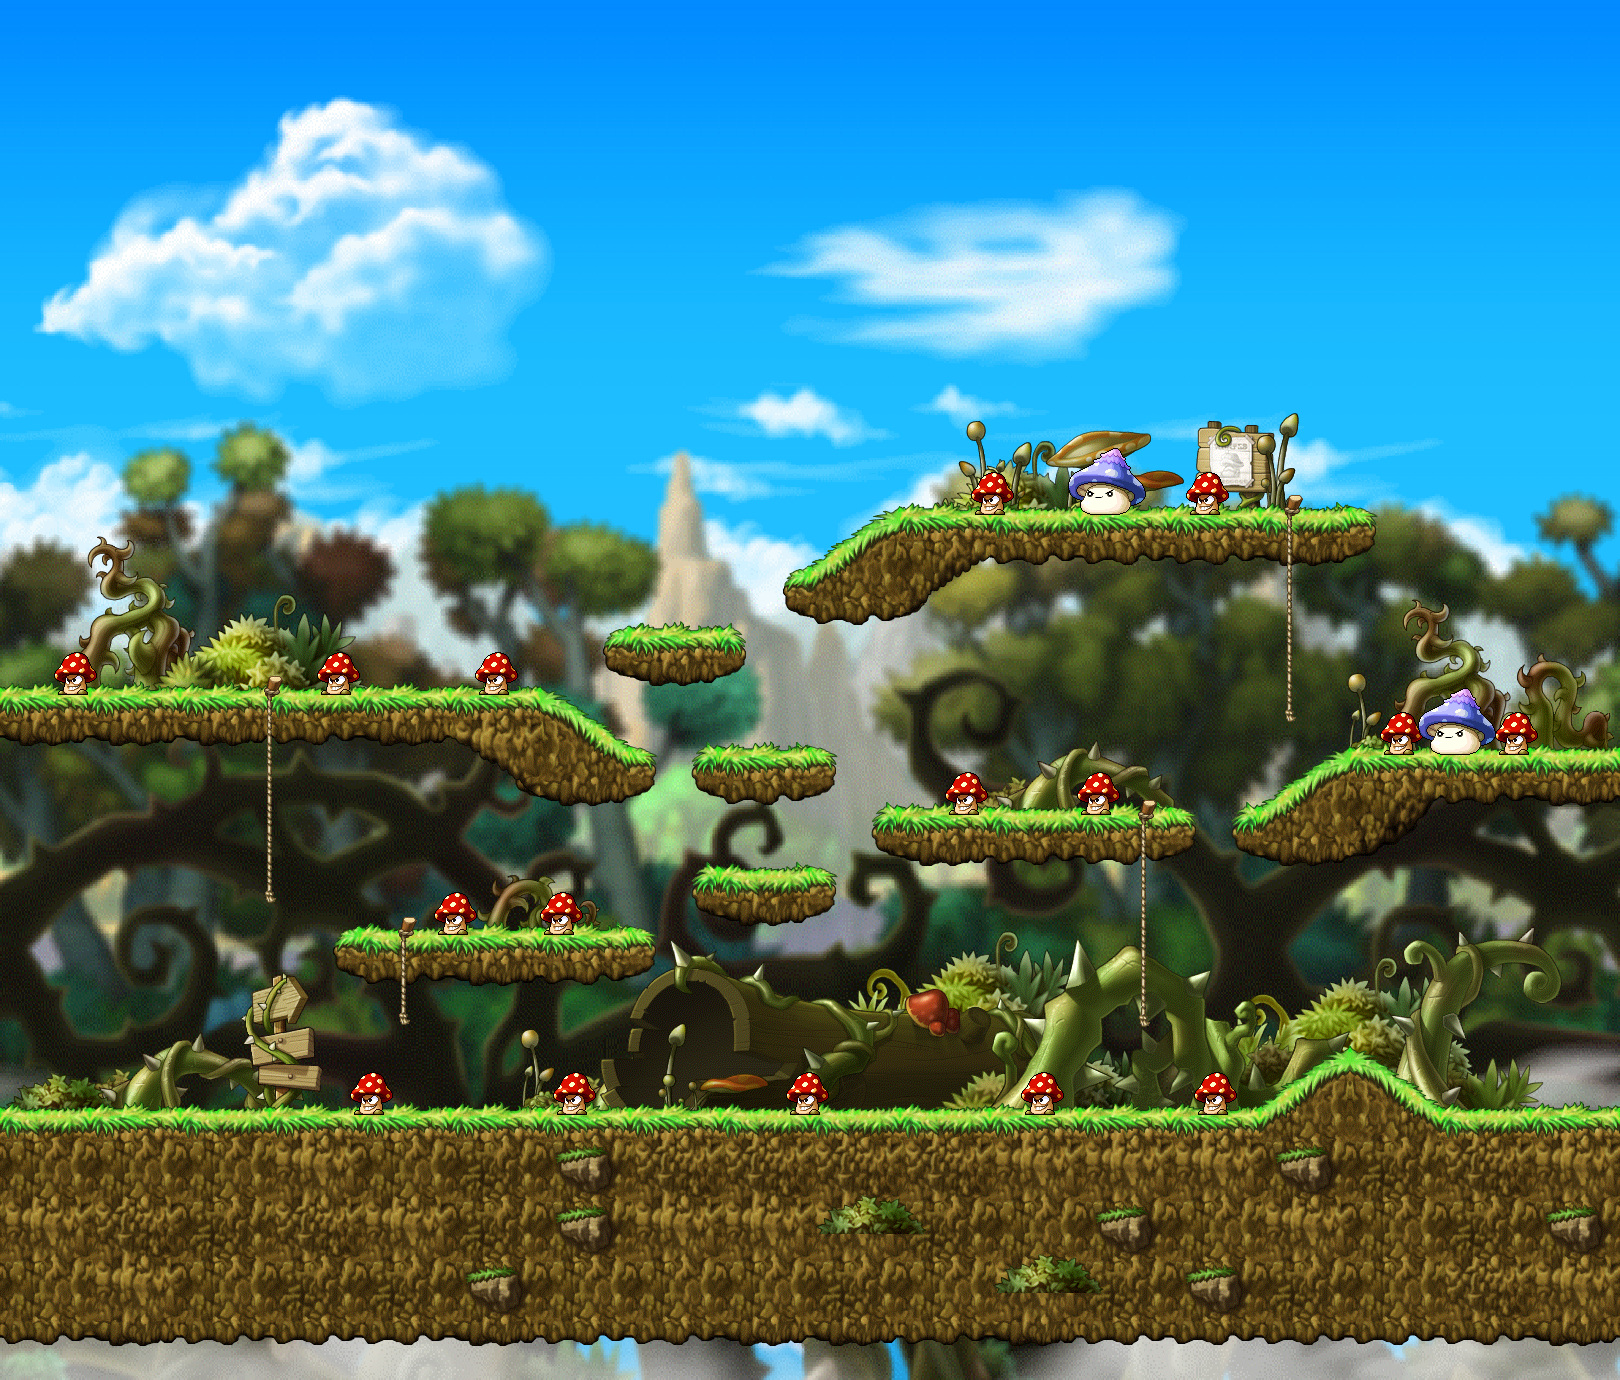
| Mushroom Castle: Secluded Mushroom Forest | Renegade Spores 30, Poison Mushroom 31 |
| Orbis: Cloud Park I | Star Pixie 38 |
| Orbis: Stairway to the Sky I | Cellion, Grupin and Lioner 46 |
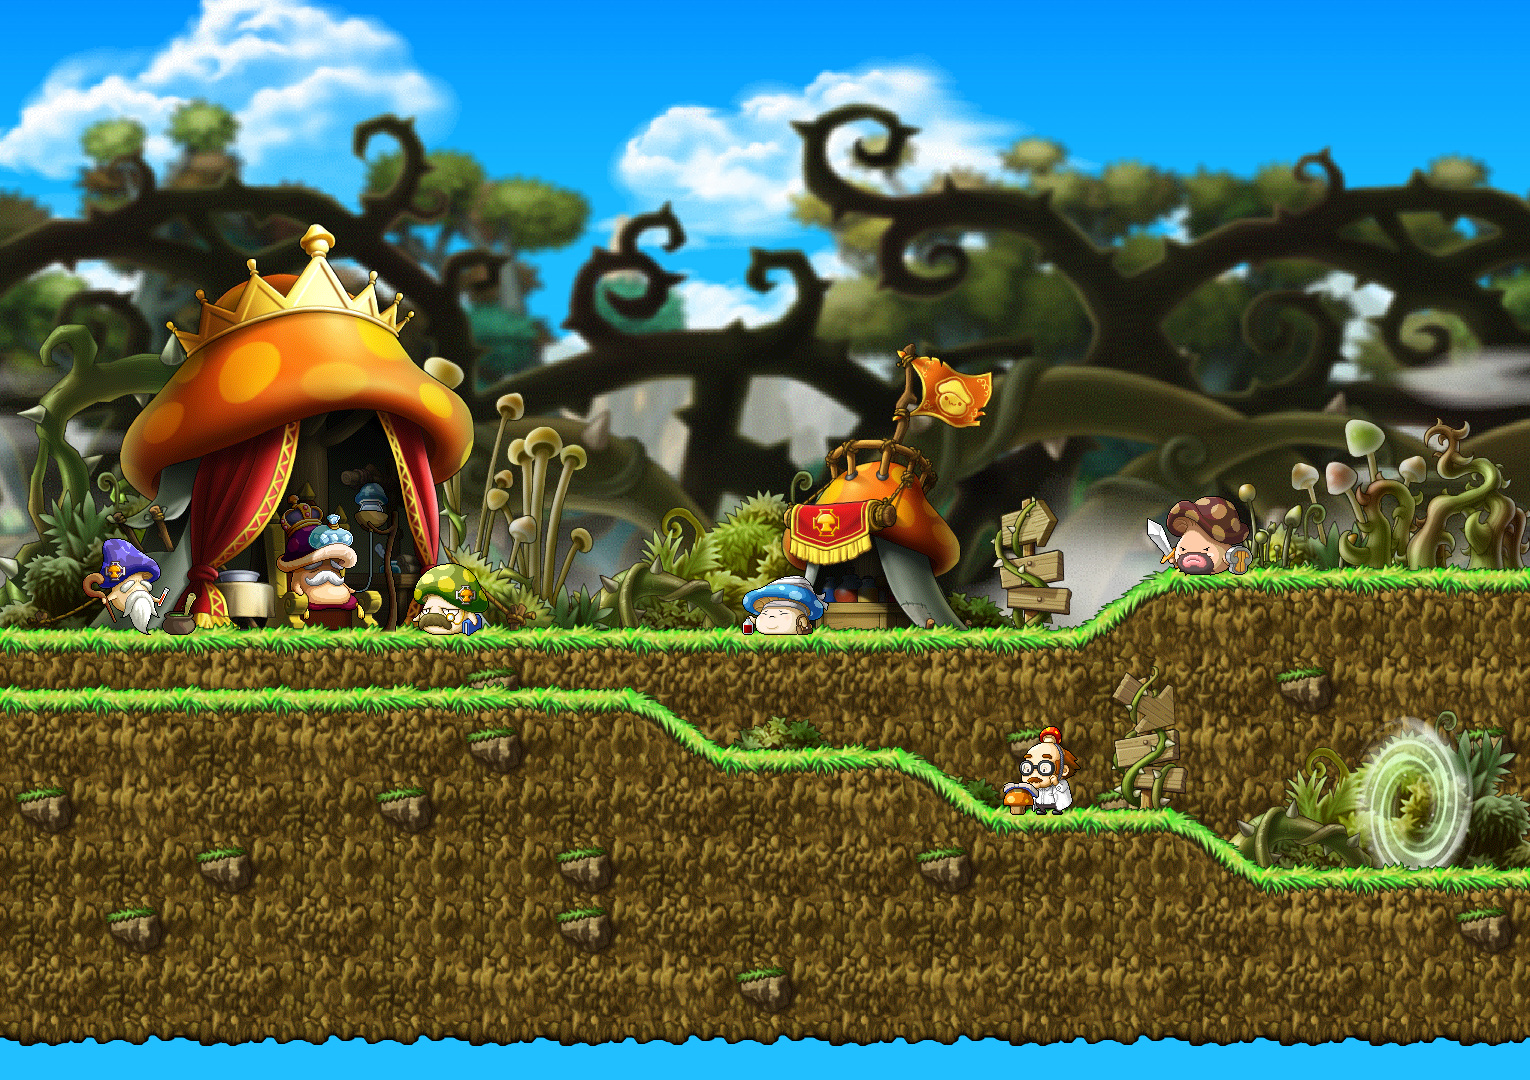
Quest route first: at 30, return to Lune for Masks in the Dirt if you have finished the first chapter. Then follow the Mushroom Castle invitation/recommendation and meet the Head Security Officer in Mushroom Castle: Mushroom Forest Field for The Test. Keep accepting the next local quest before hunting its targets. Early turn-ins include rewards of 3,200 to 10,000 EXP, alongside the kills.
At 35, Jake in Kerning City Subway: Subway Ticketing Booth starts Blake's Dream. Follow Blake and Lana through Kerning Square, accepting the mall tasks as they open. Several turn-ins give 10,200 to 10,400 EXP at the current rate. Do the collection while it counts for a quest, rather than grinding the same monsters first and returning later.
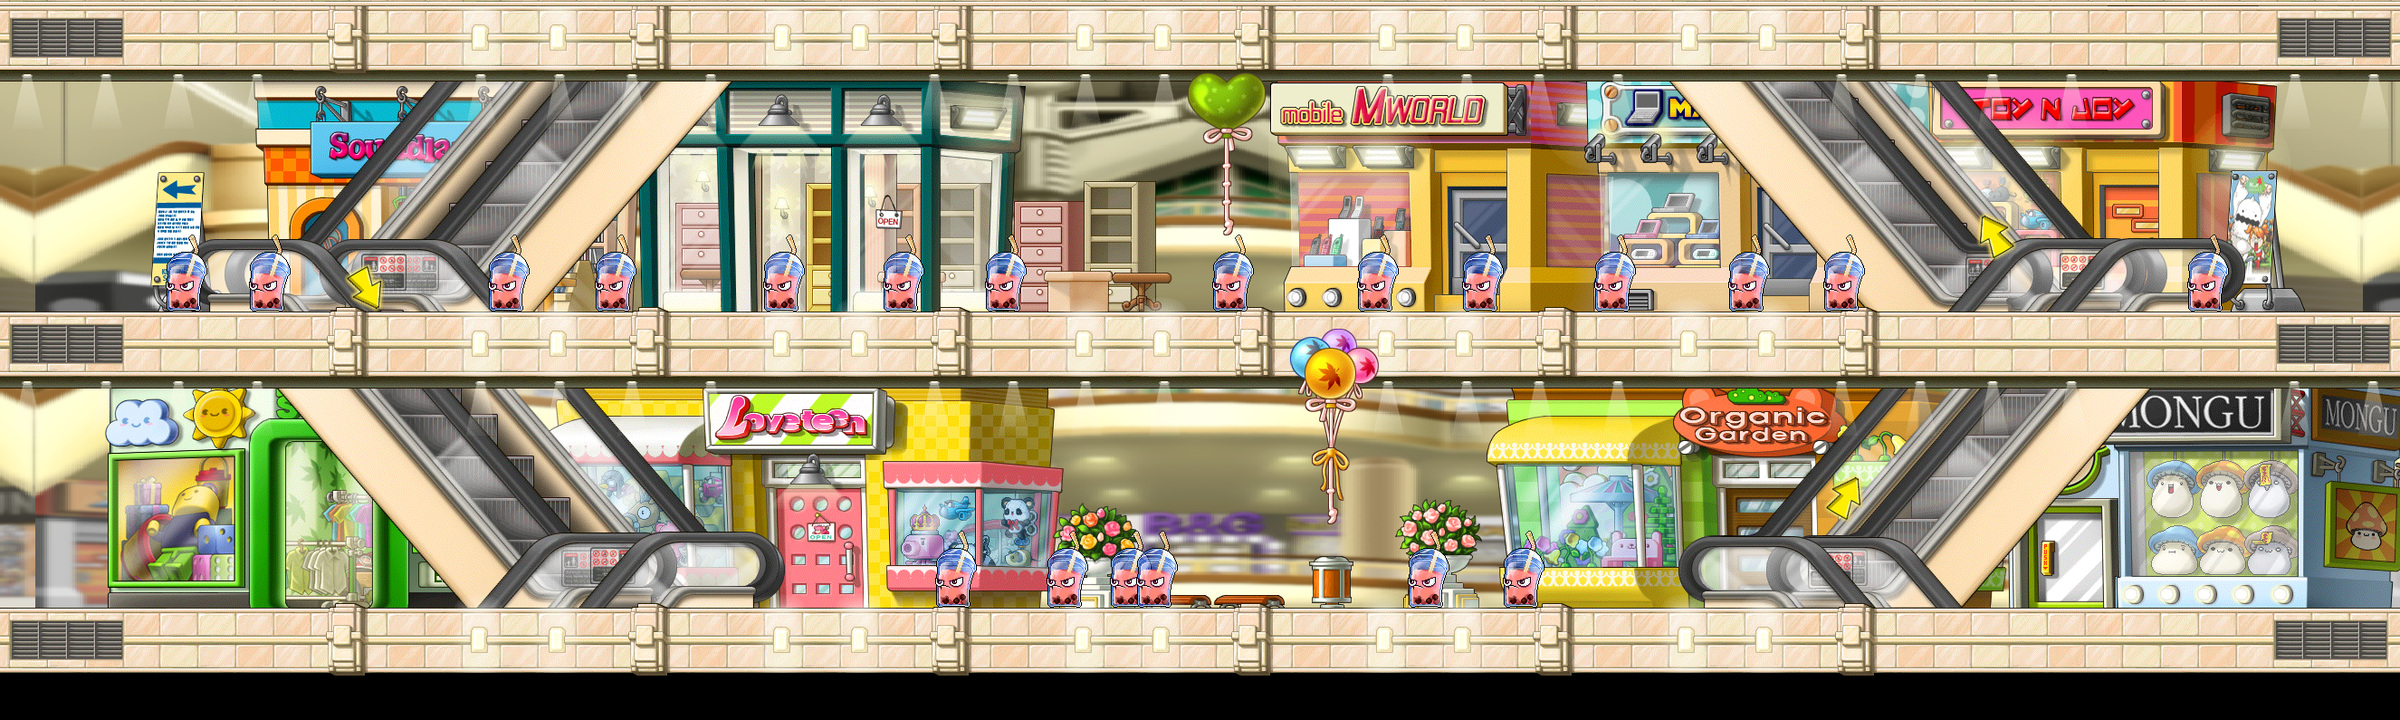
These chains are useful because the hunting and turn-ins overlap. They are not a promise that every errand is faster than every boosted map. If you need more levels between quest steps, use the Orbis alternatives below.

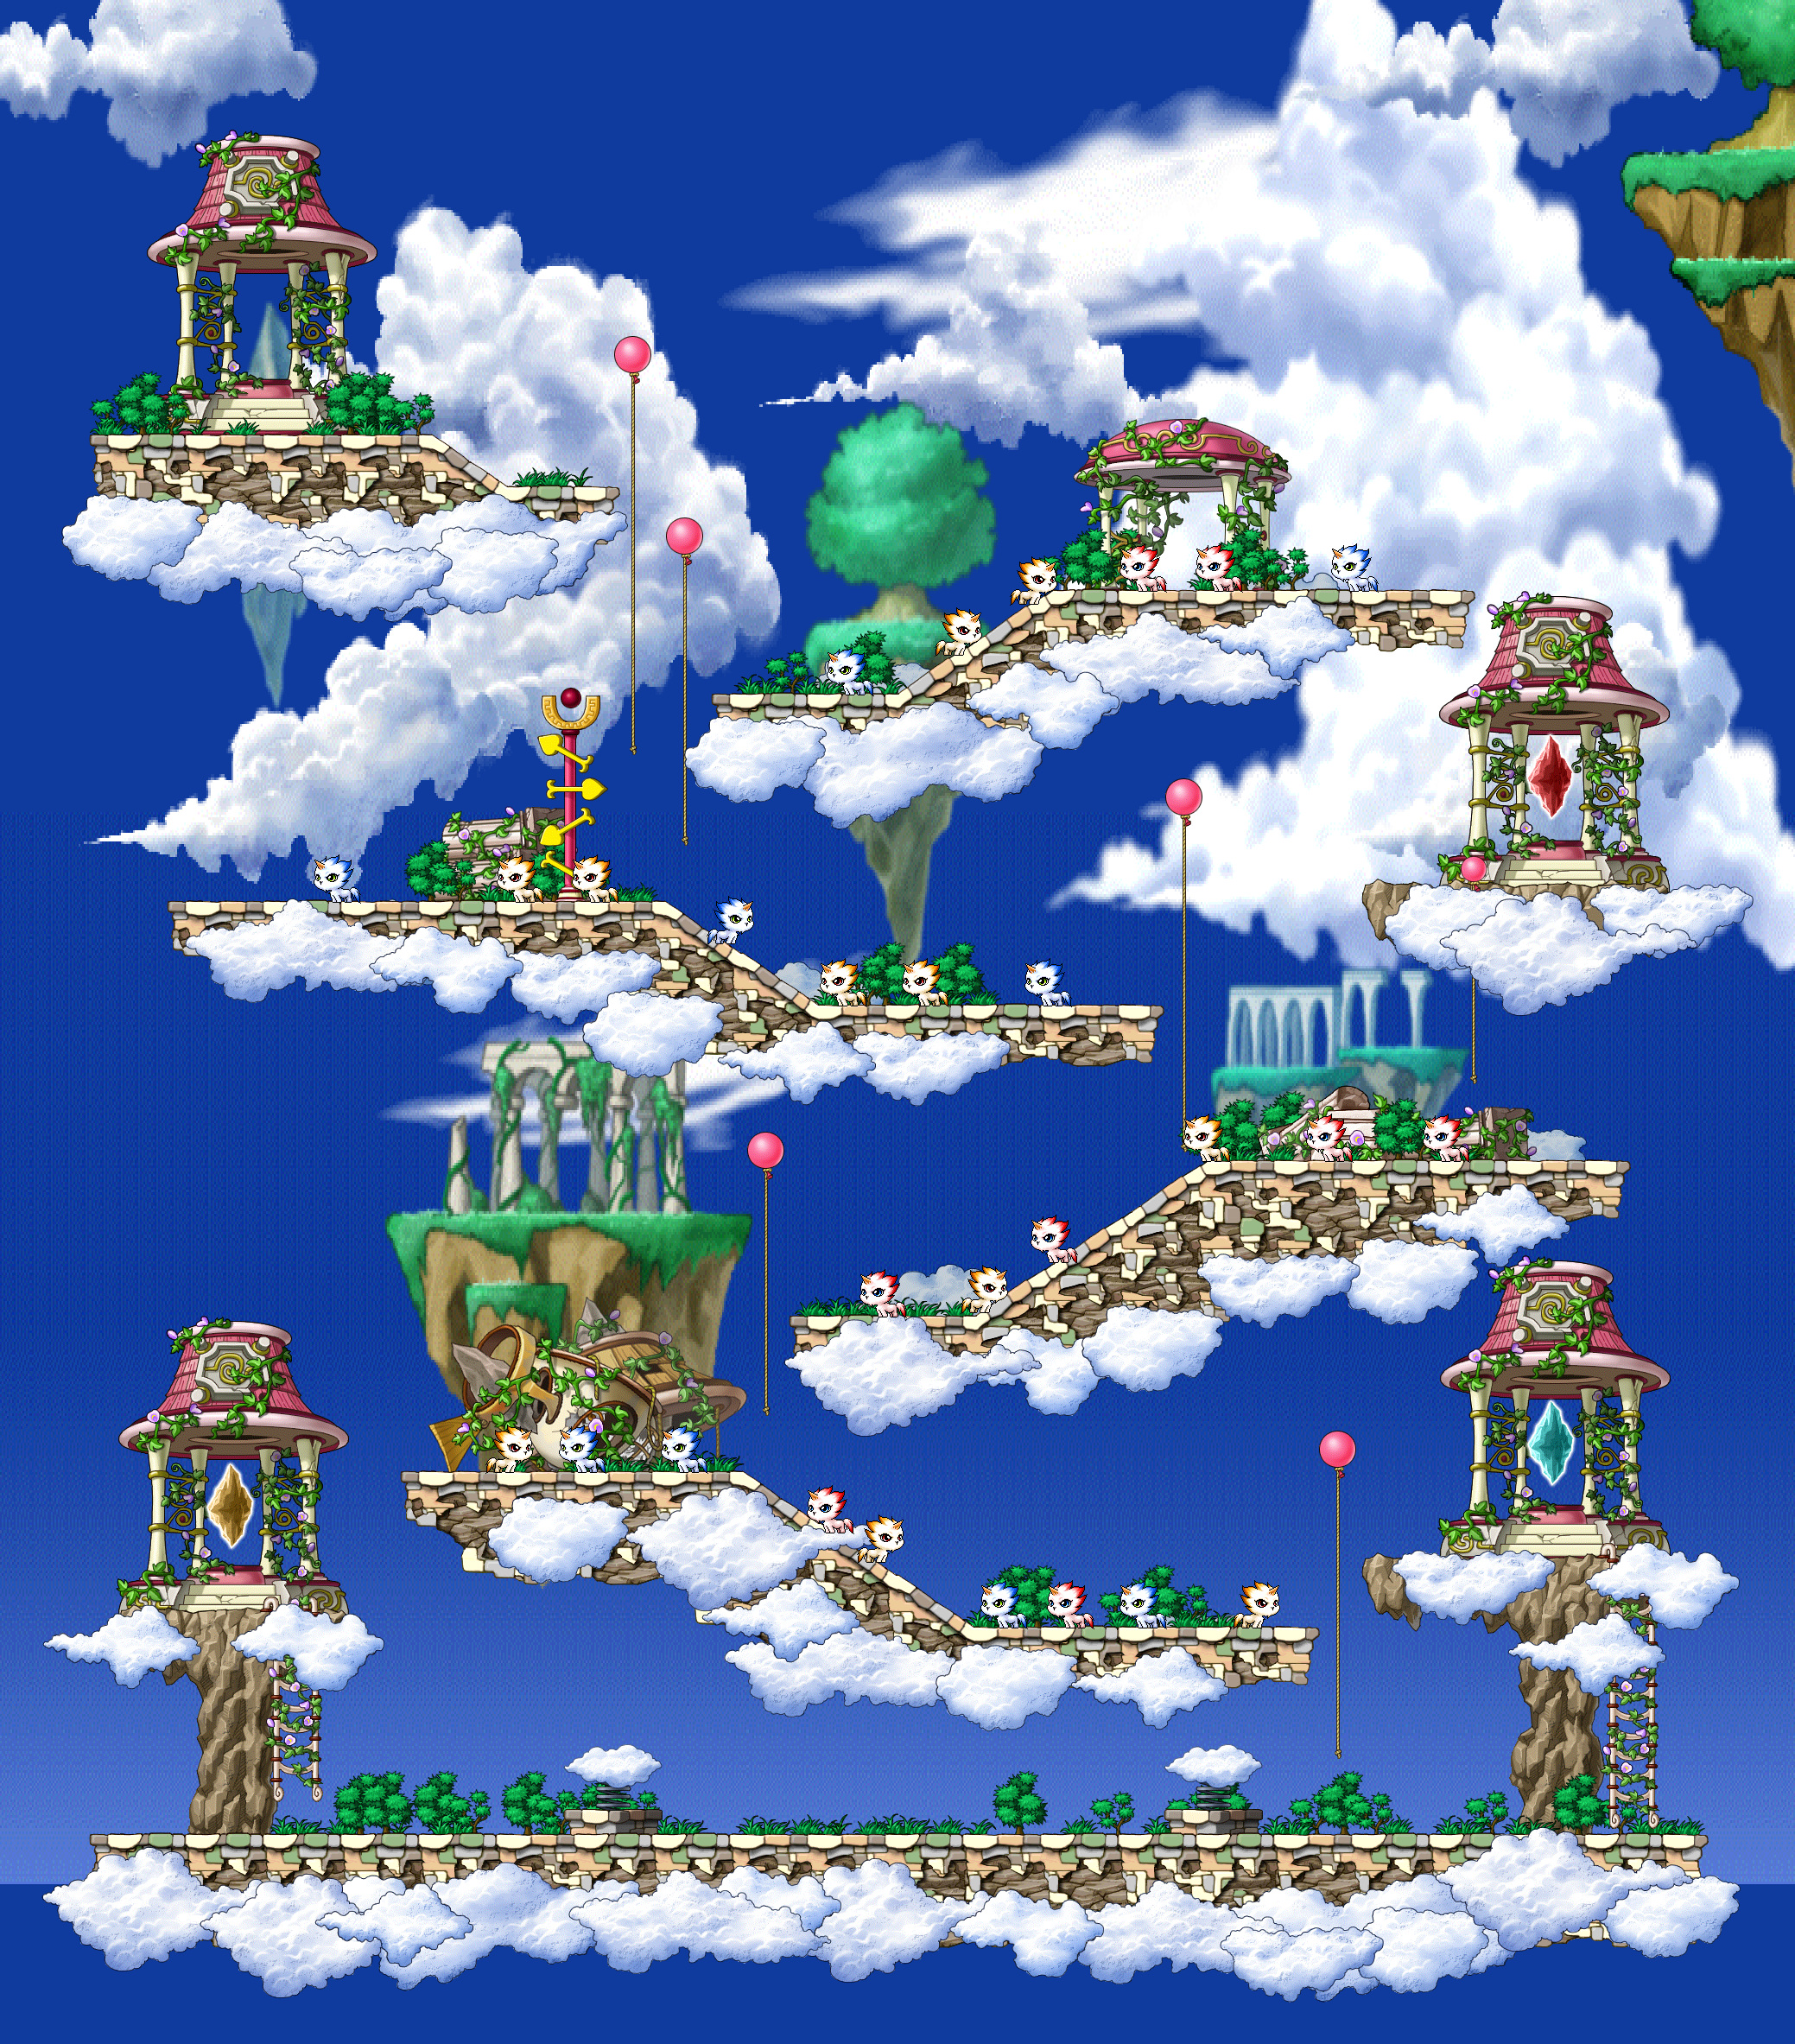
Unfunded: get your second-job attacks working, and try Henesys or Kerning PQ with a partner. QP and personal equipment rewards make this more than an EXP detour.
Funded: move to the level 46 monsters once your hit rate and group damage are comfortable. Climbing between platforms should not take longer than clearing them.
50-70 · Story rewards, Drakes and Ludibrium
At 60, return to Lune in Henesys for Star-Glass if its earlier chapters are complete: 1,000,000 EXP is a worthwhile stop before more grinding. The Empty Chairs, starting with the Usher in Henesys, also pays 25% of a level-60 bar and begins The Four Faces. Use the main quest guide index for the walkthroughs.
| Map | Monsters | Why try it |
|---|---|---|
| Swamp: Silent Swamp | Copper Drake 50 | A natural Victoria Island step |
| Drake Cave: Sunless Area | Drake 52 | Another nearby option if its layout suits you |
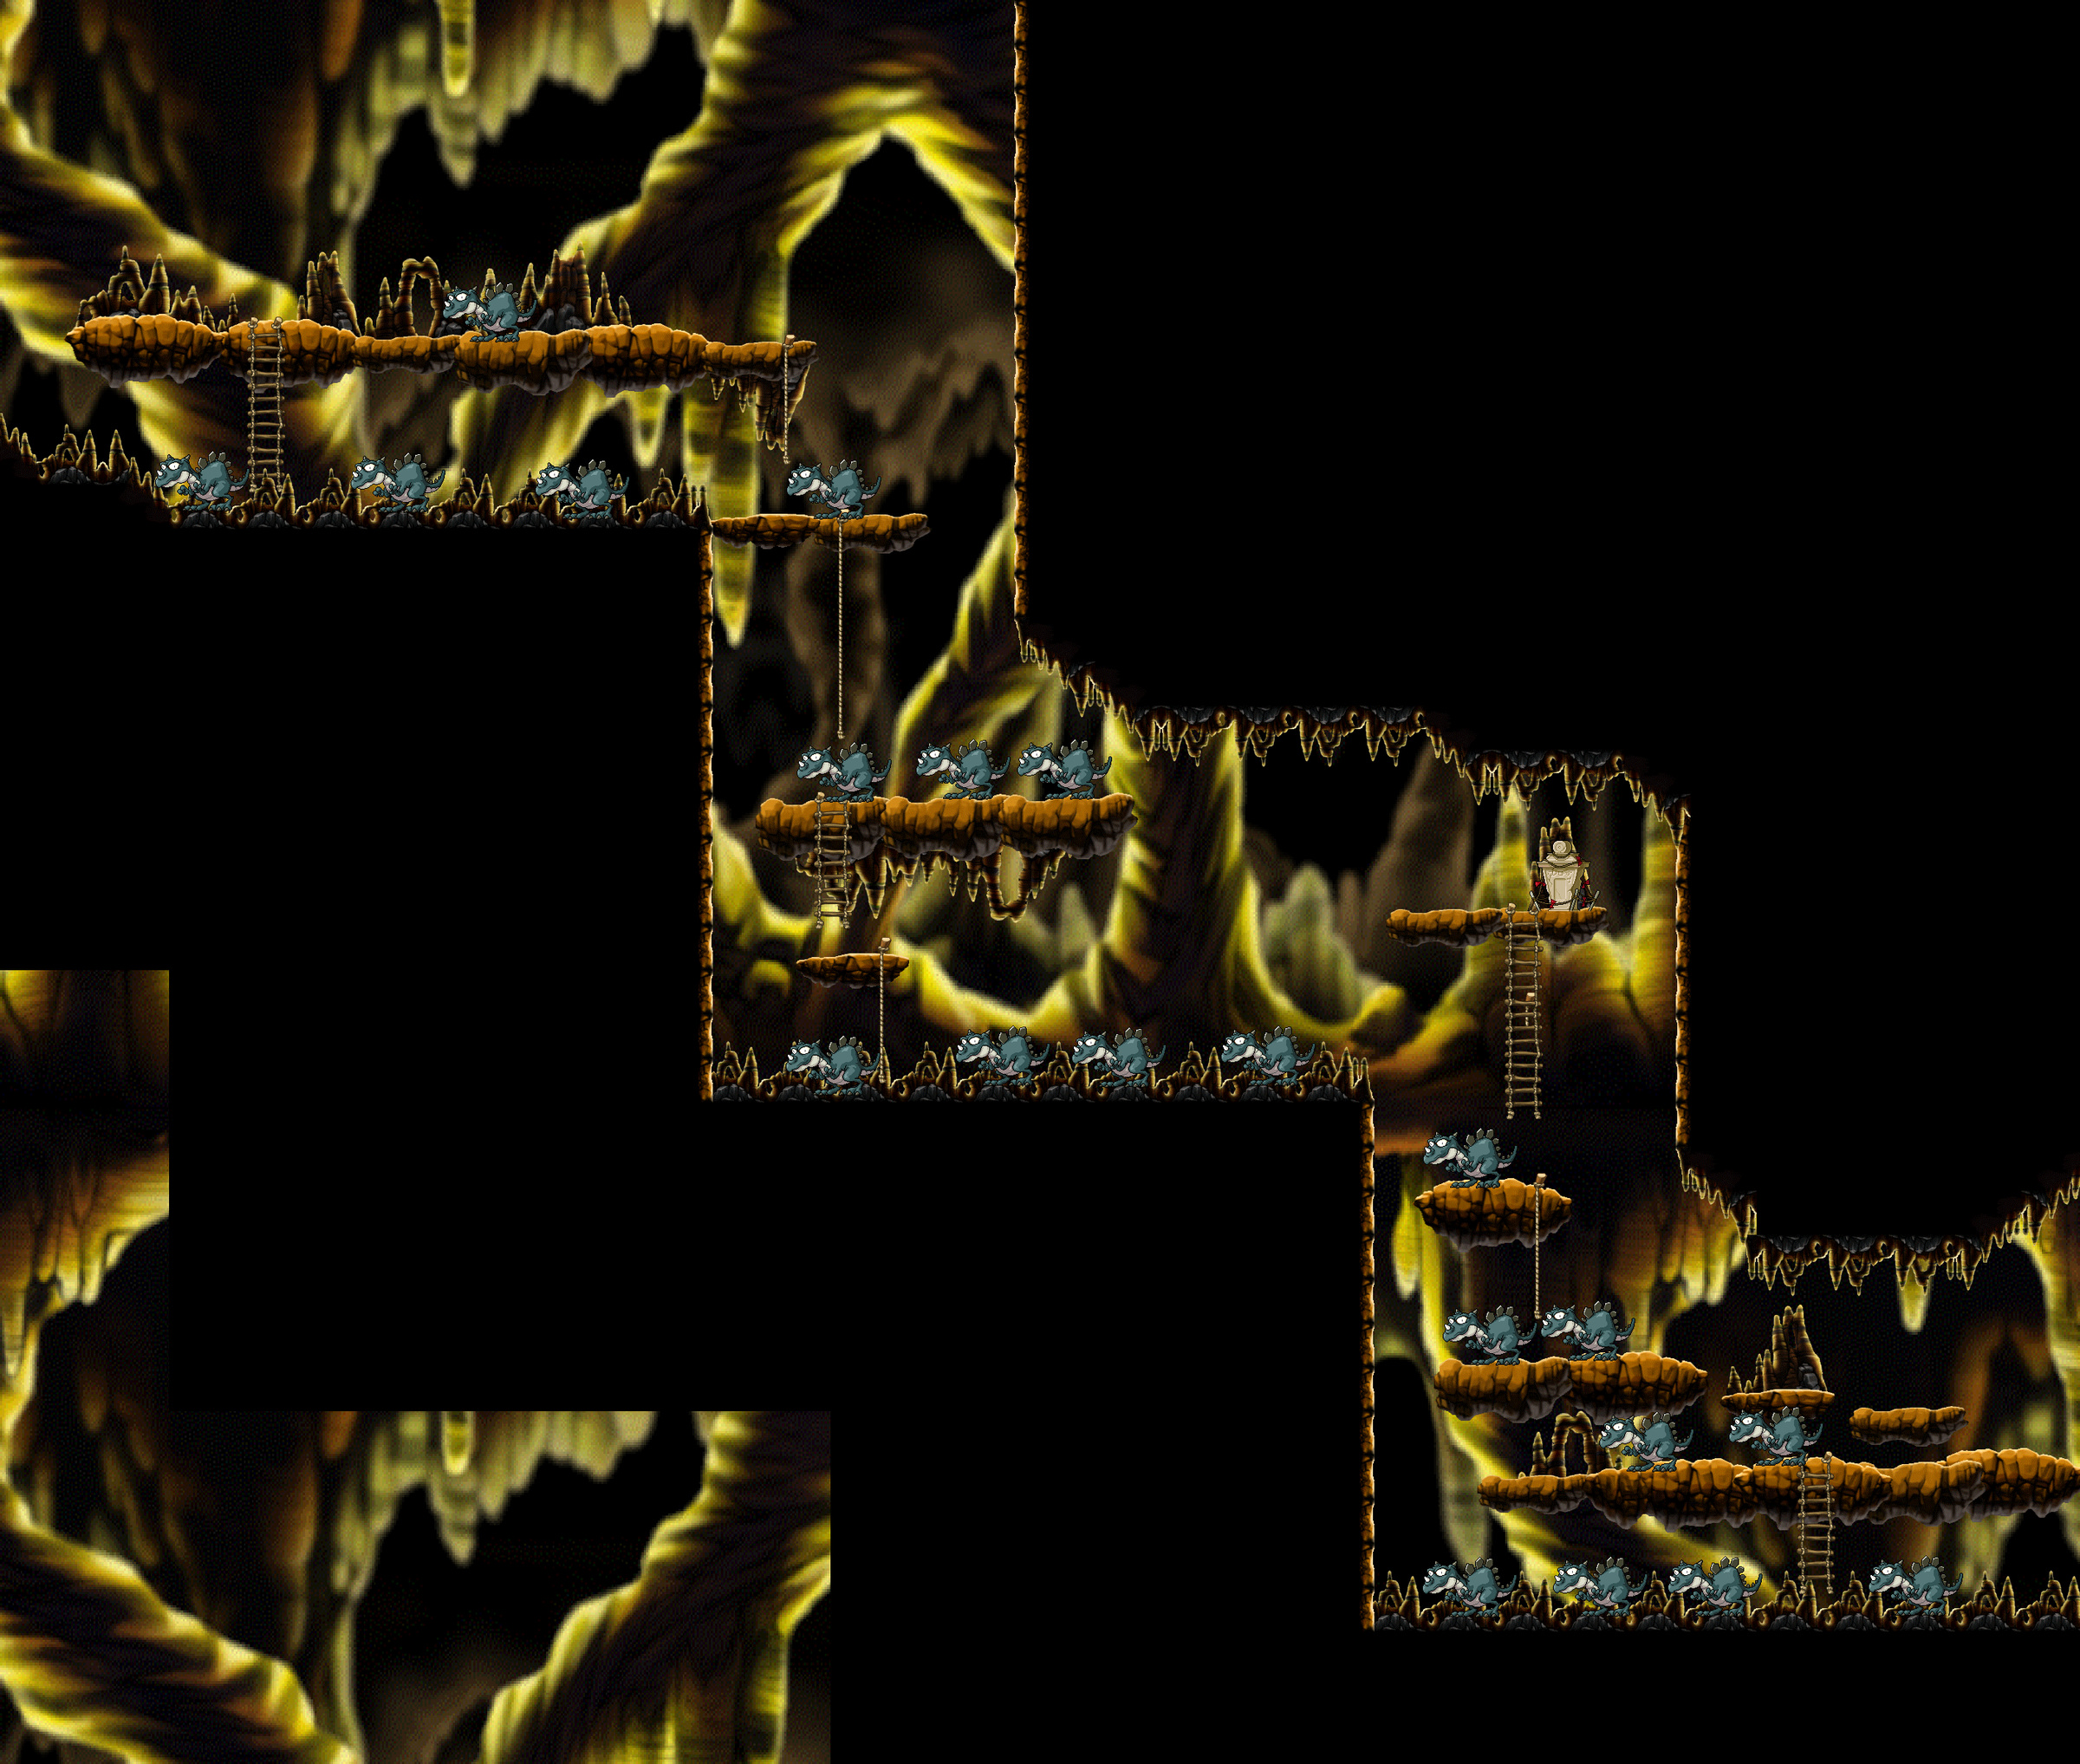
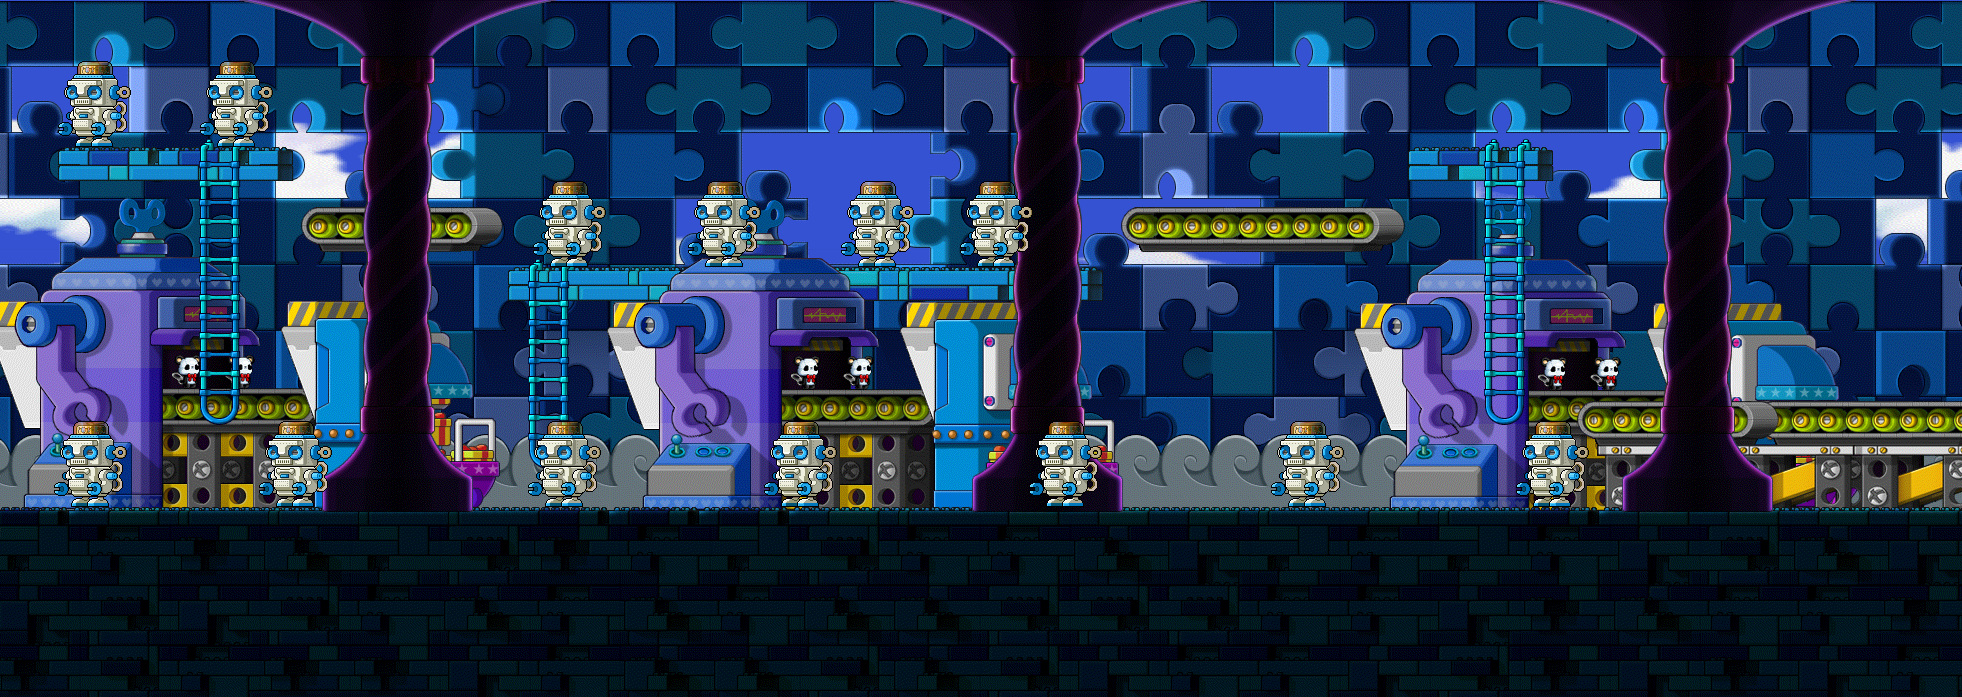
| Ludibrium: Toy Factory <Process 1> Zone 2 | Robo 61 | Move here as the Drakes become too easy |
Reach the Drake maps through Sleepywood. For Robos, travel to Ludibrium and descend into the Toy Factory.
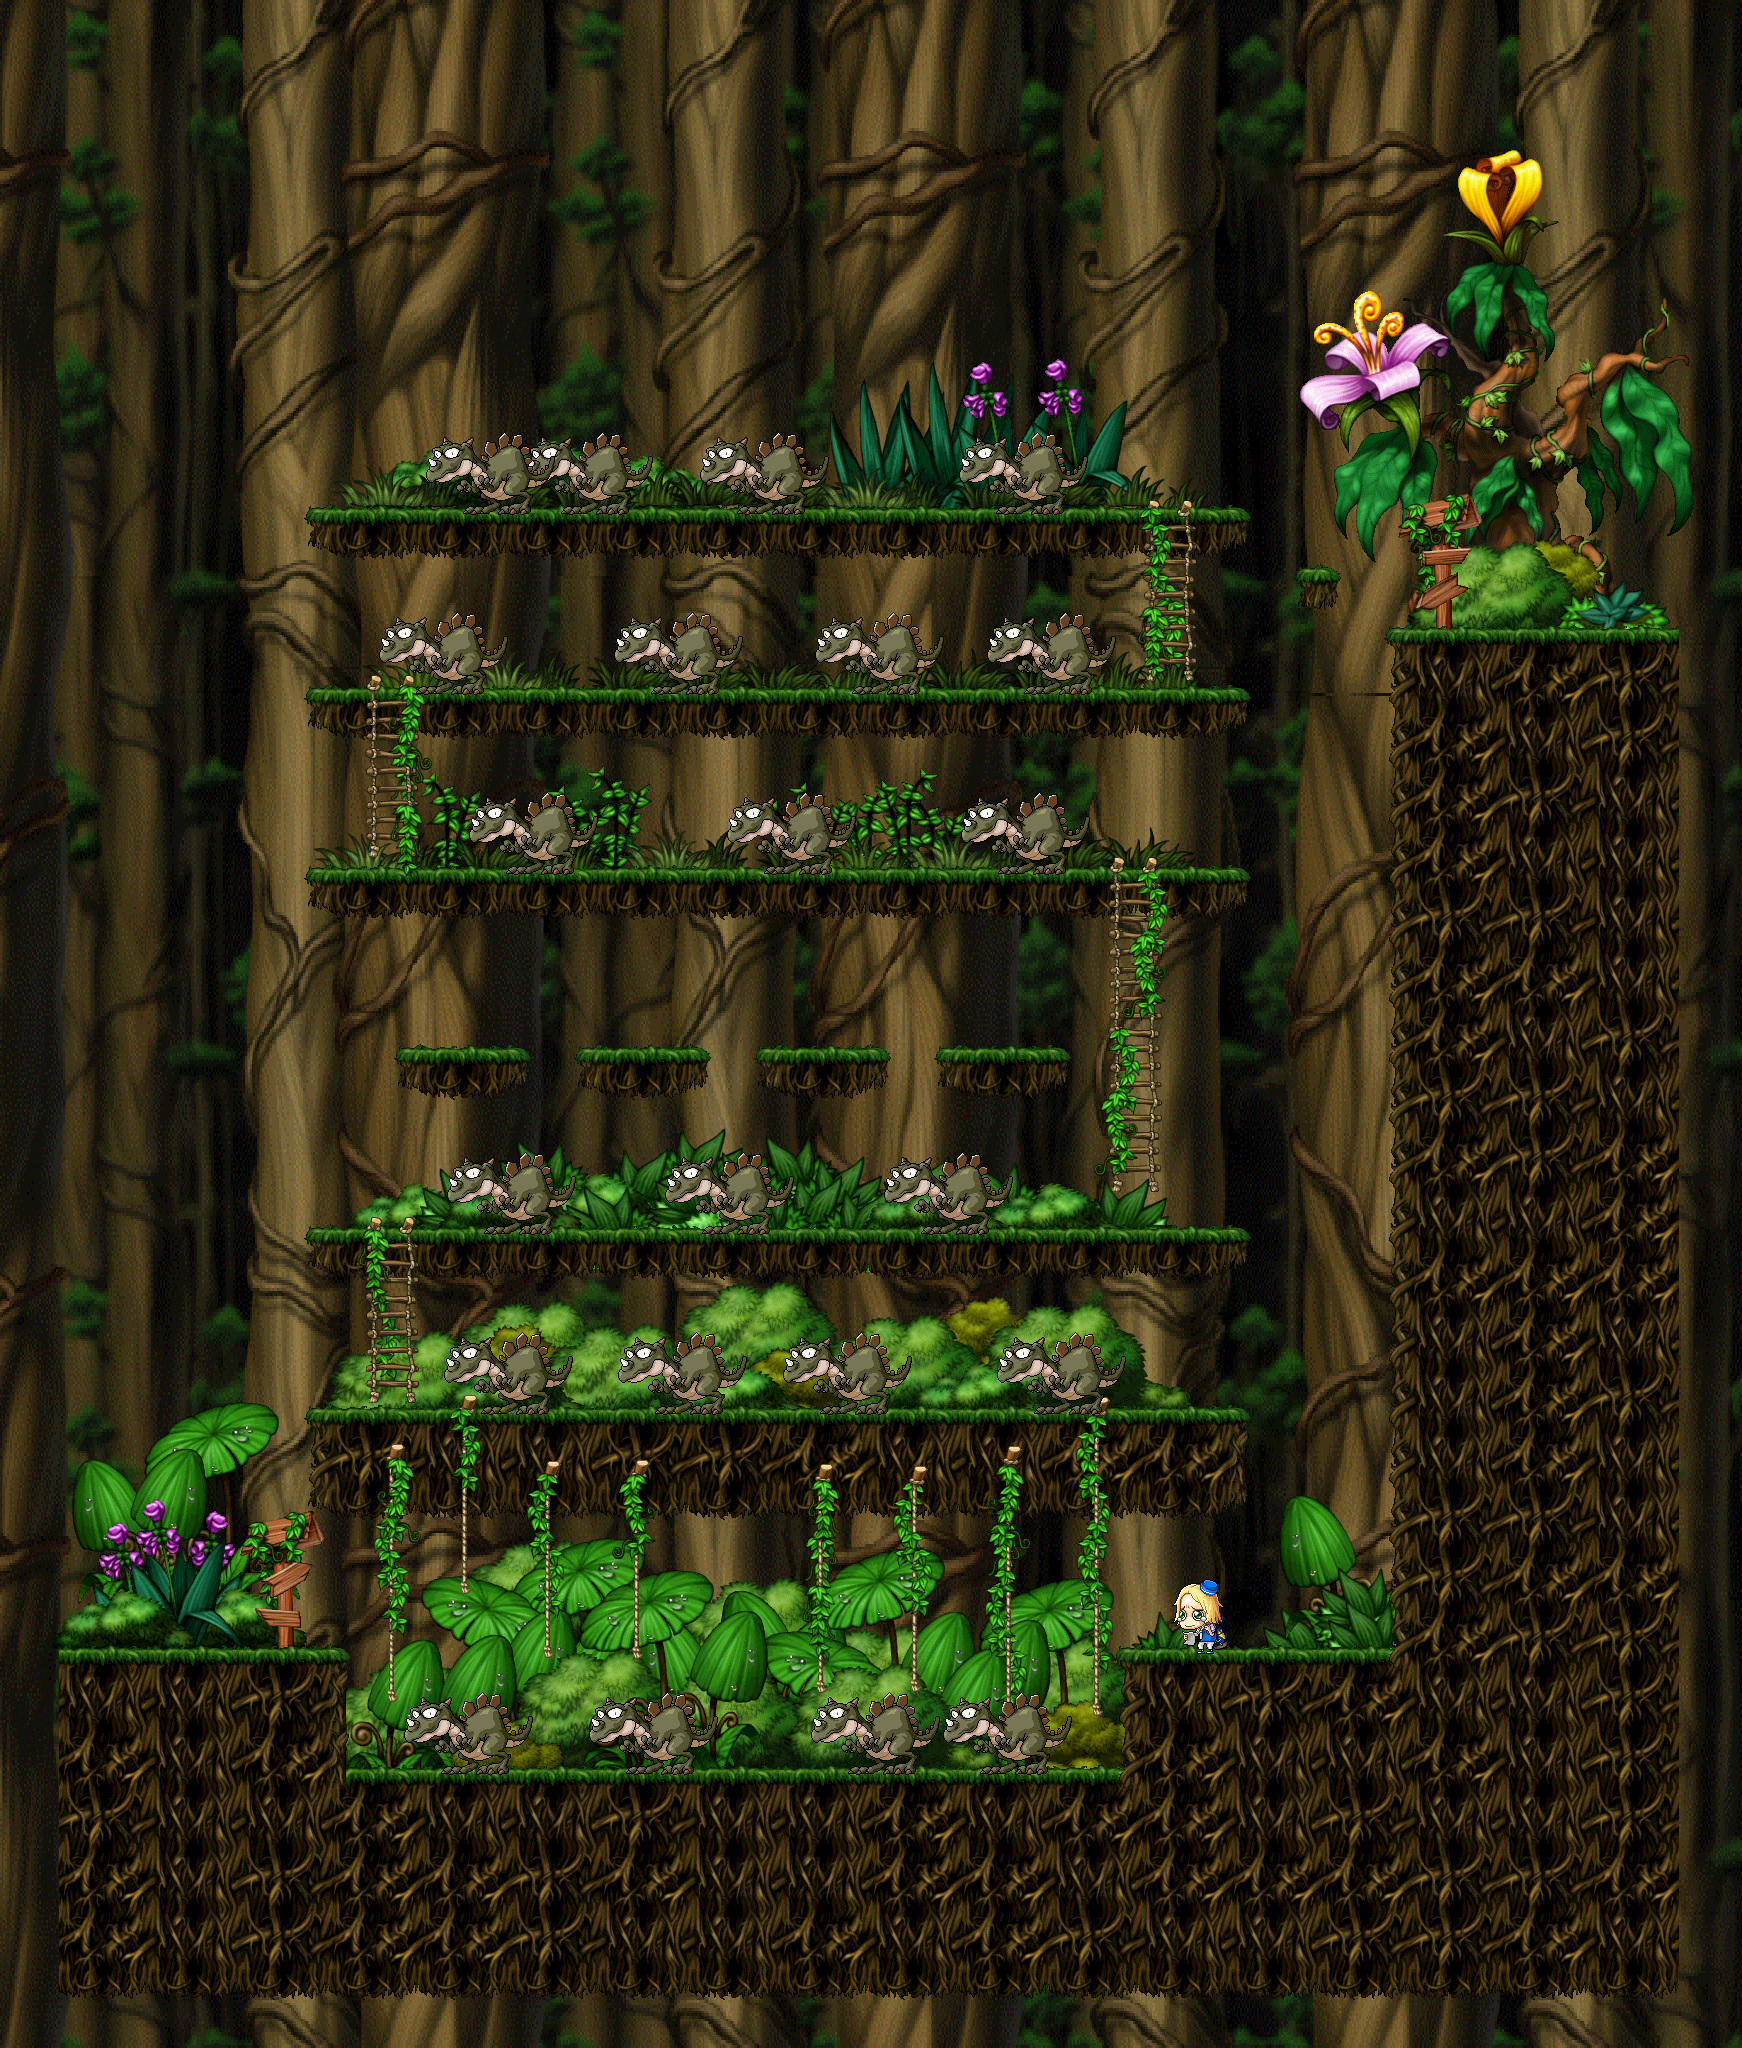
Ludibrium: Toy Factory <Process 1> Zone 2:
Use PQs or nearby quests to bridge the last levels before third job if hunting has slowed. You do not need to jump straight from a level 52 monster to a level 77 one.
70-85 · Story checkpoint, No Gong and hunting
At 70, turn in Sorrow Sings with The Songbird in Orbis if you have kept up with The Four Faces. At 75, make No Gong's Teaching your main quest stop:
- Speak to No Gong in Mu Lung: Mu Lung Temple and accept No Gong's Teaching 1.
- Hunt 10 Straw Target Dummies, then turn in and accept Teaching 2.
- Hunt 20, turn in, then accept Teaching 3 and hunt 40.
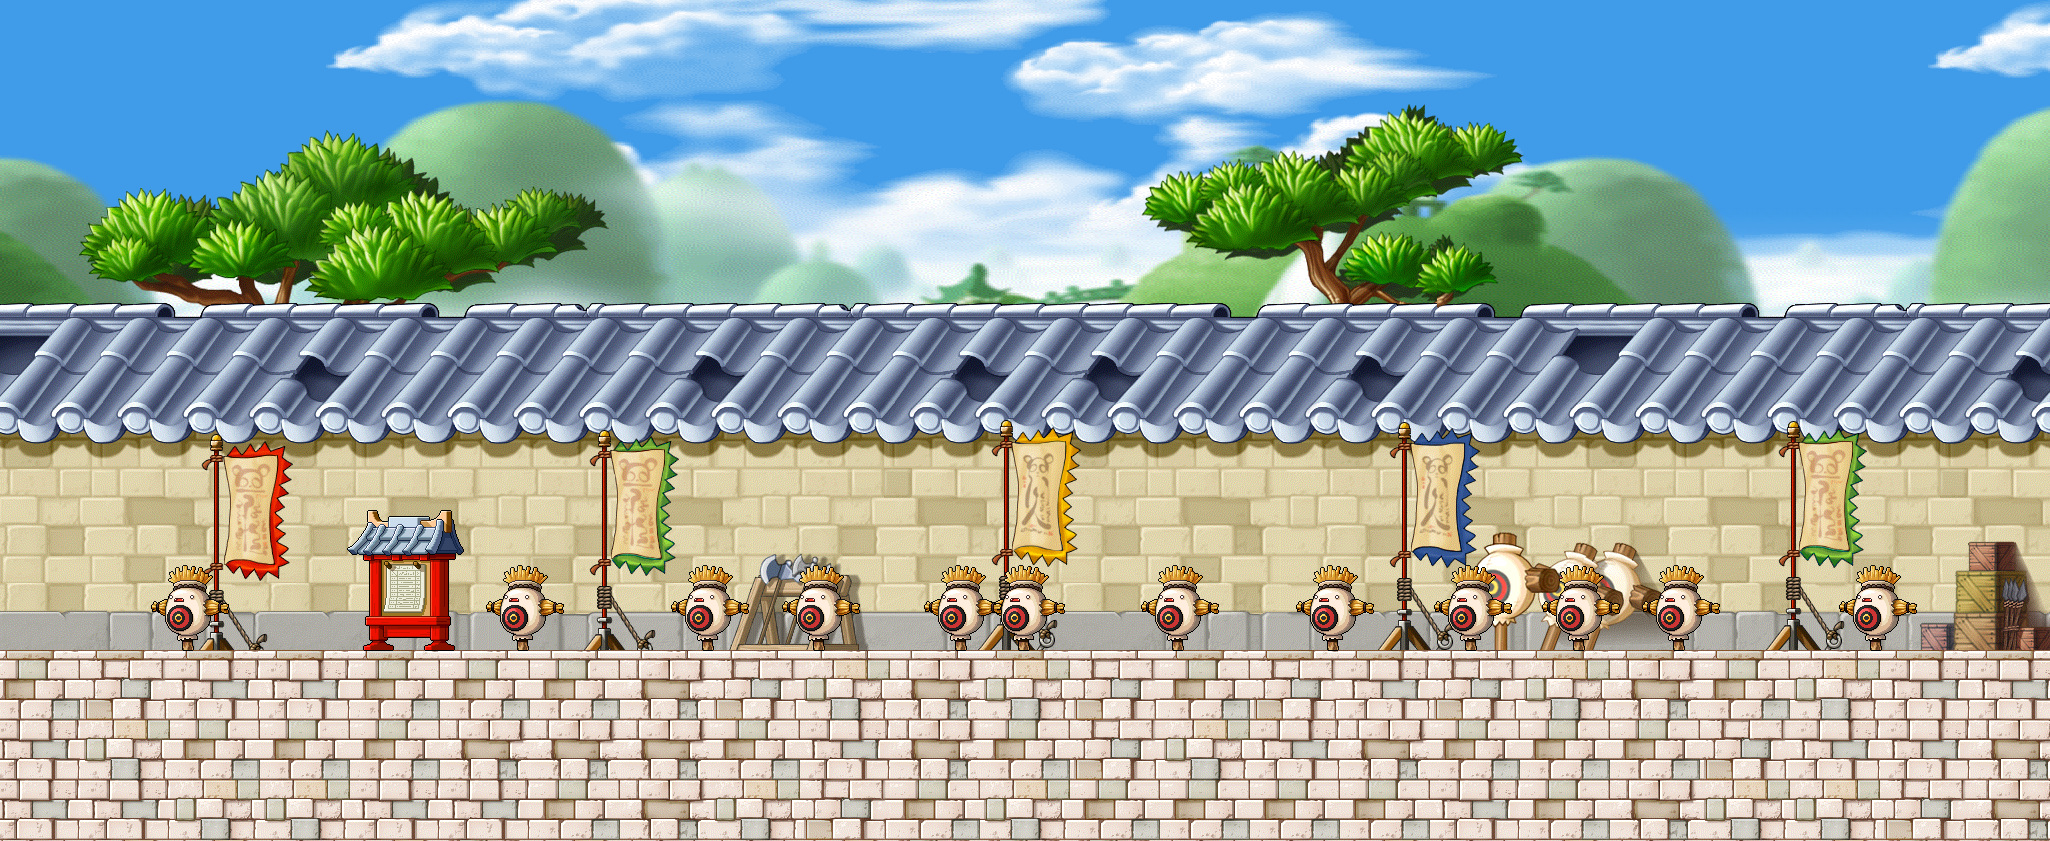
Use Mu Lung: Practice Field: Beginner, where the Straw Target Dummies are level 82. Each turn-in gives 149,600 EXP, for 448,800 quest EXP plus the boosted kill EXP across the chain. Accept each step first; one batch of 70 kills before accepting the later quests does not complete all three.
For repeatable hunting before or after those stops:
| Map | Monsters | Good for |
|---|---|---|
| Sunset Road: Sahel 1 | Sand Rat 77 | An easier Ariant starting point |
| Sunset Road: Sahel 2 | Sand Rat 77, Scorpion 81 | Group attacks and a simple hunting loop |
| Mu Lung: Practice Field: Beginner | Straw Target Dummy 82 | An alternative to the desert |
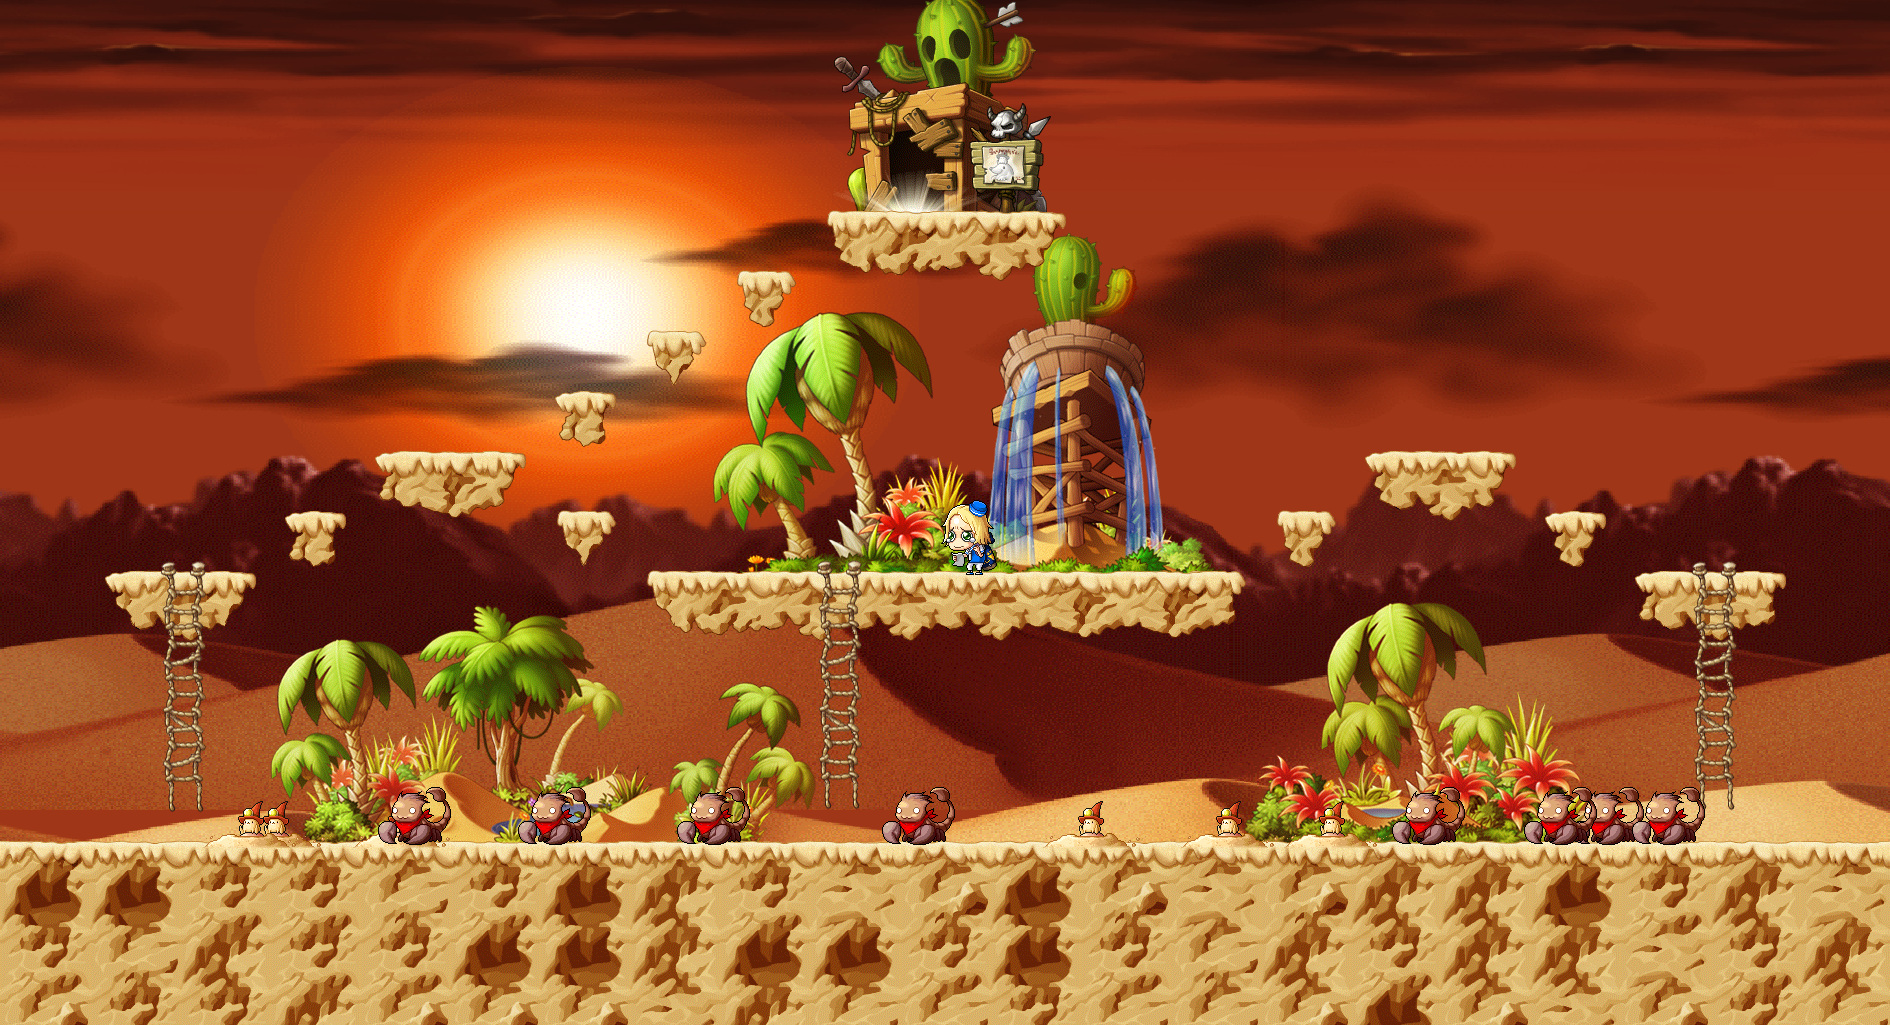
Travel to Ariant for the Sahel maps, or Mu Lung for the training dummies. Start with the map where your new third-job skills actually clear groups. A higher-level target is only helpful if it does not slow each kill too much.
80-100 · Quest rewards, Magatia and Singapore
At 80, Jack Masque in New Leaf City: NLC Town Center offers Urban Jungle. Accept it before hunting 100 Wolf Spiders, level 80, in MesoGears: Wolf Spider Cavern. The turn-in adds 186,956 EXP on top of the hunting EXP. It is a useful overlap if you are training in New Leaf City.
At 85, continue Greed Deals for 28% of a level-85 bar. At 90, return to Lune for Rehearsal: its 4,800,000 EXP makes it a much more important stop than simply adding another long grinding session. Both require the earlier story chapters.
Between these quest stops, compare the following maps:
| Map | Monsters | How to choose |
|---|---|---|
| Alcadno Research Institute: Lab - Area C-2 | Roid 88, Neo Huroid 89 | Try a horizontal clear through the room |
| Singapore: Ulu Estate I | Berserkie 85, Veetron 90 | A useful alternative if its platforms fit your attacks |
| Singapore: Mysterious Path 3 | Selkie Jr. 90, Slimy 93 | Good to compare with broad platform coverage |
| Singapore: Ghost Ship 2 | Slimy 93 | A more compact alternative |
| Singapore: Ulu Estate II | Veetron 90, Slygie 95 | A step to test after Ulu Estate I |
| Malaysia: Entrance to the Spooky World | Gallopera 94 | Another option once you can clear comfortably |
Reach C-2 from Magatia's Alcadno Research Institute. Singapore's town routes lead toward the boat/ghost-ship area or Ulu Estate. Gallopera is in Malaysia; do not enter the Scarlion/Targa boss instance when you only want the hunting map.
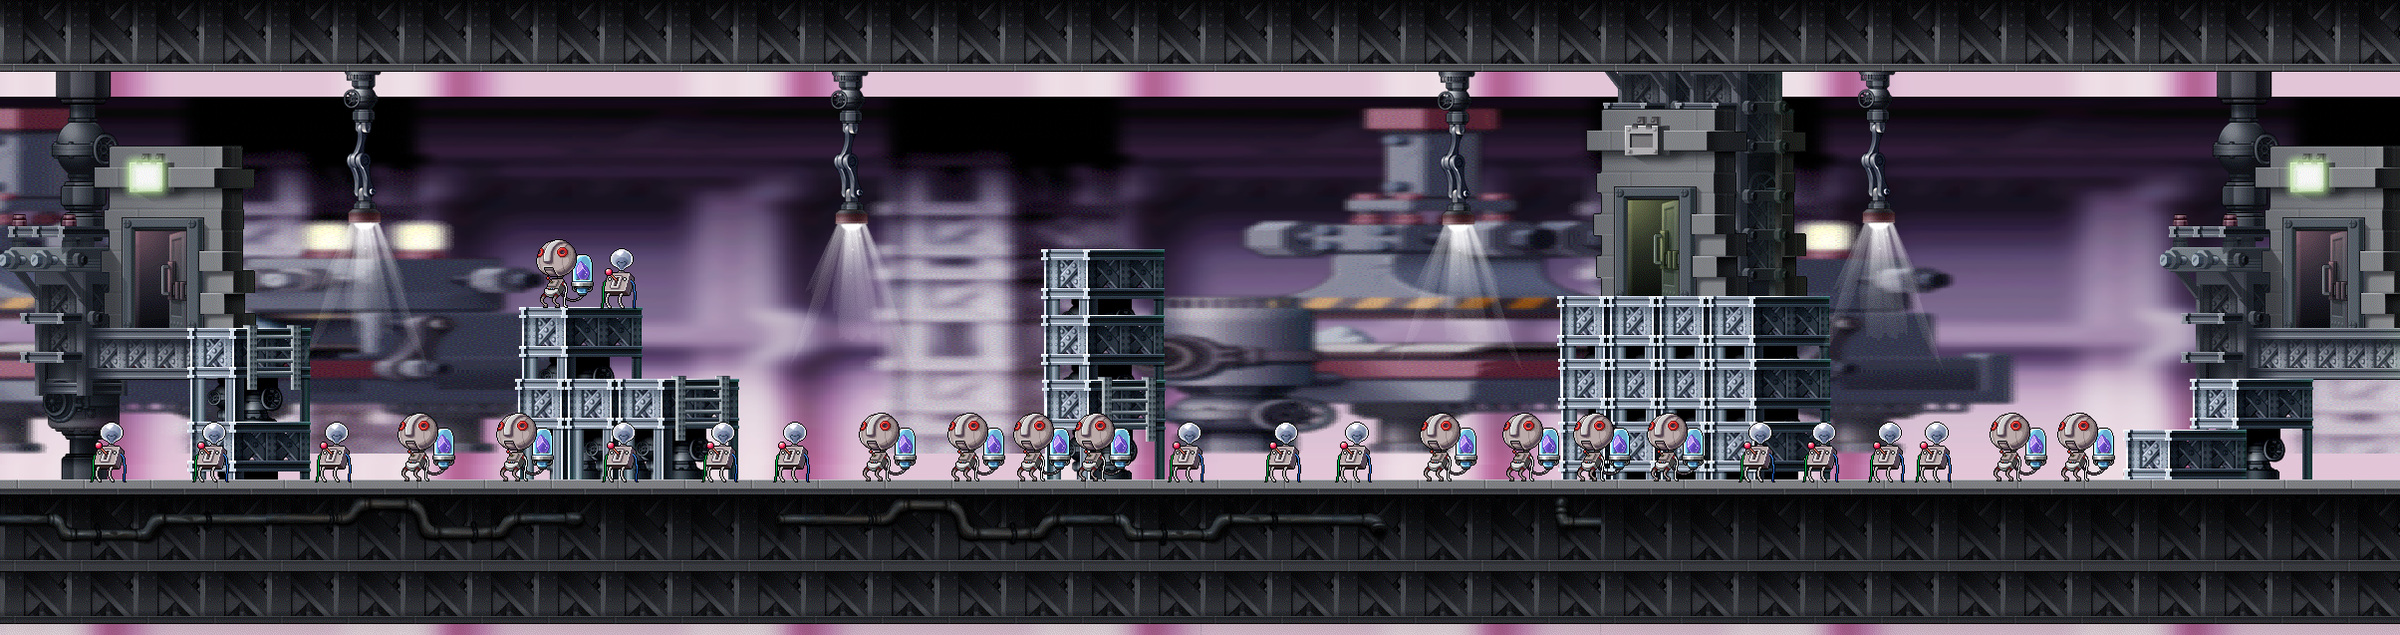
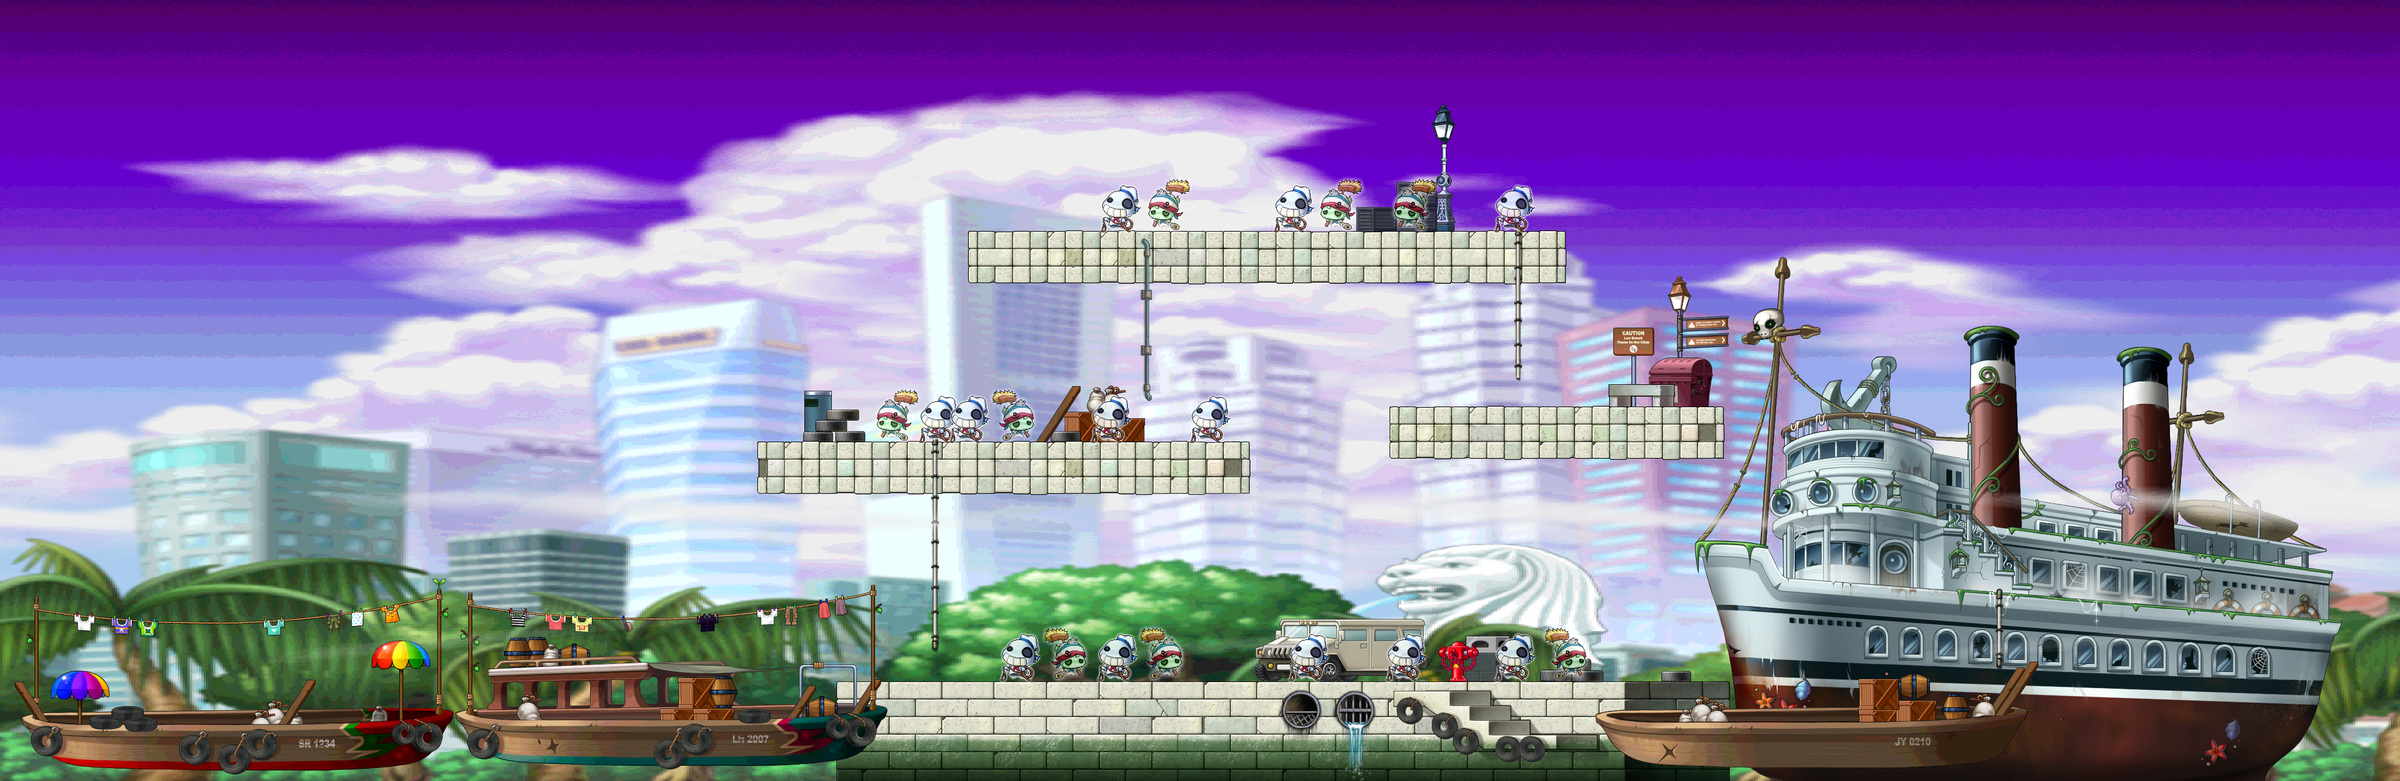
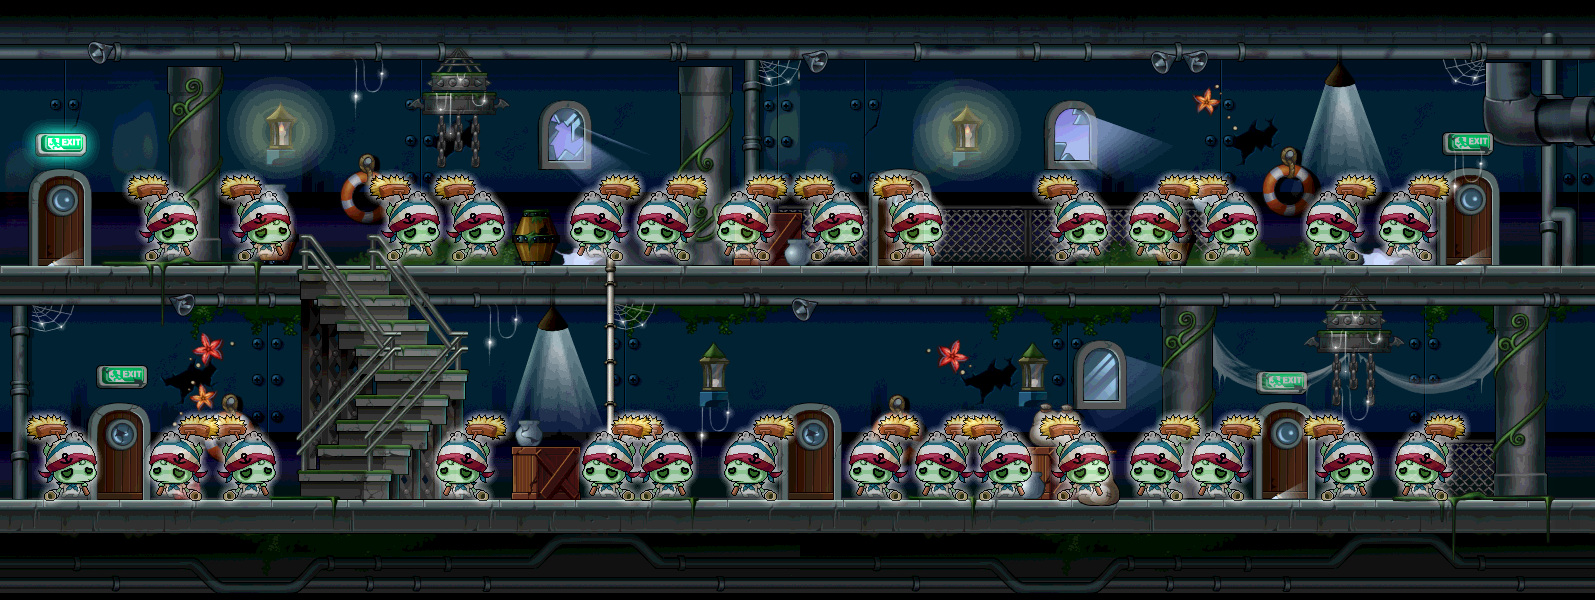
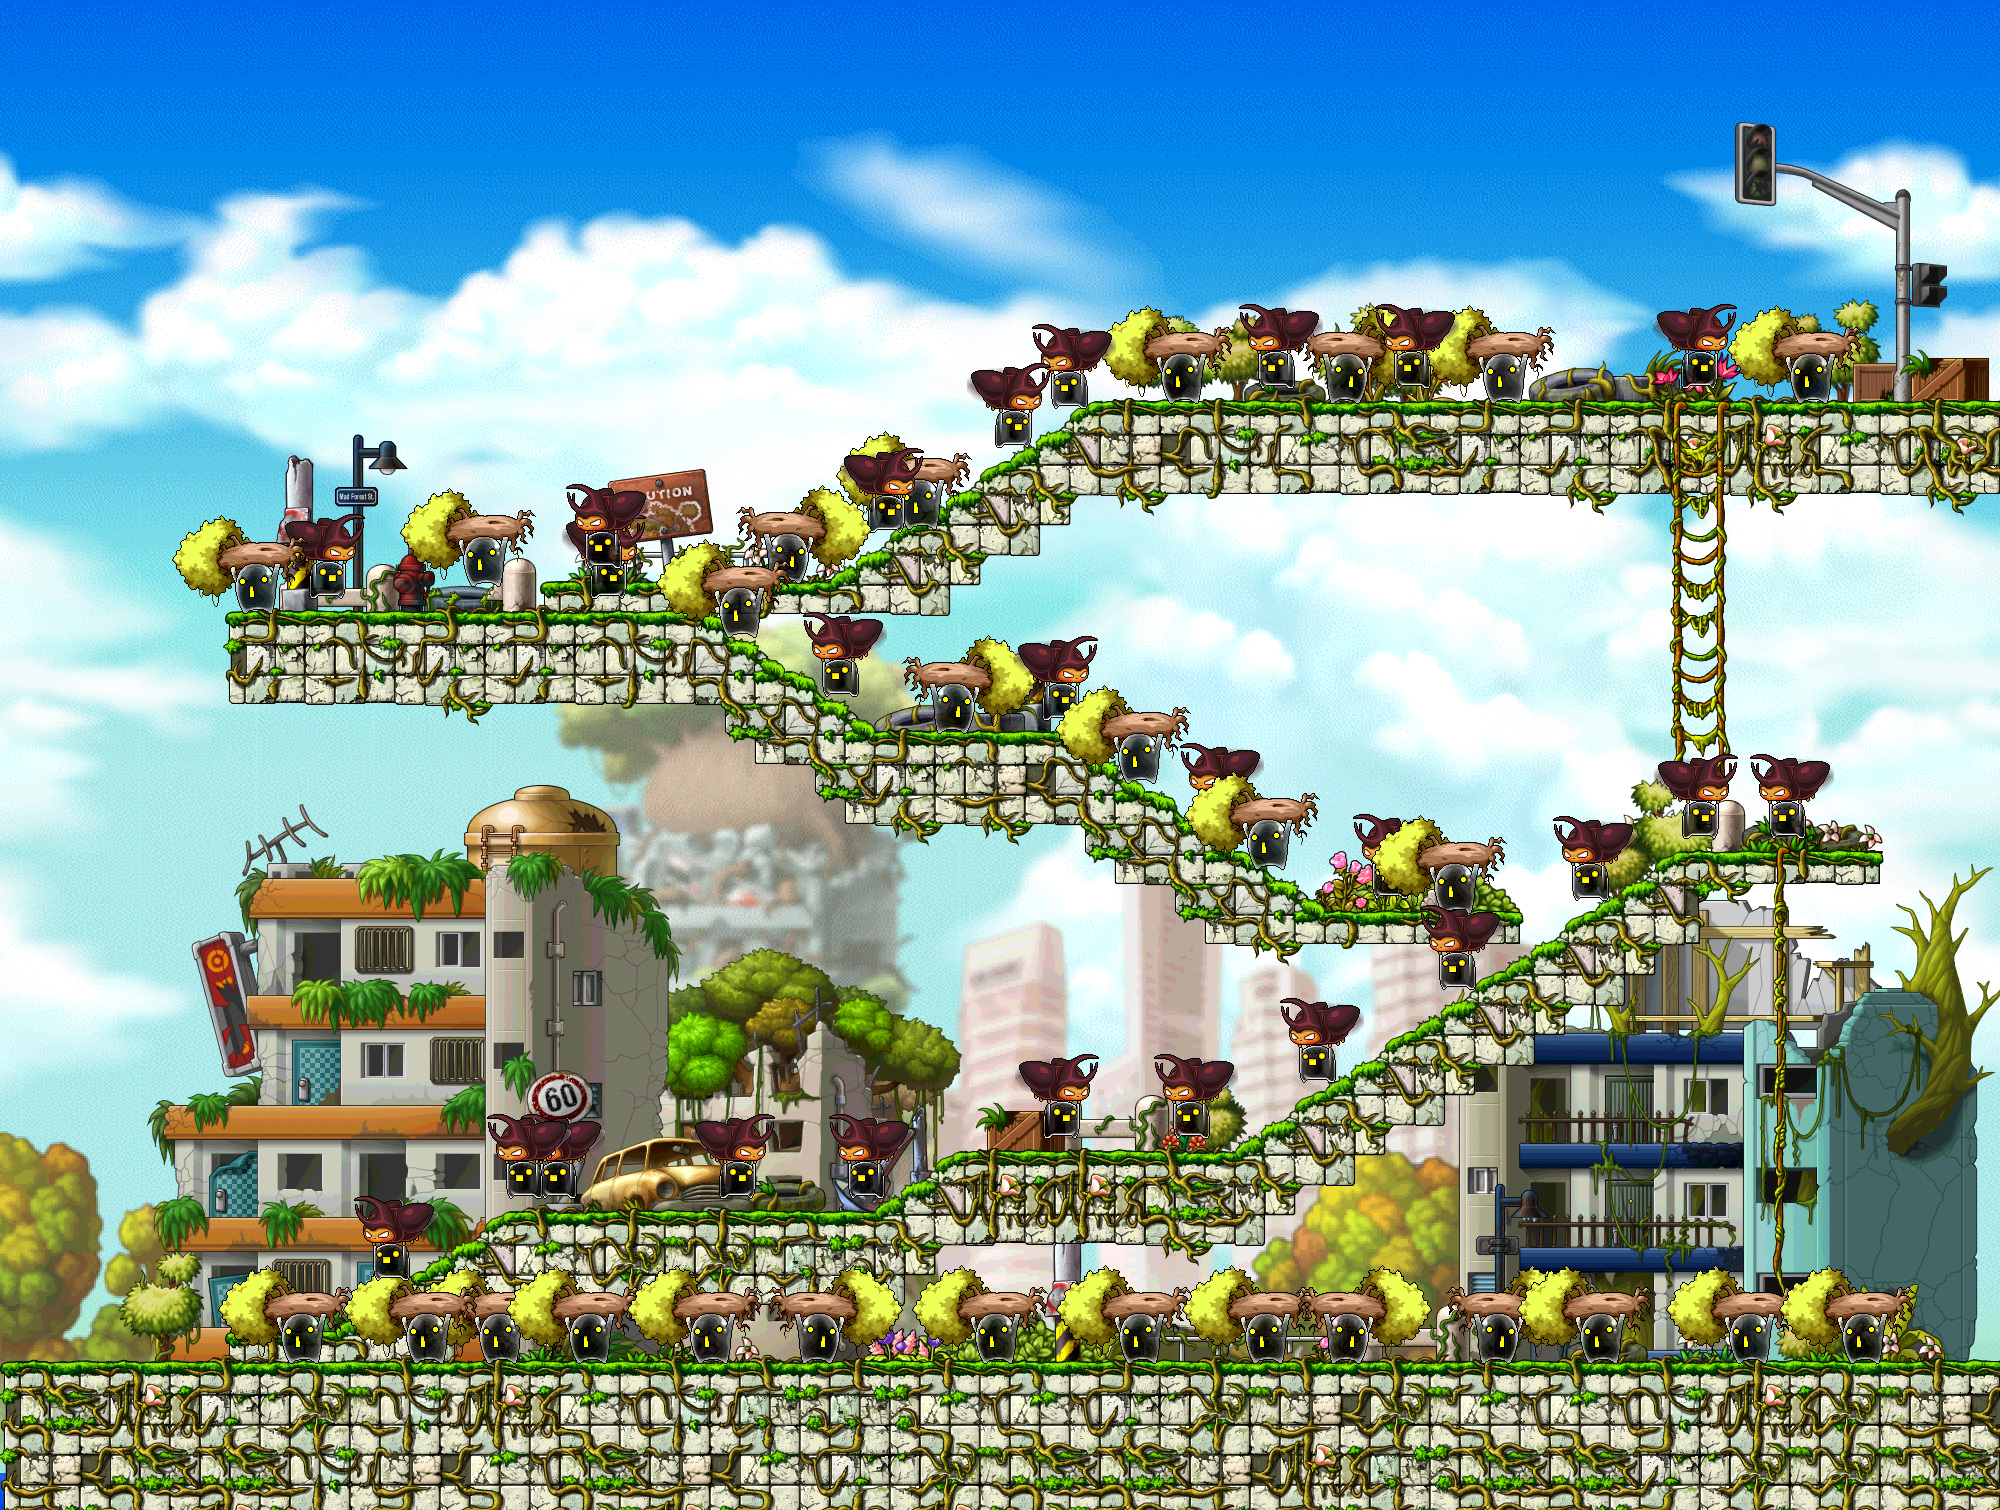

Unfunded: compare C-2, Ghost Ship 2 and Ulu Estate I before spending money trying to force a harder map.
Funded: compare Mysterious Path 3, Ulu Estate II and Gallopera. Your class's coverage decides the winner; there is no useful universal EXP-per-hour number for every character.
Haunted House
Haunted House is a useful EXP option for a long stretch of training. Try Dead Scarecrows and Twisted Jesters when you can clear them efficiently with 2x EXP. Stay while their EXP is good for your character, rather than treating their monster level as a hard stop.
| Map | Monster | Suggested use |
|---|---|---|
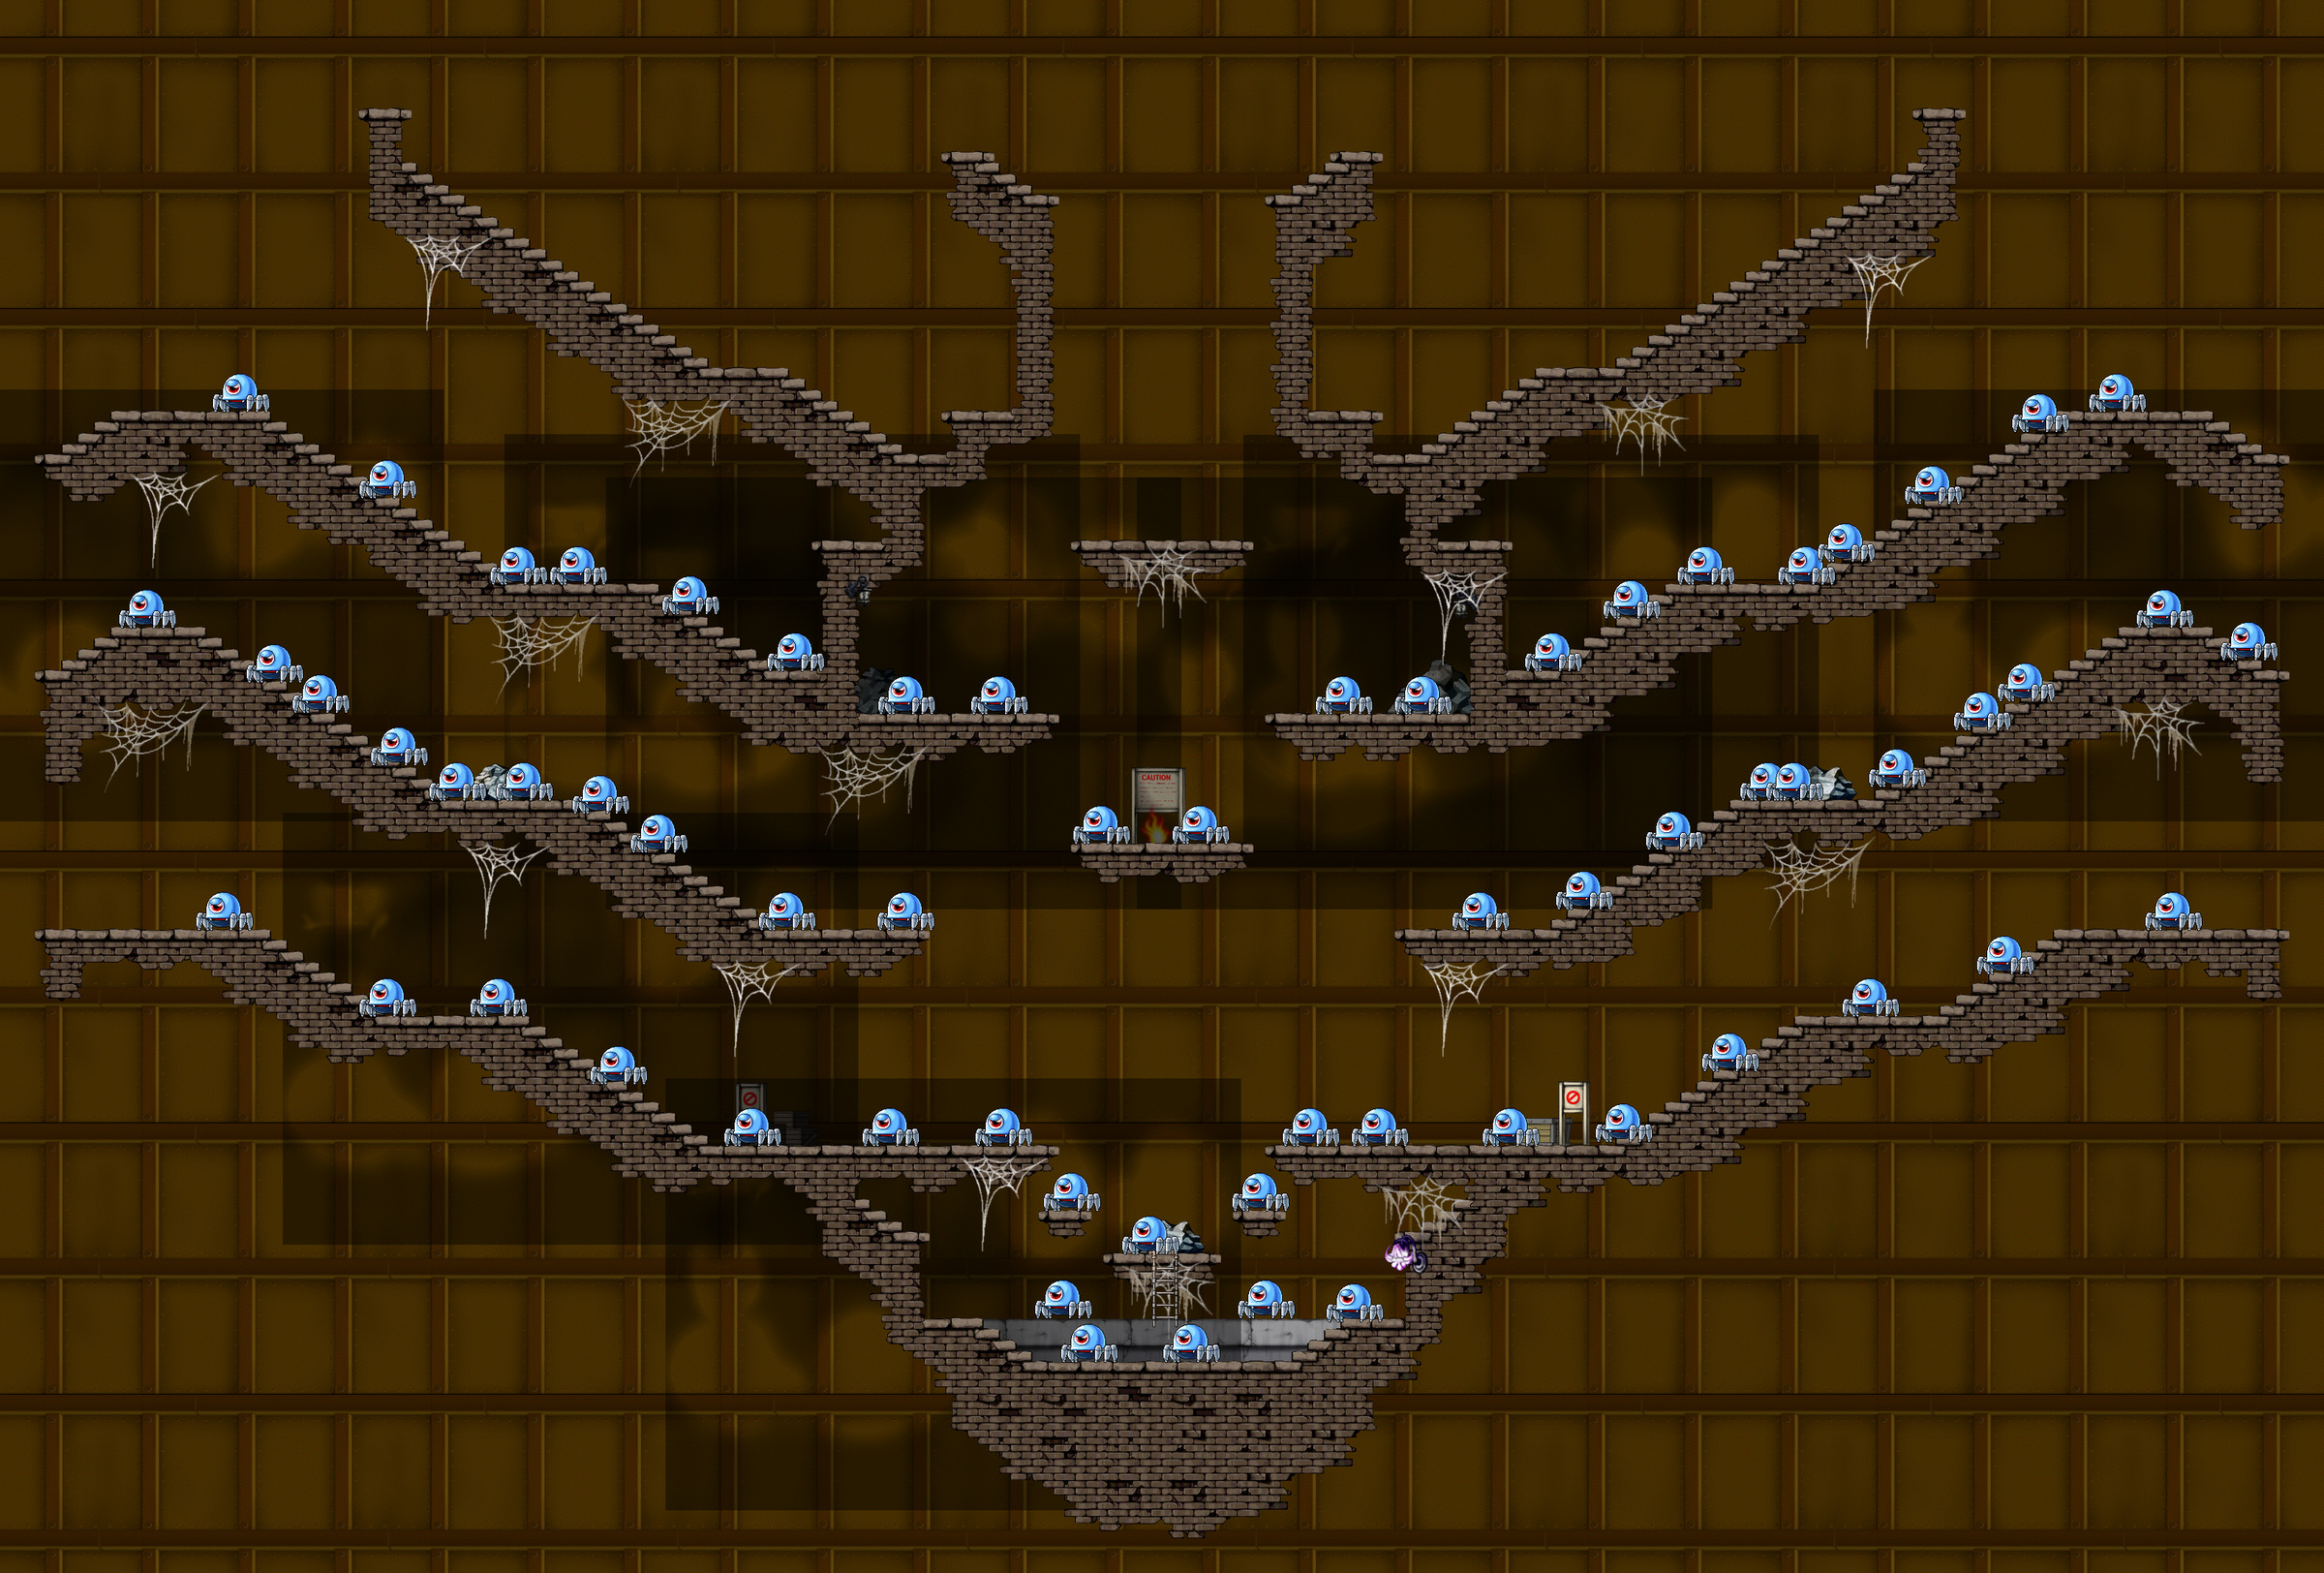
| Haunted House: Chimney Possessed by the Scarecrow | Dead Scarecrow 50 | Compare clear speed and EXP with your current map |
| Haunted House: Chimney Possessed by the Clown | Twisted Jester 70 | Can remain useful after you outlevel its ordinary drops |
Use the Haunted House transport in New Leaf City. If you outlevel normal loot, make a separate gear-farming trip and come back for EXP when that is the better use of your time.
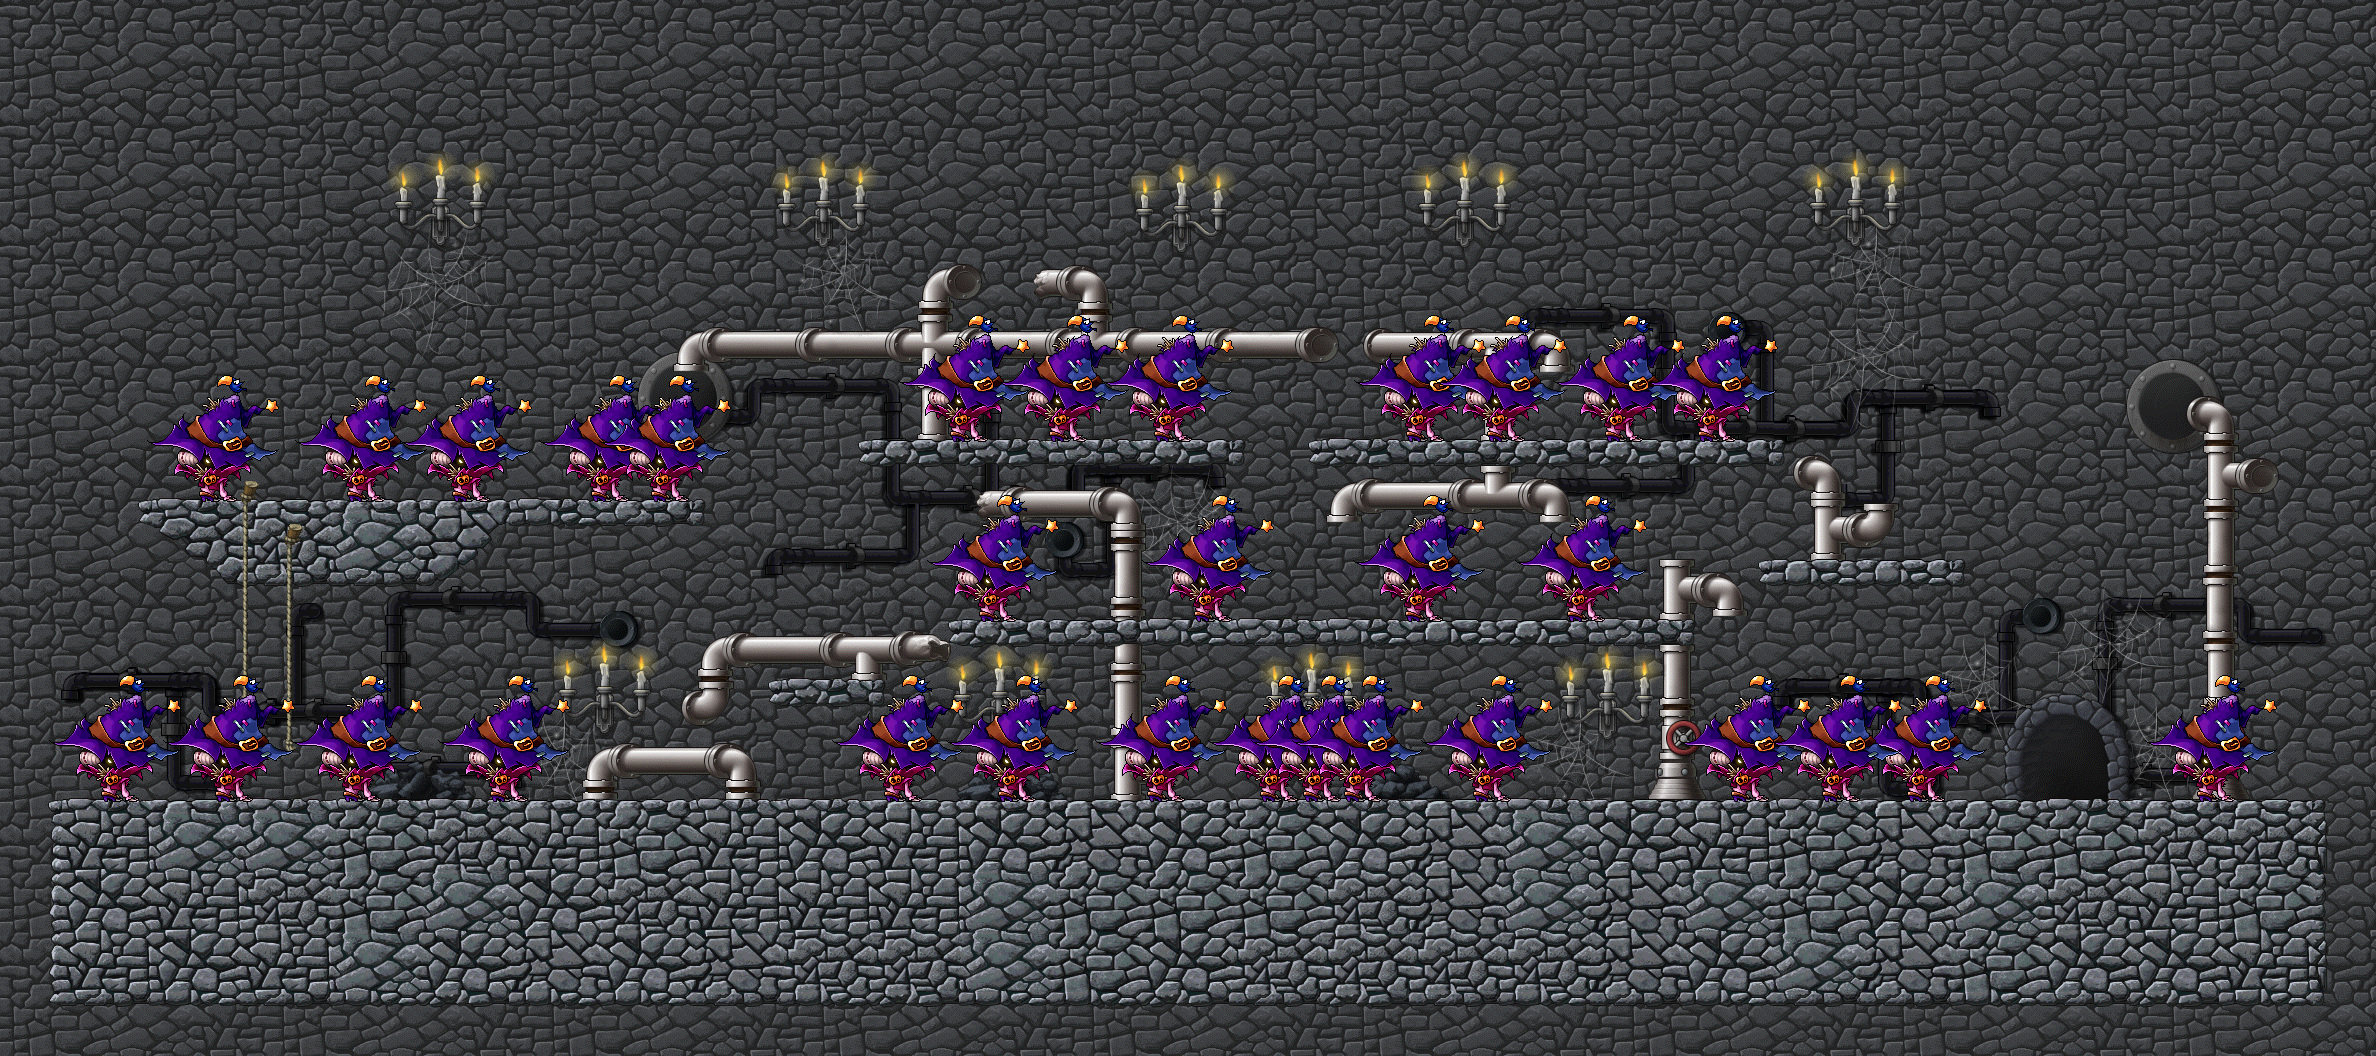
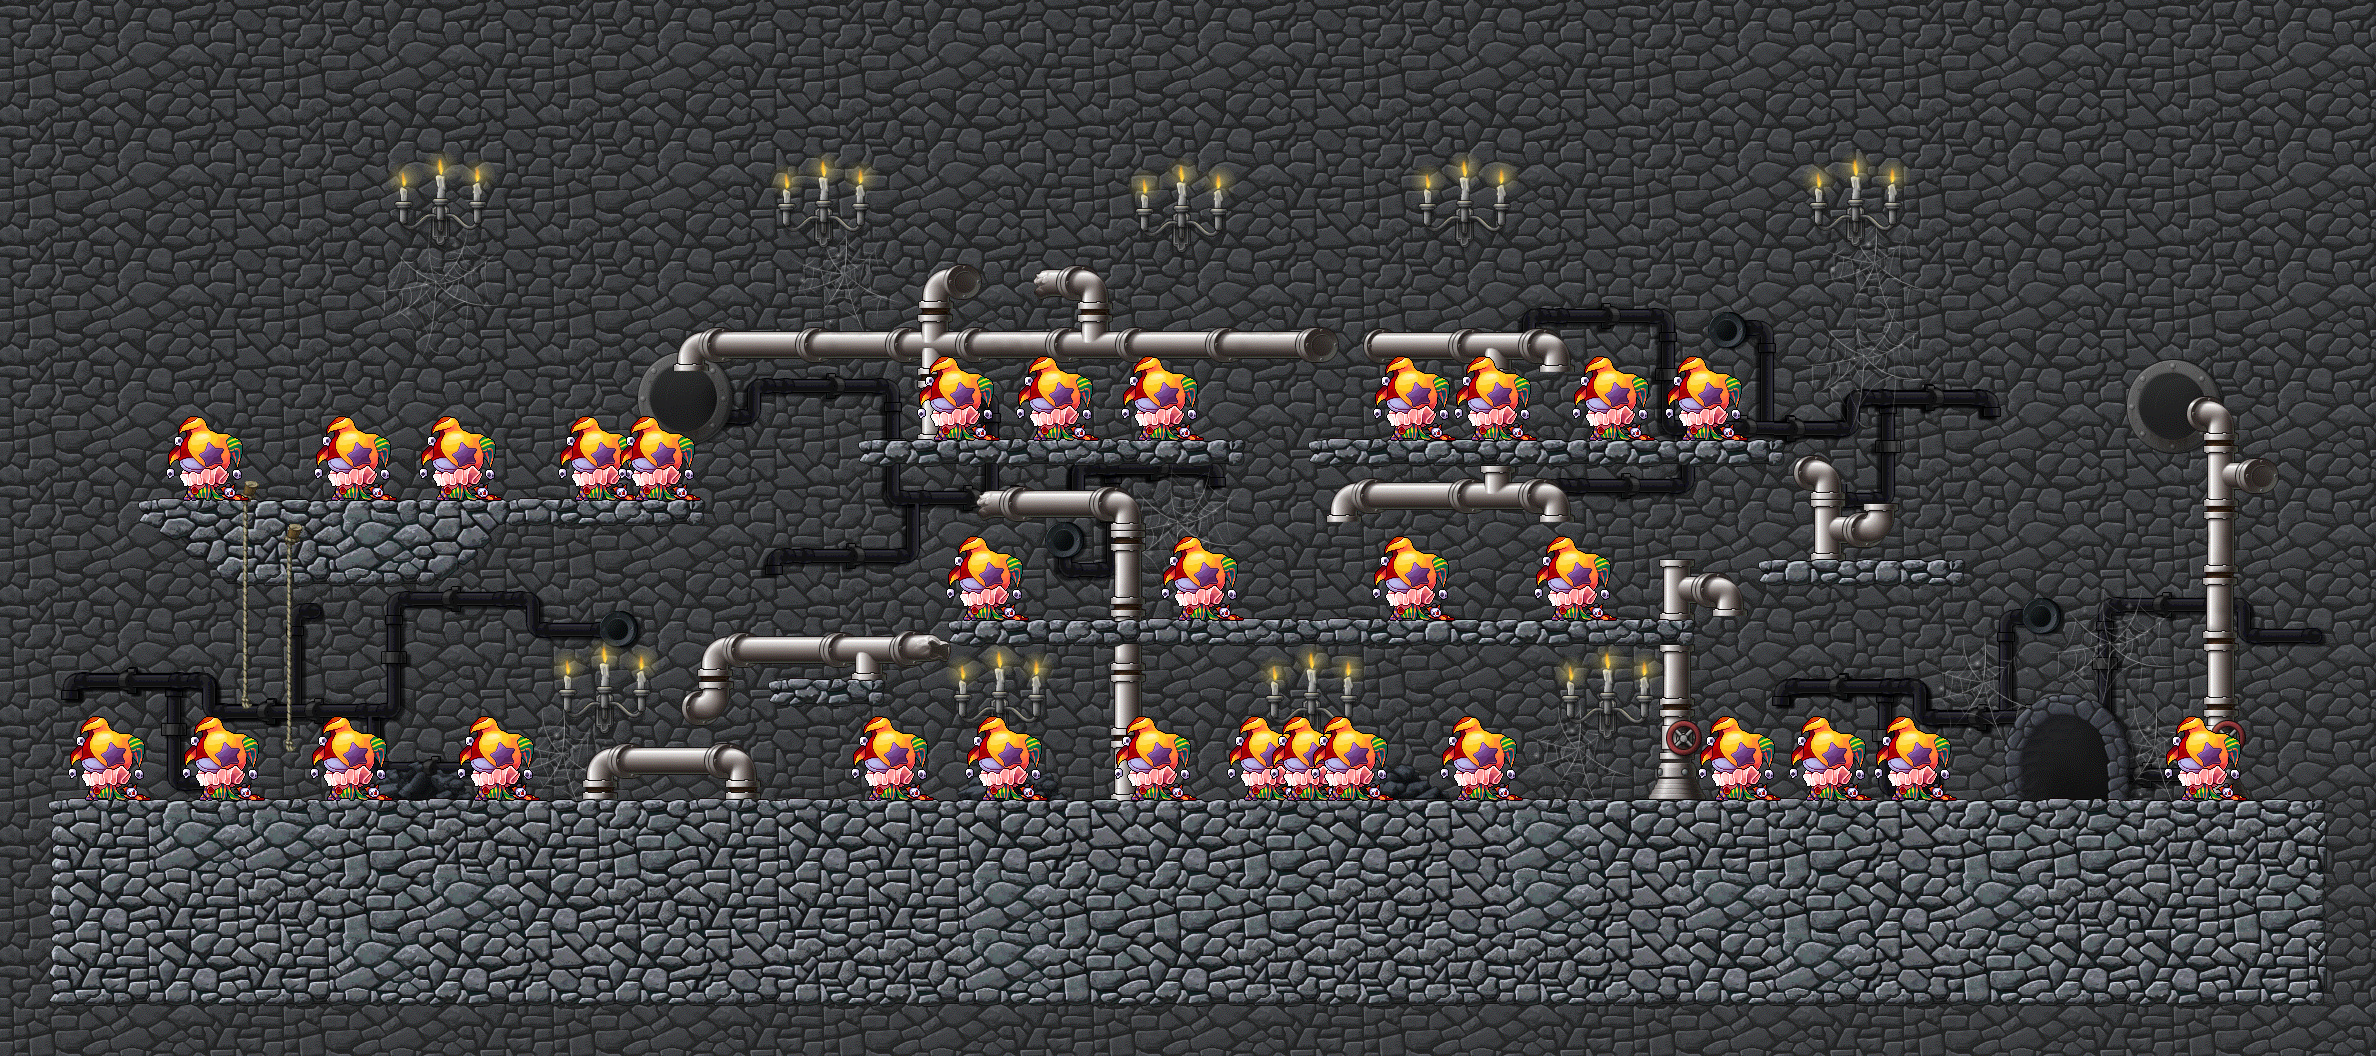
Twisted Jester is the training monster here. The Chaos Jester that appears during ordinary hunting is a separate encounter.