
 That Guy
03 · TRAINING FROM 100 TO 250
Choose clear speed first, then use your levels to open lasting gear and new content.
Open a map or boss image to inspect the full-size artwork.
Keep 2x EXP active whenever you hunt. Every normal-world training comparison here assumes that setup. The daily vote makes it easy to maintain for a normal session; eight hours costs 2.5 VP.
Prepare the full session: keep 2x EXP active, summon your pet and enable Pet Vac, save your route with Hyper Teleport Rock, and configure Item Ignore and Auto Sell. The training setup section explains the controls and the 50-entry lists.
Strongly prefer an active party on big maps. Split the platforms, keep killing and use the party EXP bonus: 25% with two eligible members, rising to 50% with six, applied to each member's assigned share. Same-map, survival and participation rules still apply. Covering the map together is what turns this into better training than chasing every platform alone.
By this point, the best map depends heavily on your class, weapon, skills and ability to cover platforms. Keep a cheaper fallback: an easy map with steady kills can beat a stronger monster that takes several slow rotations.
Include field bosses when they fit your route. They offer useful EXP, and eligible level 80+ area bosses can drop Equip Enhancement and Advanced Equip Enhancement Scrolls. A quick clear can be worth the detour; do not wait around for a missing boss. See field-boss locations and rewards.
Keep the big quest rewards in your route
Use hunting to reach the next worthwhile quest checkpoint, not to skip every story reward. Continue the chains you started earlier. Detailed custom walkthroughs are already in Questline Guides: Start Here.
| Level | Quest checkpoint | Training value |
|---|---|---|
| 100 | Fear Hides, the Usher in Henesys | 30% of a level-100 bar |
| 115 | Wrath Roars, The Strongman in Perion | 32% of a level-115 bar |
| 120 | Encore, Lune in Henesys | 16,000,000 EXP; progress the quest before its required Chaos Jester fight |
| 125 | The Old Act, the Usher | 33% of a level-125 bar |
| 130 | The Near Side, the Usher | 35% of a level-130 bar, and progress toward the Moon Stage unlock |
| 140 | The Other Face, Lune | 48,000,000 EXP; complete its story challenge first |
| 160 | Kanata, Lune; The Far Side finale | Unlocks Chaos for your account; this finale does not give a separate EXP payout |
| 180, 185, 190, 195 | Off the Edge of the Map, Quill in Leafre | 25%, 27%, 30% and 33% of each respective chapter level's bar |
| 200 | The Five Measures, after Off the Edge's earlier chapters | Five one-time full-bar rewards priced at levels 200, 201, 202, 203 and 204 |
| 200+ | Bellwether story and weeklies | Quest rewards alongside the same monsters you train on |
These are one-time chapter rewards, except the Bellwether weeklies. The 2x rental does not multiply their turn-in EXP. A percentage is based on the chapter's stated level, not automatically your current level if you return much later.
100-115 · Pirates and Petrifighters
| Map | Monsters | Route |
|---|---|---|
| Herb Town: Red-Nose Pirate Den 2 | Kru 103, Captain 105 | Through Herb Town's pirate area |
| Singapore: Ulu City Center | Petrifighter 110 | Continue through Ulu Estate |
| Ludibrium: Warped Path of Time <3> | Ghost Pirate 110 | Deep in the Clocktower |
| Hidden Street: Unbalanced Time | Dual Ghost Pirate 114 | Hidden route from Warped Path of Time <3> |



Quest overlap: Mr. Ku in Herb Town offers Intruder - The Herb Farm 1 from level 90. Defeat 80 Bellflower Root monsters for 311,160 EXP. Completing it opens Intruder - The Herb Farm 2: accept that before hunting 80 Kru and 80 Captain in Red-Nose Pirate Den 2 or 3 for an additional 444,000 turn-in EXP. The monsters are level 103 and 105, so around level 100 is a more comfortable fit than forcing the whole chain on a fresh level-90 character.
Unfunded: start with Kru and Captain, or stay on a good late-90s map while you improve your weapon. Test Petrifighters when you can clear without running through potions too quickly.
Funded: test Ulu City Center and Unbalanced Time. Use the map that turns your damage into repeated group kills, rather than the one with the highest monster level.
Petrifighters are not a permanent high-level meso farm. Ordinary monsters below level 115 generally need you within 10 levels for normal loot and mesos. At level 121, Petrifighter 110 is already outside that range. Monster cards and quest items have their own rules.
115-135 · Deep Ludibrium
| Map | Monsters | When to try it |
|---|---|---|
| Ludibrium: Warped Path of Time <4> | Spirit Viking 119 | An option around fourth-job preparation |
| Hidden Street: Twisted Time | Gigantic Spirit Viking 122 | Compare its layout with the normal Viking map |
| Hidden Street: Forbidden Time | Grim Phantom Watch 124 | A different deep-Clocktower option |


From Ludibrium, descend through the Clocktower. Twisted Time branches from the Viking area; Forbidden Time is on the Phantom Watch side. Use the world map and portal names when following hidden routes.
Most classes advance again at 120. Spend the new skill points and retest your maps; your best spot can change as a stronger mobbing skill develops. Evan and Cygnus follow their own advancement schedules.
Do the story turn-ins as they open: Fear Hides at 100, Wrath Roars at 115 and Encore at 120 give worthwhile EXP between hunting sessions. PQs also remain useful for QP and personal gear. A run or quest checkpoint can move several goals forward at once.
130-160 · Leafre and your first Pensalir pieces
Ordinary level 130+ monsters can provide class-matched Pensalir armor and Utgard weapons. That gives hunting an equipment goal alongside EXP.
| Map | Monsters | Practical use |
|---|---|---|
| Leafre: Wyvern Canyon | Red Wyvern 134, Blue Wyvern 137, Dark Wyvern 141 | A transition into the deeper Leafre route |
| Leafre: Nest of a Dead Dragon | Skelegon 147, Skelosaurus 153 | Test when your damage and survivability are ready |
| Leafre: Peak of the Big Nest | Skelosaurus 153 | Another layout to compare after the mixed map |
| Time Lane: Memory Lane 1 | Memory Monk 142, Eye of Time 136 | A Temple of Time alternative |
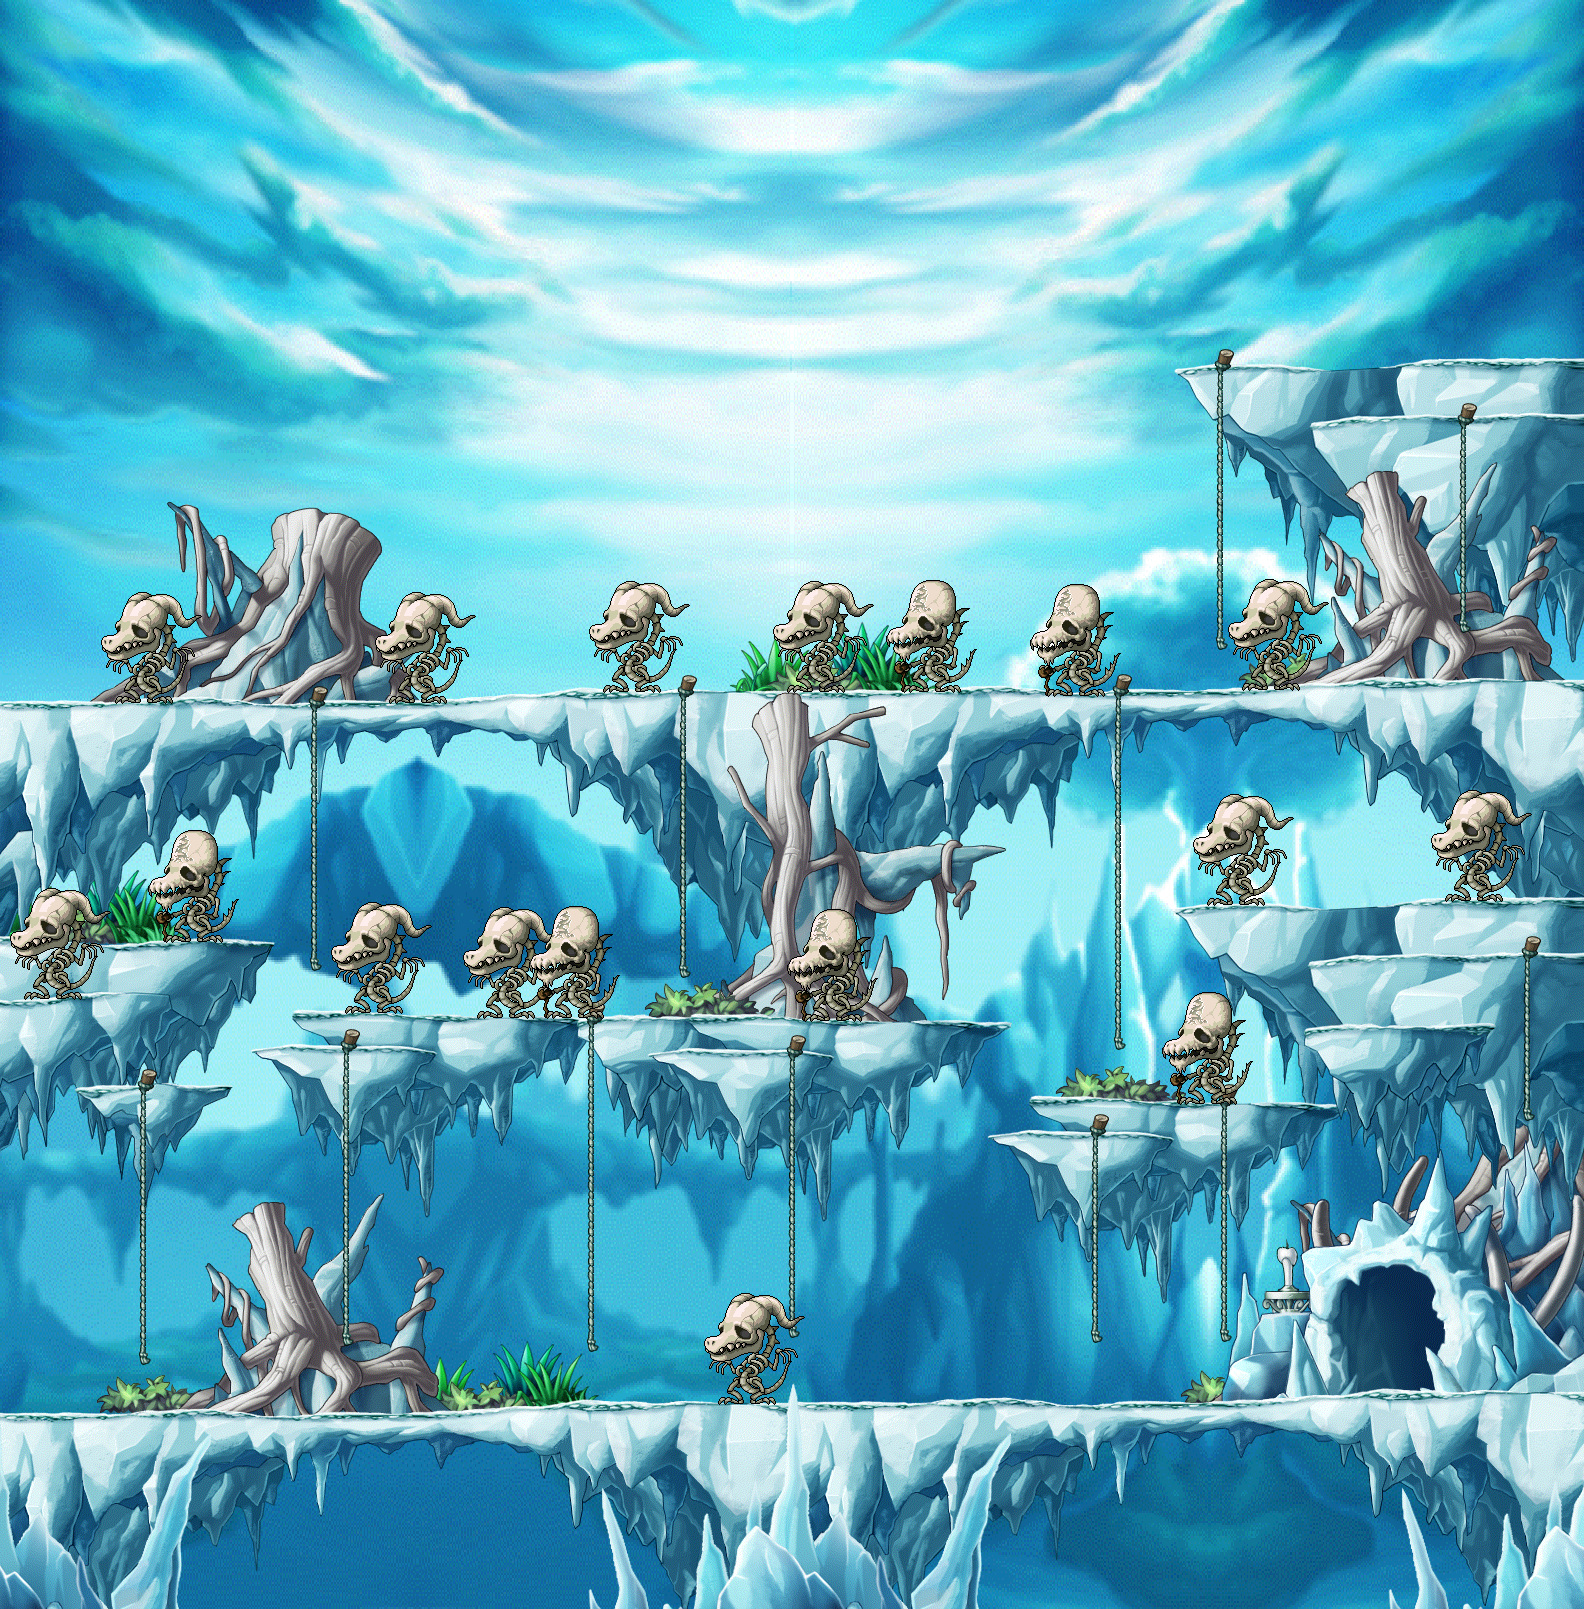
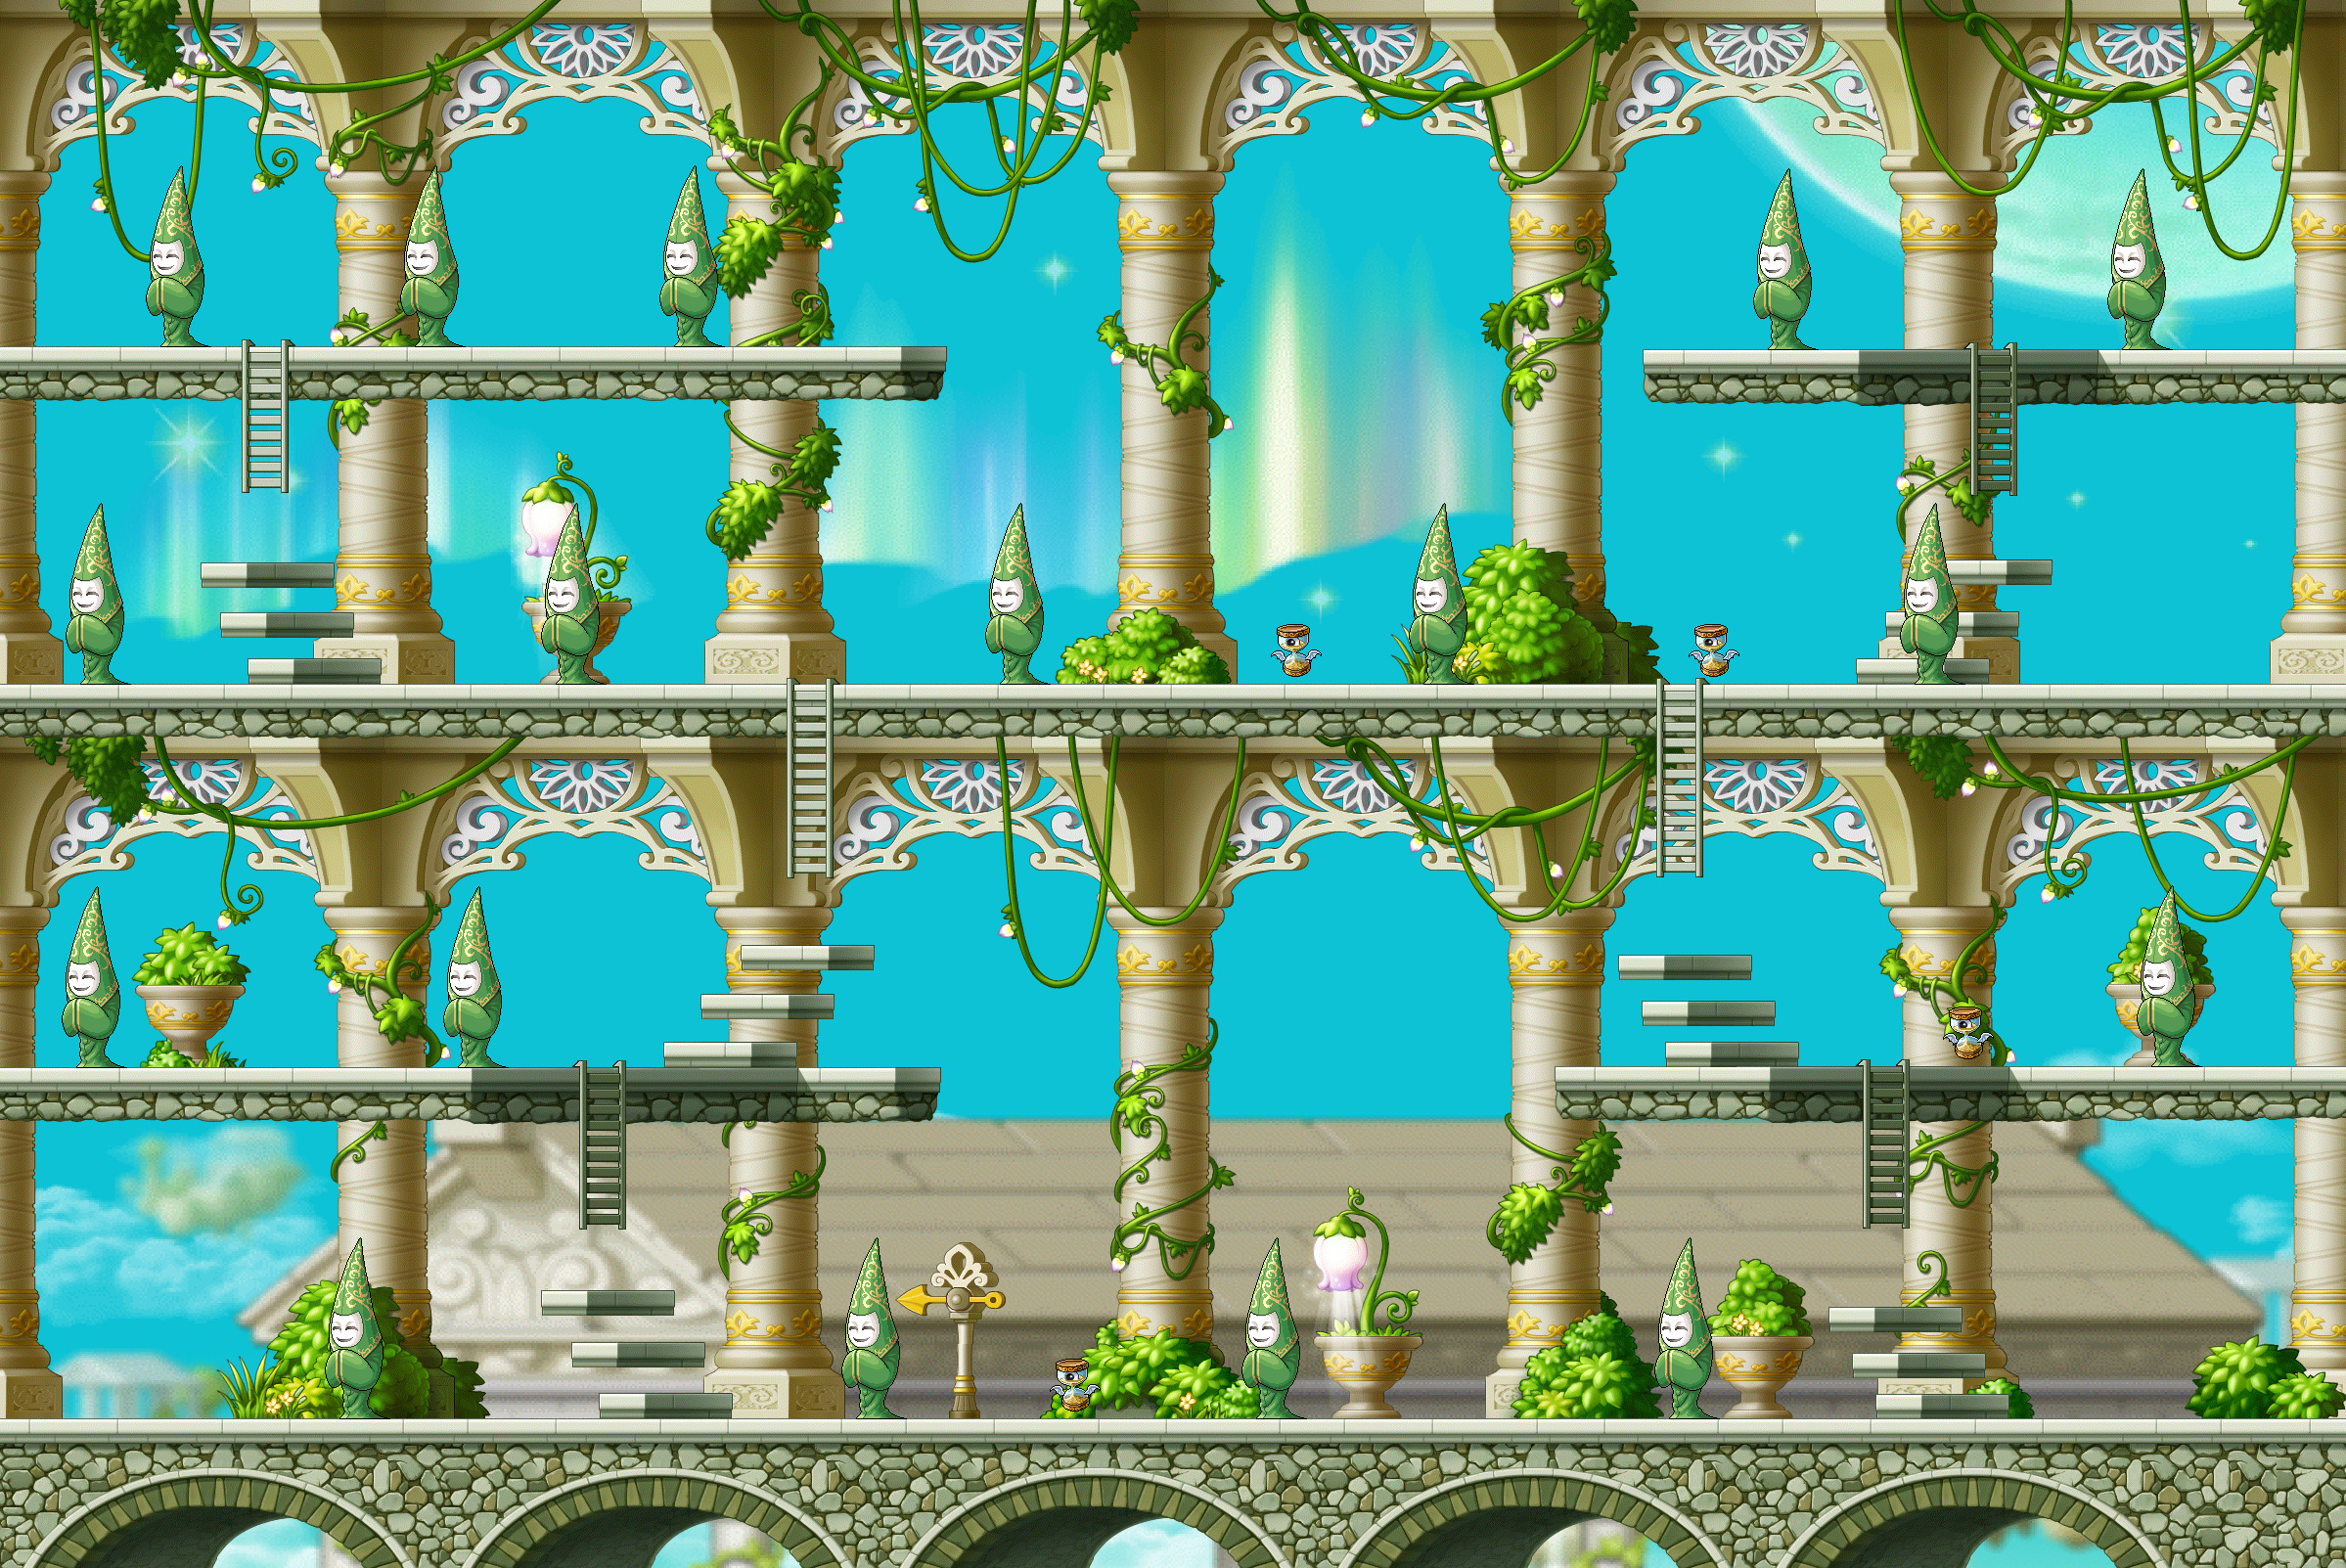
Unfunded: stay with a deep-Ludibrium map until the Wyverns or skeletons become comfortable. Hunting a level 153 monster slowly is not automatically better than clearing a level 122 map quickly.
Funded: compare skeletons and Memory Lane once you can kill steadily. Bring enough recovery supplies and test the complete route around the map, not just the first platform.
Do not miss level 140 The Other Face: its 48,000,000 EXP is a substantial one-time reward if you have kept up with The Far Side. The Four Faces also has checkpoints at 125 and 130.
Temple of Time travel and lane progression still matter for hunting. Follow the area's access quests and portals; boss access changes do not mean every hunting lane is already unlocked.
160-200 · Steady hunting, bosses and stories
| Map | Monsters | Why stay or move |
|---|---|---|
| Leafre: Nest of a Dead Dragon | Skelegon 147, Skelosaurus 153 | Keep it if your class clears it exceptionally well |
| Leafre: Peak of the Big Nest | Skelosaurus 153 | Compare platform coverage |
| Time Lane: Road to Oblivion 4 | Oblivion Guardian 164, Chief Oblivion Guardian 166, Eye of Time 136 | A stronger Temple of Time option |
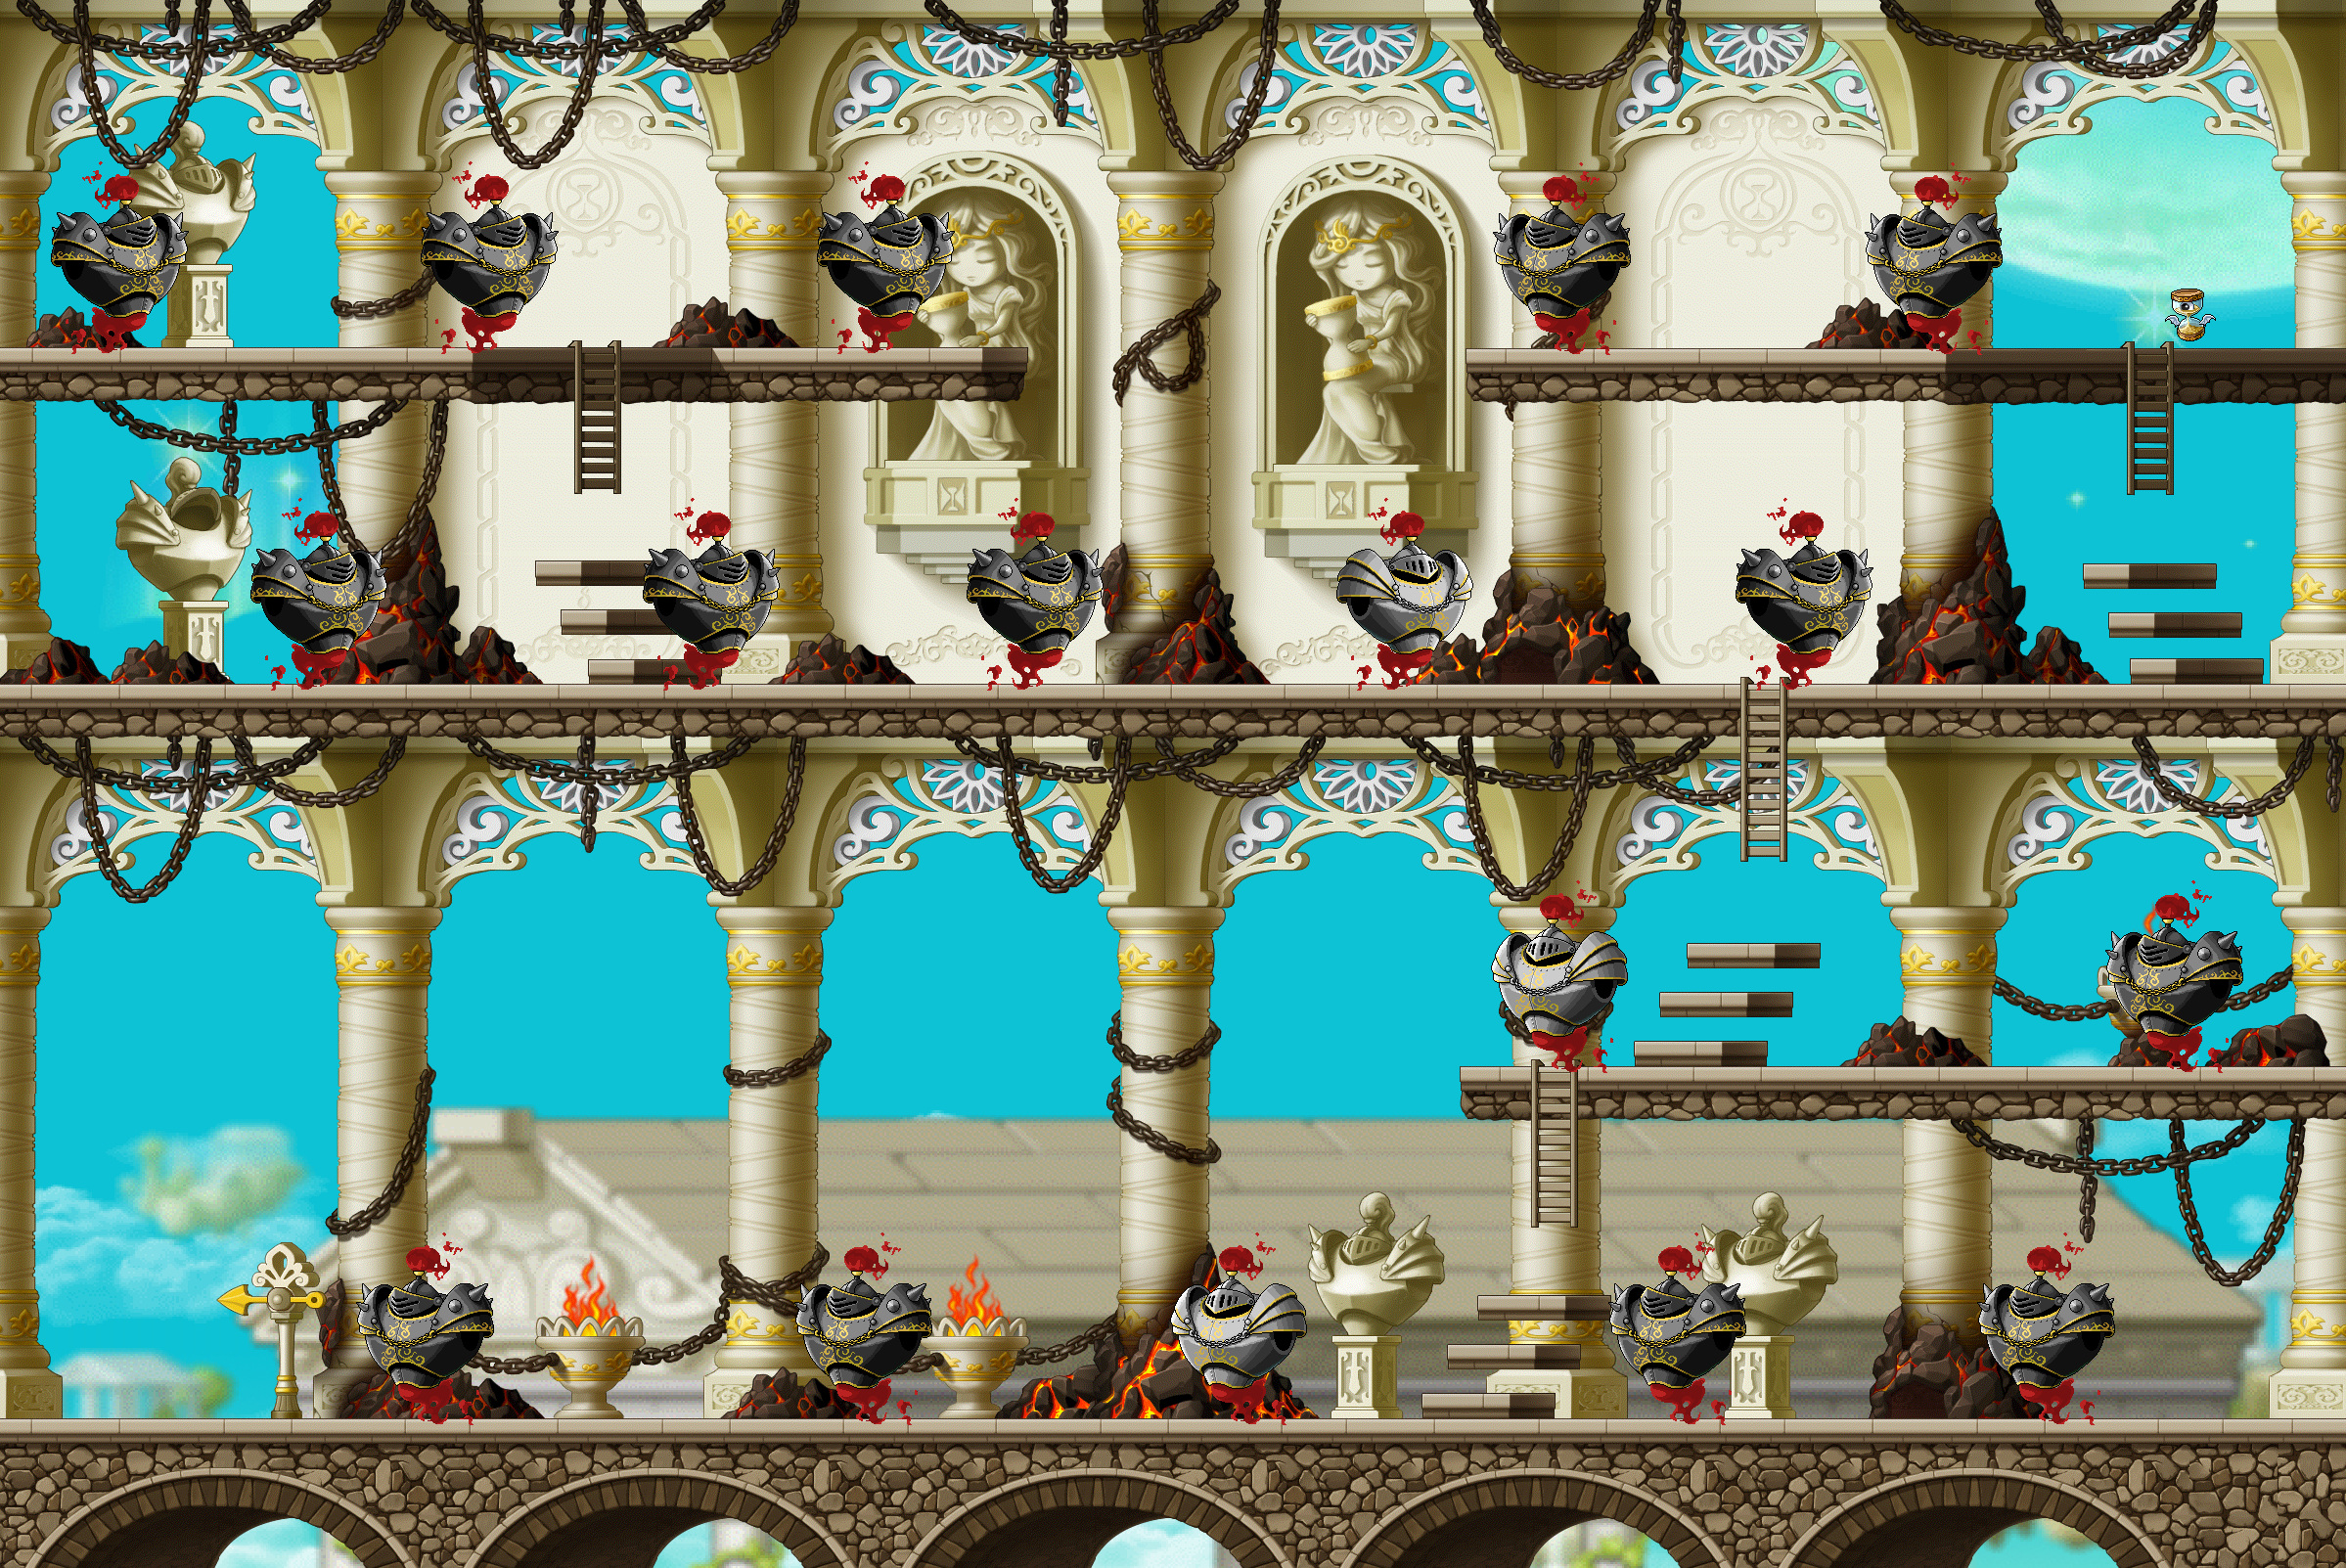
You can split EXP training and gear farming. Stay at an efficient EXP map, take a trip to monsters within the ordinary drop range when you need gear or mesos, then return.
Monsters level 115 and above keep their normal drop eligibility when you outlevel them. This makes high-level Leafre and Temple of Time maps more useful for long-term farming than returning to level 90-110 monsters. Being far below a monster's level can still prevent ordinary loot eligibility.
Plan the Off the Edge returns: speak to Quill in Leafre at 180, then continue at 185, 190 and 195. Those chapters award 25%, 27%, 30% and 33% of their respective level bars, plus mesos. Take those quest rewards before replacing the whole stretch with grinding.
At 180, Echoes Beyond the Stars, starting with Kyrin in the Nautilus, unlocks Soul Seeker for non-Cygnus characters. That is a combat unlock, not a reason to invent an EXP-per-hour claim. Cygnus follows its own Hunting Decree route.
Between those checkpoints, improve your lasting weapon, useful potential, accessories and saved QP while hunting and bossing.
200-250 · Bellwether
First consider The Five Measures. After the earlier Off the Edge chapters, each Measure pays one full bar priced at level 200, 201, 202, 203 or 204. They are designed as one-time progression from 200 toward 205. This is not a repeatable five-level skip, and doing it at a much higher level does not turn it into five current-level bars.
Then talk to the Postal Worker in Leafre and take the post-boat to Bellwether: The Address Market. Bellwether belongs to the Kanata world.
Quest before grind: the seven Bellwether story quests together give 36% of a level-200 bar, 23,000,000 mesos and 70 Power Elixirs. Progress the story and accept its unlocked weeklies before settling into the matching hunting grounds.

Three hunting grounds continue east from the Market:
| Map | Monster | Starting level |
|---|---|---|
| Saltletter Strand: Broken Breakwater | Unmoored Sentinel | 200 |
| Saltletter Strand: The Drowned Watch | Abyssal Surveyor | 203 |
| Lantern Observatory: Fallen Lens | Lantern Revenant | 206 |
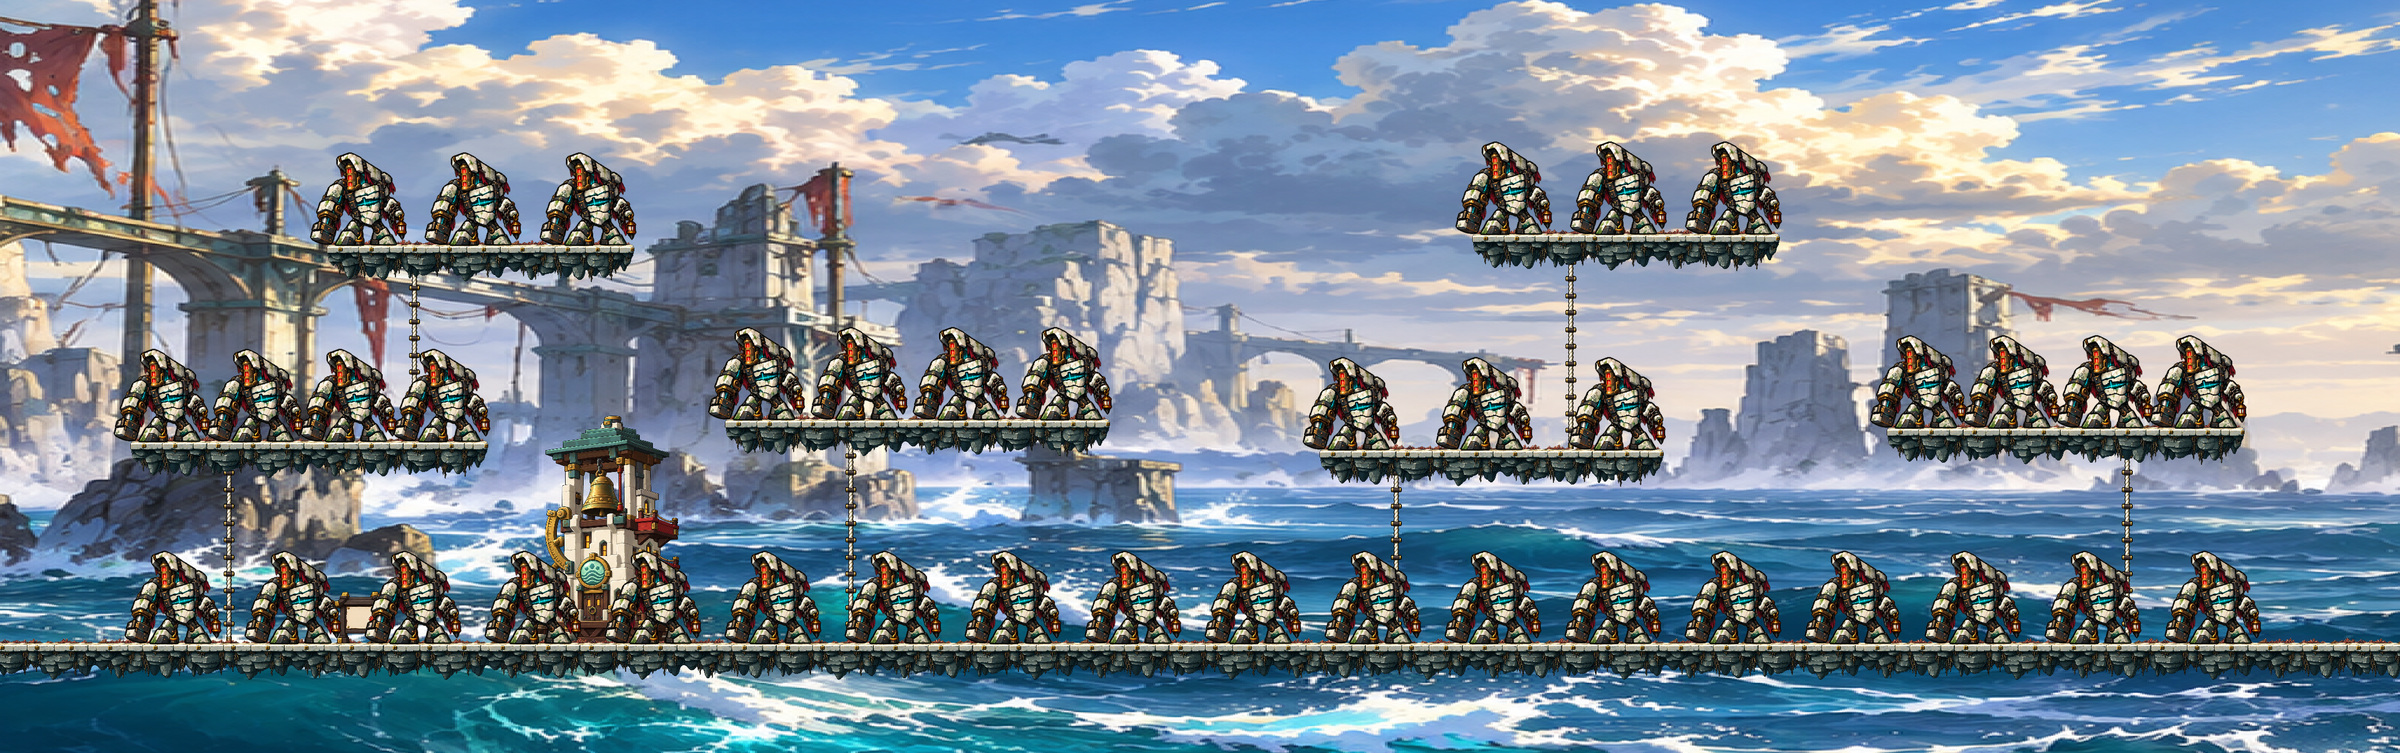
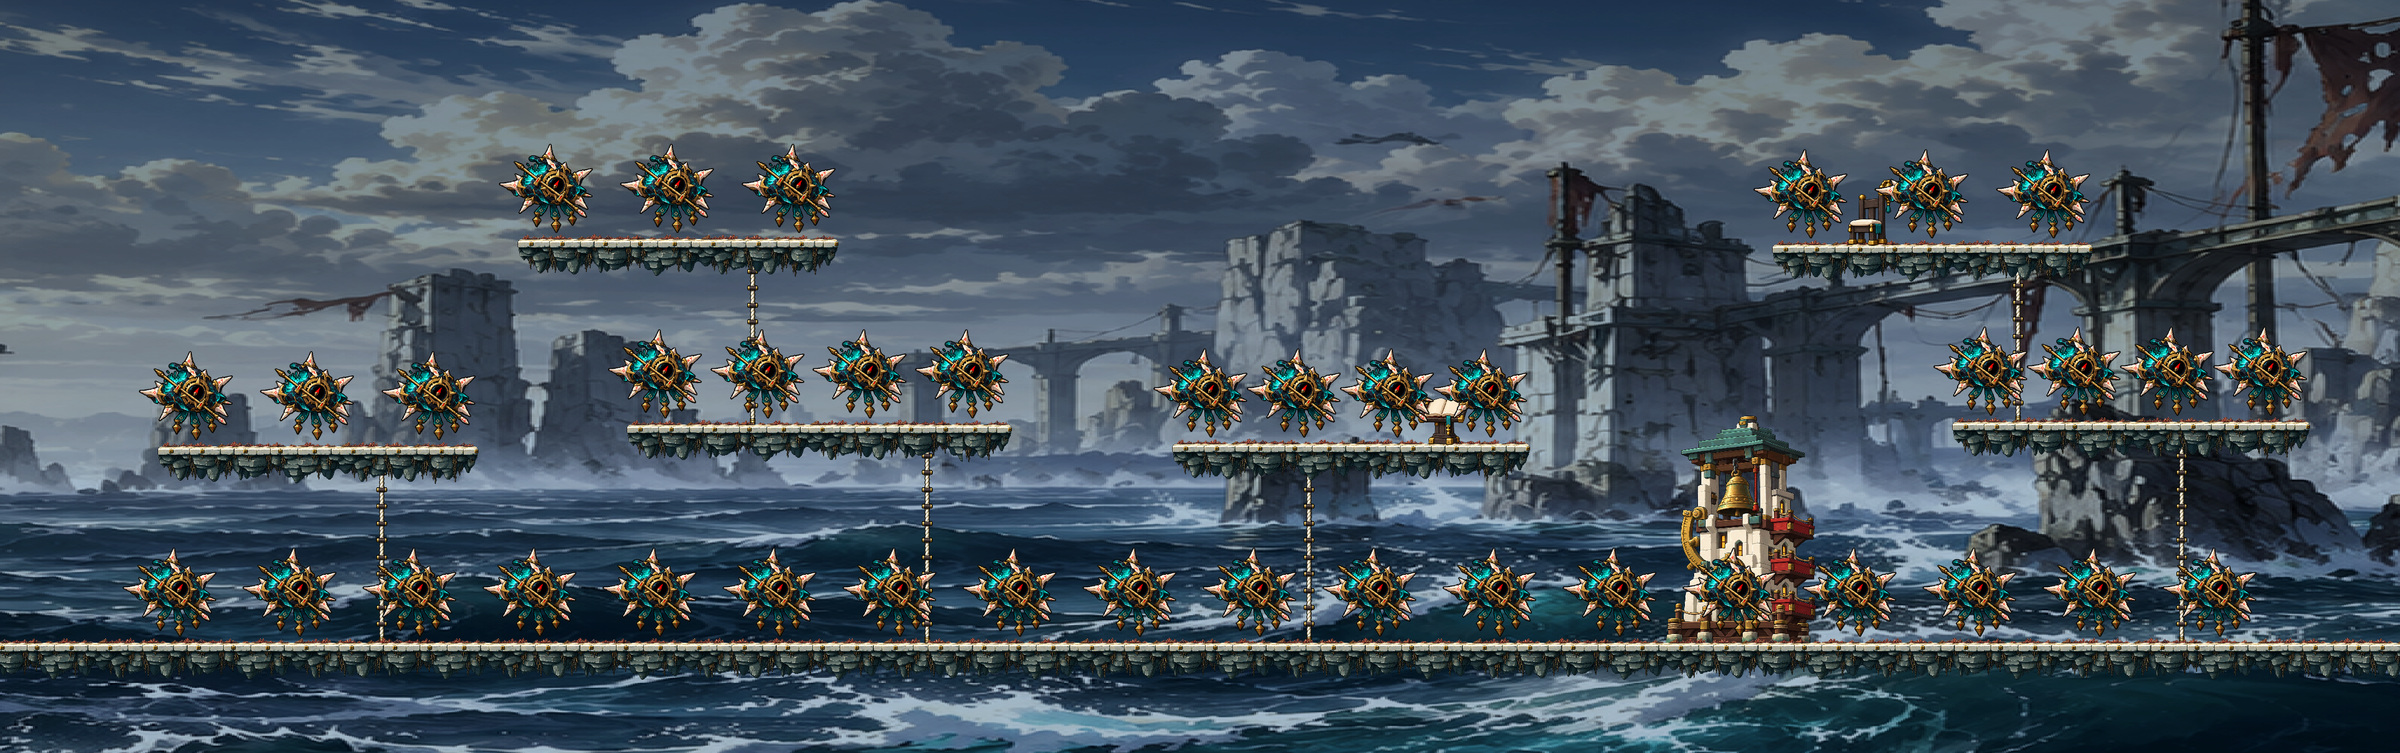
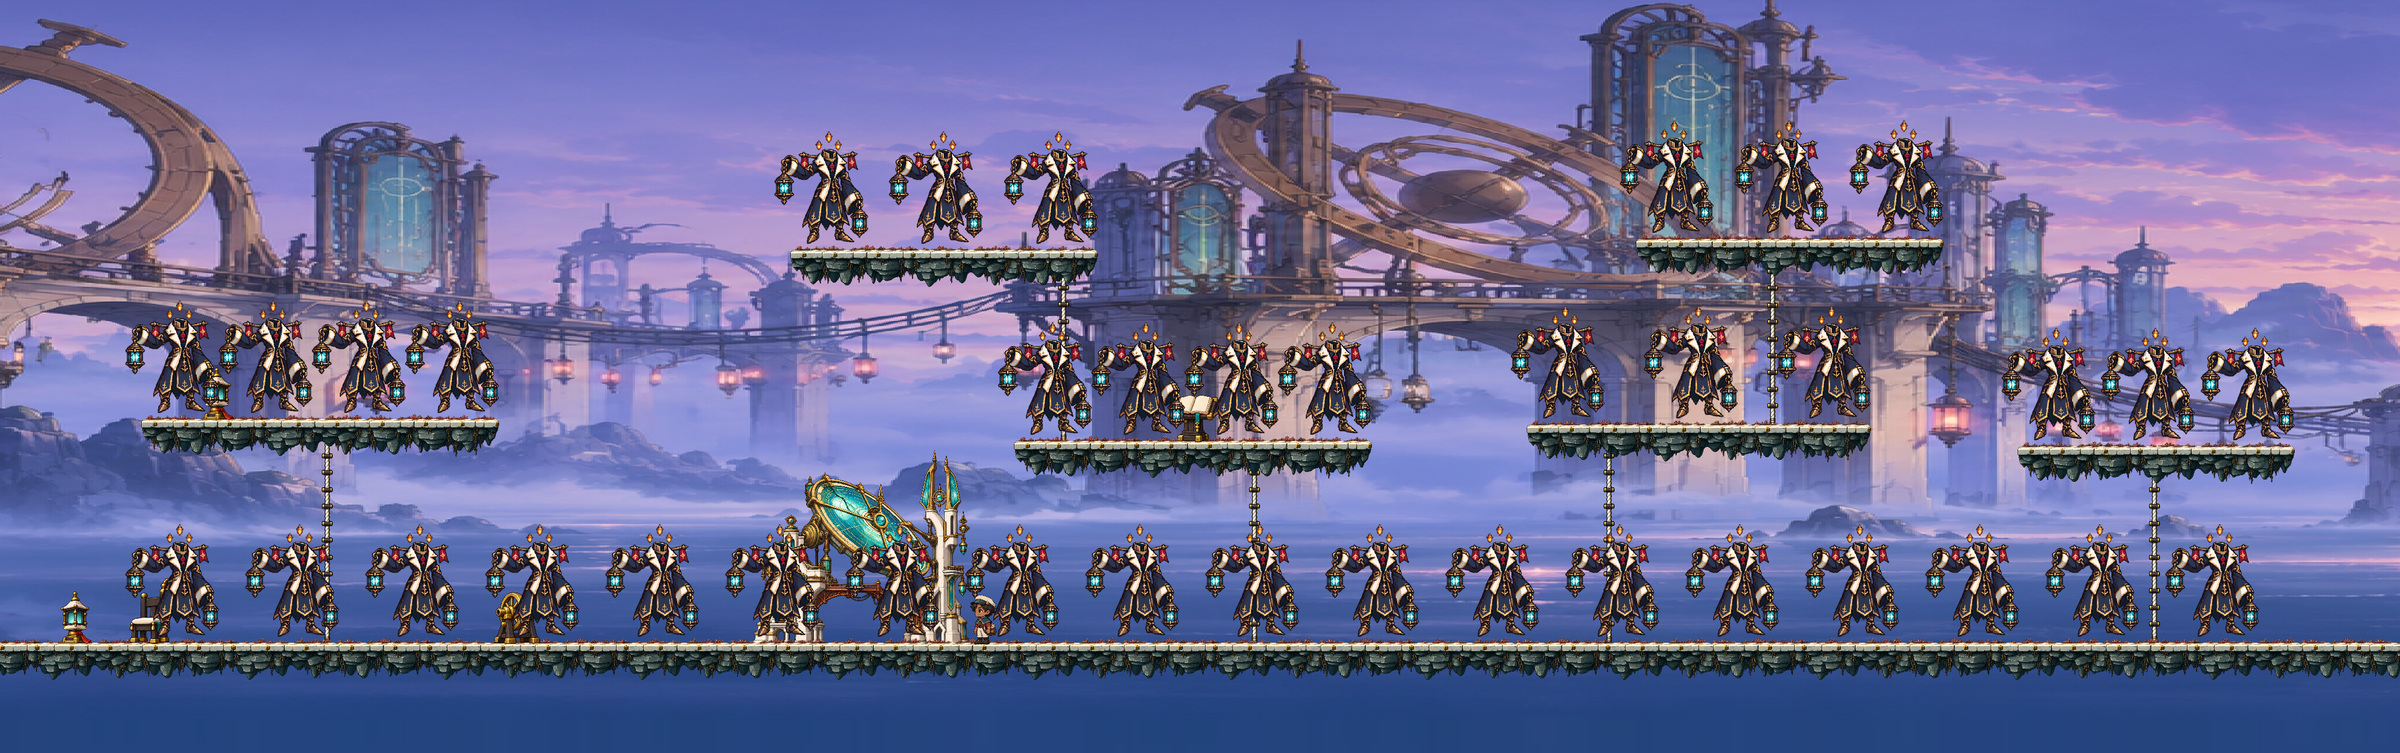
The monsters scale to the fighter: their HP, damage and EXP grow with your level. Their listed starting levels are not a promise that Fallen Lens is always the fastest map.
Your reward drops here are personal: each player who qualifies for EXP gets their own rolls. You see and collect your own loot. Thief-specific Steal and Pickpocket rewards keep their own ownership.
Accept these weeklies before hunting
| Weekly | NPC in The Address Market | Target |
|---|---|---|
| A Safe Delivery | Pip Post | 900 Unmoored Sentinels |
| Measure Twice | Sera Flint | 900 Abyssal Surveyors |
| The Lamplighter's Round | Miri Lilt | 900 Lantern Revenants |
Each pays 15% of a level-200 bar, 12,000,000 mesos and 30 Power Elixirs. Unlock them through the relevant story progress and accept before the kills. Reset is Thursday at 00:00, Dutch time. Above 200, their EXP remains priced at the level-200 bar; it does not become 15% of every later level.
Unfunded: start with Broken Breakwater and compare the potion cost against your best existing map. You can return to Leafre or Temple of Time while building stronger gear.
Party route: recruit active suitable-level players, cover different stretches of the hunting ground and keep Pet Vac and your loot filters ready. Bellwether rewards are personal, so your pet still collects only the drops you are eligible to take.
Funded: compare all three grounds with the same buffs and session length. The best result comes from your actual coverage and sustain. Use Bellwether weeklies as an additional goal rather than expecting a higher level to solve every equipment gap.
How to decide whether a move was worth it
Compare EXP gained, mesos/materials kept, potion cost, and how often you stop attacking. Keep the same buffs and avoid comparing a fresh map against one you have already built up.
Compare maps with 2x EXP active on both, and renew it before the next hunting session if it expires. If a map is excellent EXP but poor income, pair it with quests, PQs, bossing or an eligible hunting map instead of forcing one activity to do everything.